The Cabinets in This $500 Kitchen Makeover Look Twice the Price

ABOUT THIS BEFORE & AFTER
HOME TYPE: Townhouse
PROJECT TYPE: Kitchen
STYLE: Traditional
SKILL LEVEL: DIY
RENTAL FRIENDLY: Yes
Whether you paint them a new color, add new hardware, “vinyl wrap” them with a more modern finish, or replace them entirely, changing your kitchen cabinets makes a major difference, no matter the size of your kitchen.
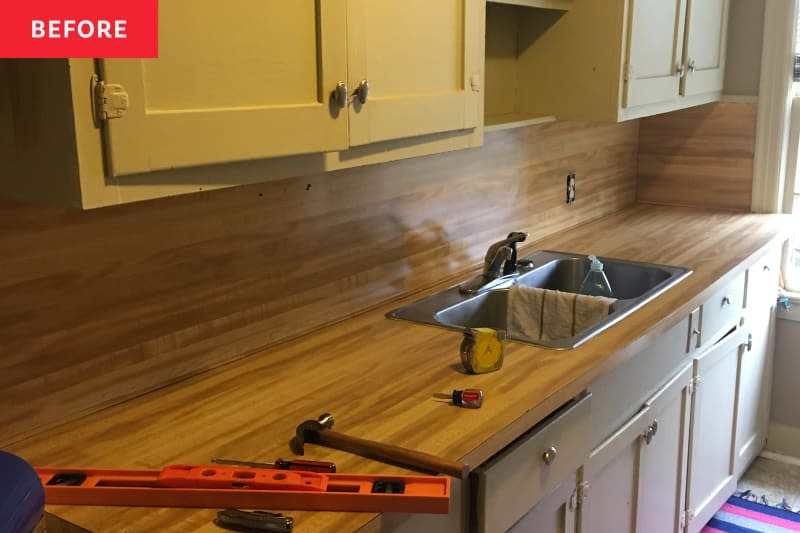
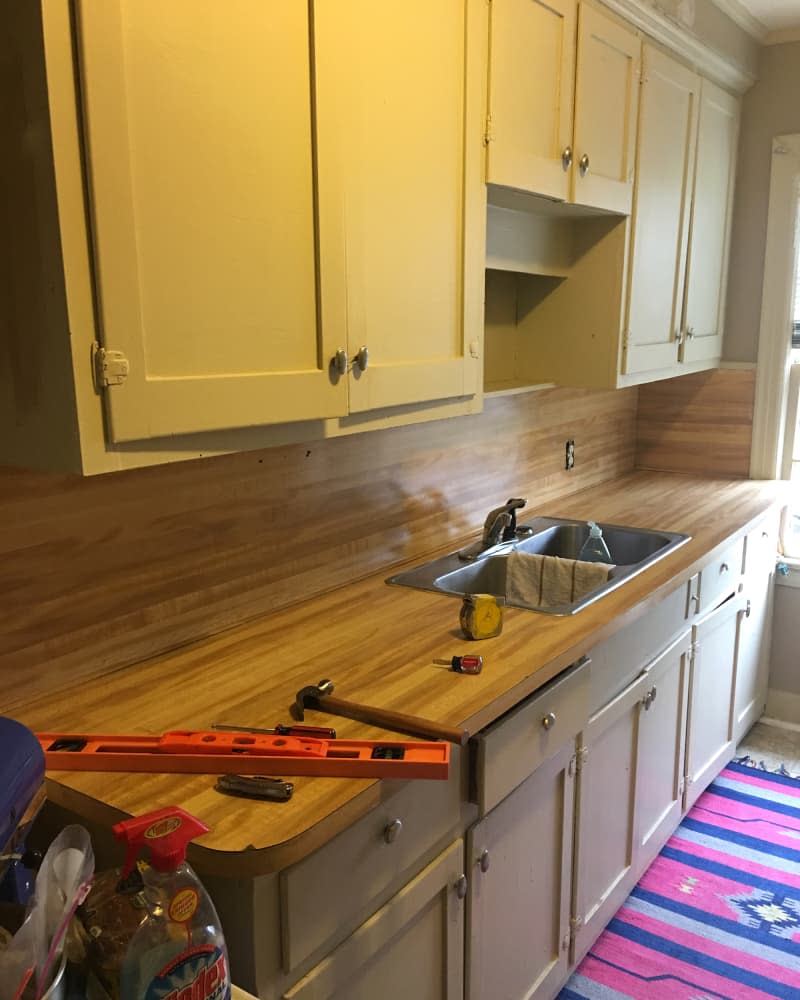
In Amy Milliorn’s (@wanderingameslessly) townhouse kitchen, upgrading the cabinets doors (which were beige, installed in the 1970s, and required rubber bands to stay closed) made the biggest difference — but also she made some other changes that brightened up the dark taupe walls, old yellowed and rusted fridge, and fake butcher block laminate backsplash, too.
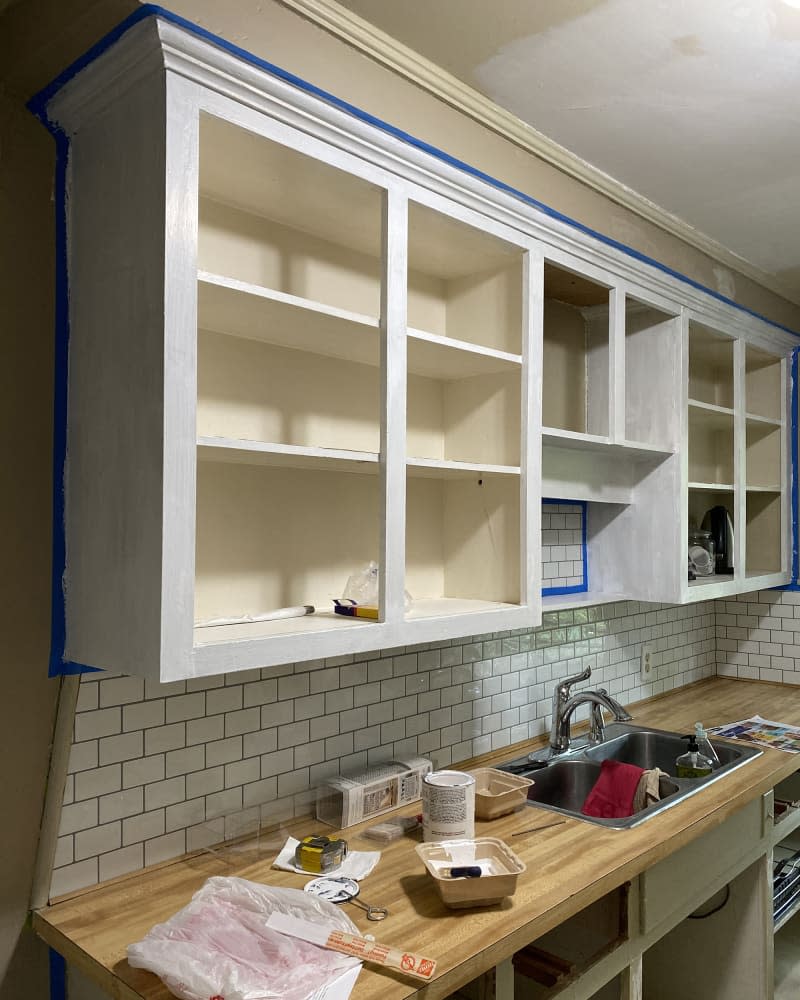
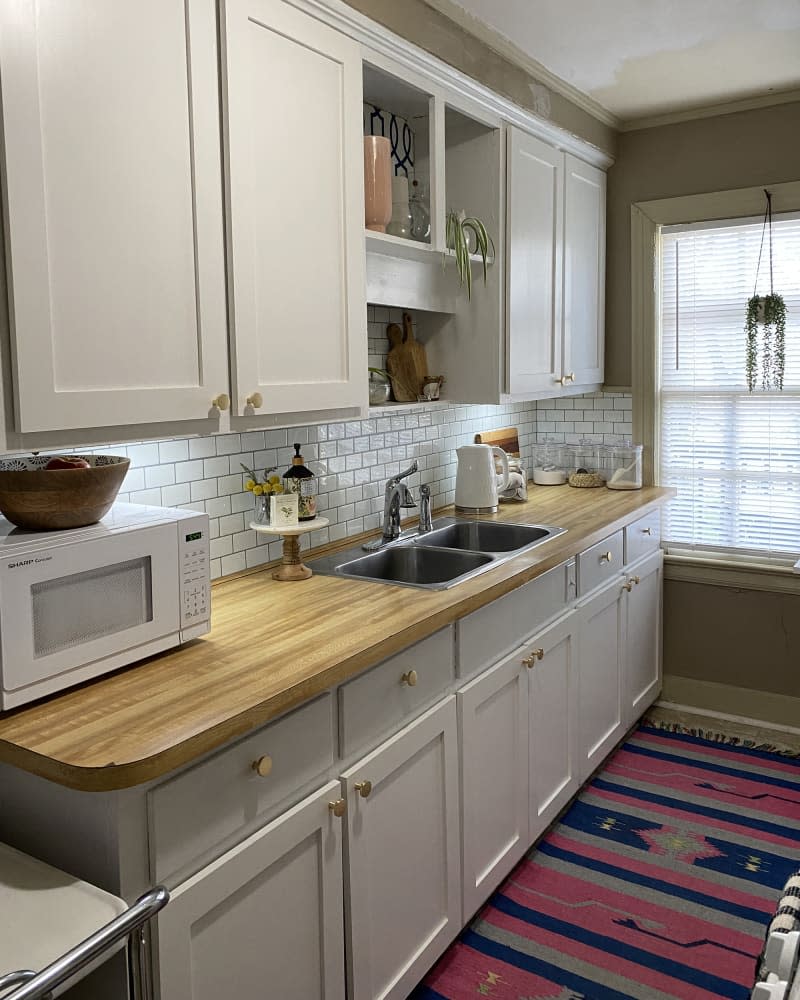
The cabinets got new Shaker-style doors and a paint job.
At first, Amy planned to paint to upgrade her cabinets by painting them and replacing the door hinges with soft-close ones, but an unsuccessful trip to the home improvement store — where she couldn’t find any exact matches for hinges to fit her old cabinets — made her pivot. Plus, the wood on the cabinet doors was too thin for any soft-close hardware choices, Amy says.
“Fortunately I found a company that offers custom-made cabinet doors,” she says. “I sent in the measurements of each door, chose MDF since I’d be painting them, and received fabulous new Shaker-style doors just a couple weeks later. All I had to do was prime them, then they were ready to paint.”
The cabinet doors were pre-bored, pre-drilled, and came with the soft-close hardware, so all Amy had to do was remove the old cabinet doors, paint the new ones white, and hang them. She used the white Rustoleum’s Cabinet Transformations kit for the cabinet bodies and doors, and she had the help of her mom. This part of the project cost about $350.
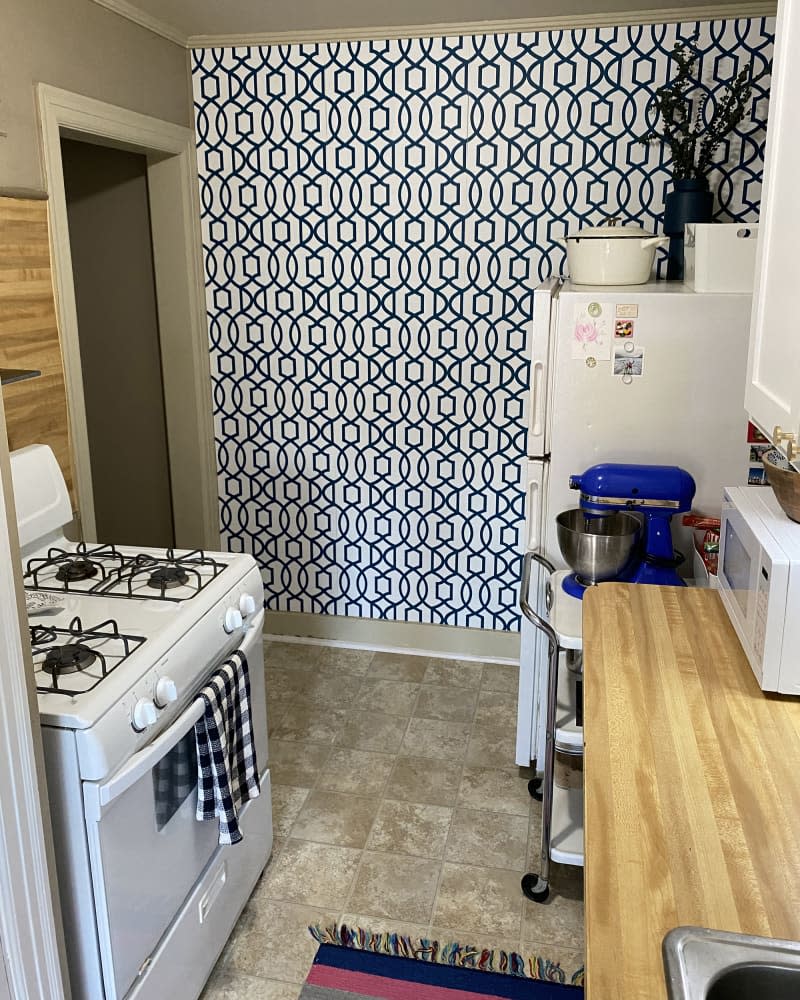
A new wallpaper brightened things up.
Amy says in the kitchen before, “the west-facing window at the end brought in some nice morning sunshine, but the taupe walls still made the space feel pretty dark.”
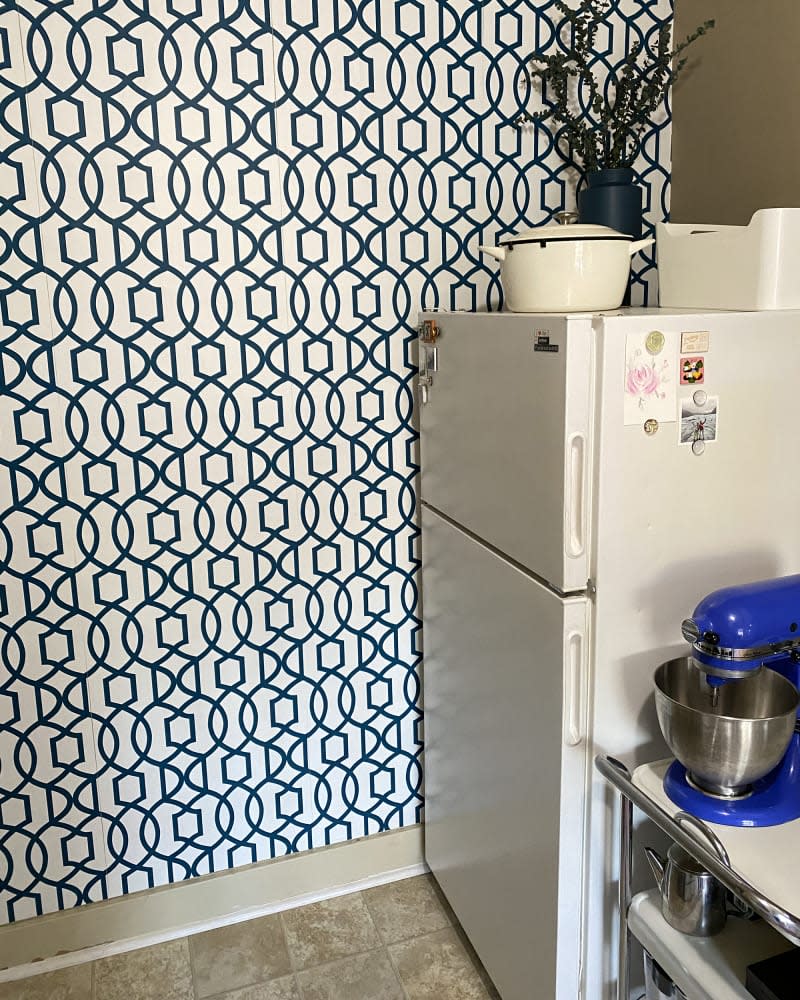
To brighten up her back wall, she added a white and navy wallpaper (and you’ll also notice a pop of it behind her cabinetry). “The walls were painted with the typical “skill” that one would expect in a rental, so I was excited when I came across peel & stick, removable wallpaper options,” she says. “I read a few articles on Apartment Therapy’s website (true story!) about rental-friendly wallpaper and knew my kitchen needed it,” she says, adding that applying the peel-and-stick material was much easier than she expected.

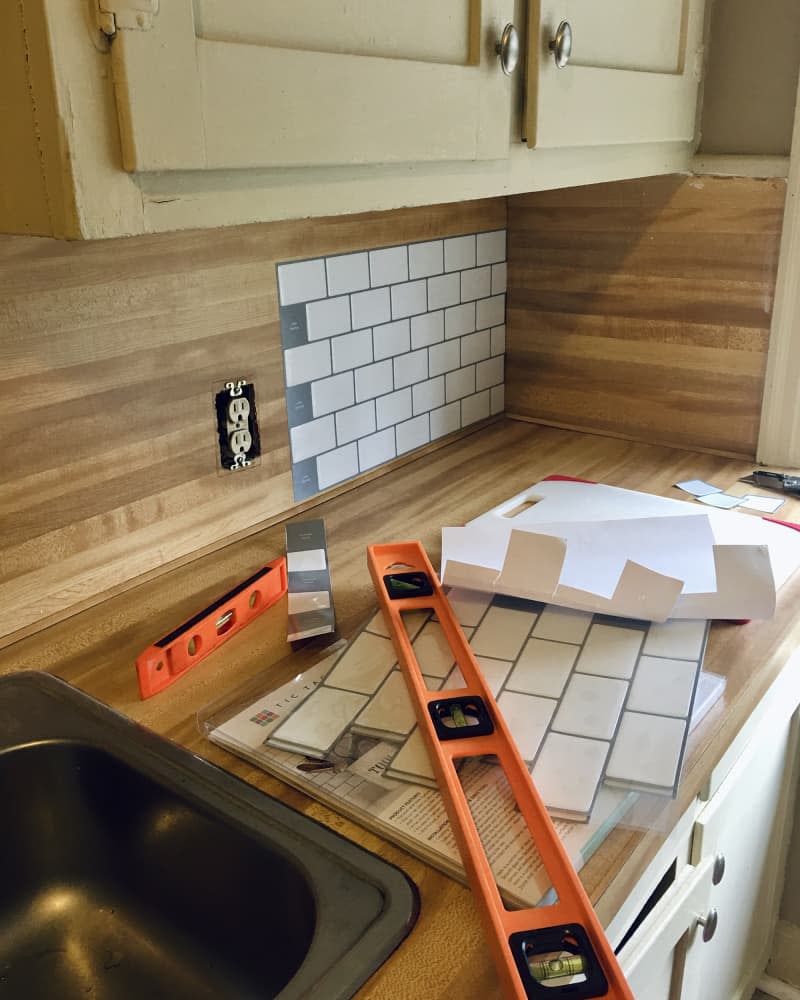
The backsplash also got a peel-and-stick makeover.
Although Amy didn’t mind the faux butcher block countertops, she thought the backsplash of the same material made the galley-style kitchen look overwhelmingly beige and small, so she added a white peel-and-stick subway tile to the backsplash.
“Peel-and-stick tiles are so easy to use and give such an updated look to any space,” Amy says. “It’s so much brighter and fresher now.”
An epoxy kit rescued the rusting fridge.
Last, Amy gave the old fridge a new look. “Rustoleum’s appliance epoxy is a miracle product,” she says. Her best advice when you’re doing a first-time reno is to watch lots of YouTube tutorials, and to turn to IRL experts, too!
“Some of my solutions came from suggestions by hardware store employees,” Amy says. “Don’t be nervous to ask! Some things I thought would work out great for my repairs were not feasible at all, but some of the knowledgeable workers had perfect solutions.” (For example, beeswax helped her old cabinet drawers on wooden tracks slide smoothly.)
She’s “so in love with the final results” of her entire kitchen and all of the upgrades she made, and the one thing she would change about the makeover? “I would have done this a long time ago!” she says. In total, her redo cost about $500. For six other bang-for-your-buck project ideas, check out these DIY kitchen upgrades.
Inspired? Submit your own project here.

