Crimped Hair Is Making a Comeback—Here's How to Get the Look
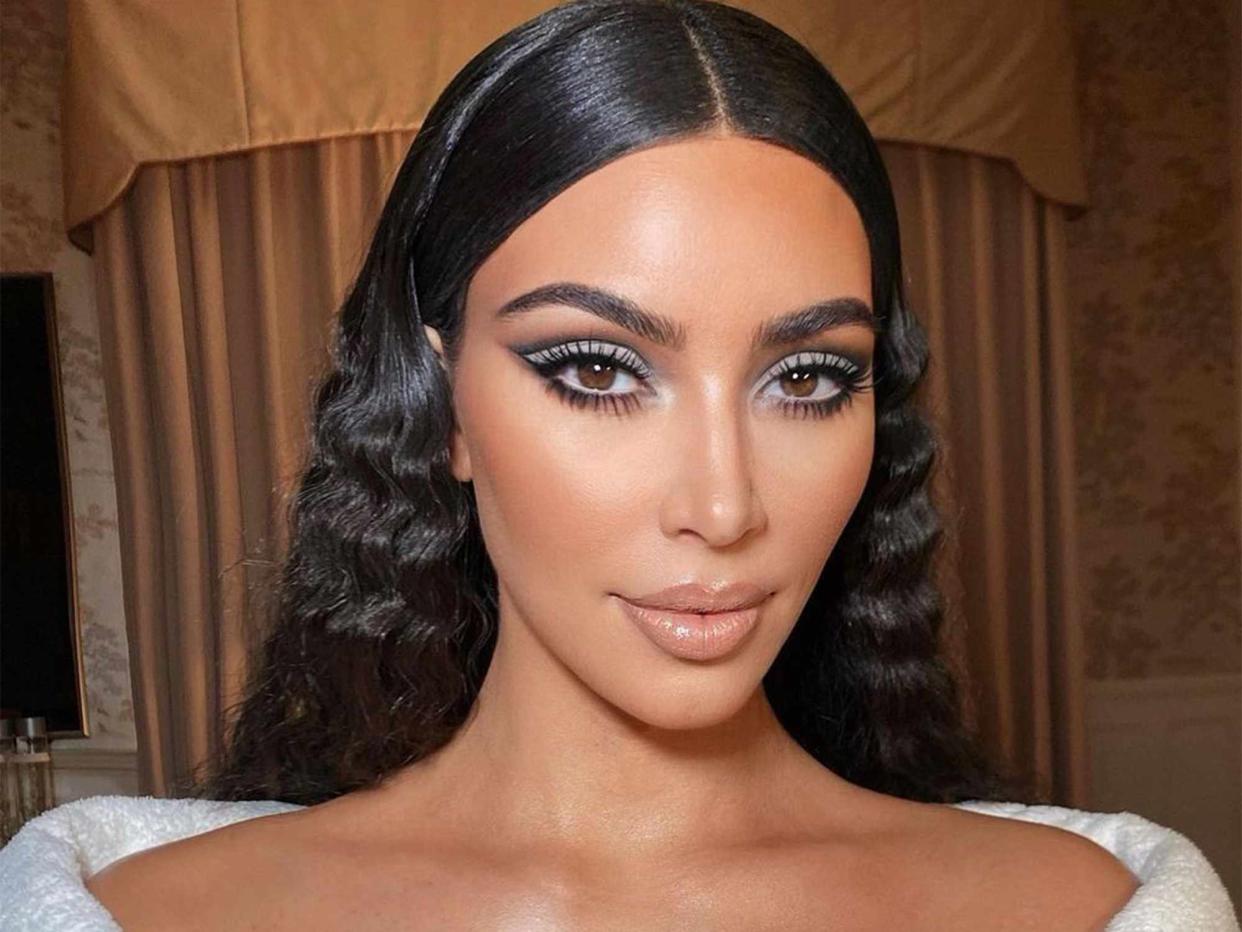
@kimkardashian / instagram
- Oops!Something went wrong.Please try again later.
- Oops!Something went wrong.Please try again later.
- Oops!Something went wrong.Please try again later.
Crimped hair is officially back. The styling method—which involves using a crimping iron to give the hair a zig-zag wave—became incredibly popular in the '80s and '90s. However, as trends do, the wavy style has returned once more in full force. Recently, celebrities like Beyoncé, Kim Kardashian, Saweetie, and Keke Palmer have all given this retro style a modern twist.
If you want to achieve a chic crimped hair look at home, we've got you covered. Ahead, hairstylists Timothy Lehman and Jennifer Nast explain everything you need to know about how to crimp hair.
Meet Our Expert
Timothy Lehman is a hairstylist at Sharon Dorram Color at Sally Hershberger Salon. He has over 35 years of experience in the industry.
Jennifer Nast is a hairstylist at Sharon Dorram Color at Sally Hershberger Salon.
Cleanse and Condition Your Hair
Before crimping your hair, you’ll need to ensure it is freshly washed. Our experts say crimping tools shouldn’t be used on dirty hair because the hair might struggle to hold the crimped pattern. We recommend using a nourishing shampoo and conditioner such as Briogeo Don’t Despair, Repair! Super Moisture Shampoo ($69) and Super Moisture Conditioner ($69).
Detangle Your Hair
Once you're done shampooing and conditioning, it's important to ensure your hair is fully detangled. You can use a detangling brush like the Olivia Garden Opal Detangler Medium-Thick Hair Brush ($17). It works through knots gently, and the bristles actively massage the scalp. If you prefer to detangle your hair with a wide-tooth comb, we suggest Drybar The Slider Wide-Tooth Comb ($19). Its widely spaced teeth glide through even the thickest of hair while being gentle enough for delicate strands.
Blow Dry and Straighten Your Hair
Your hair needs to be relatively straight before using a crimping iron, so you'll need to blow dry it and straighten it, depending on your hair texture. Since you'll be exposing your hair to heart, using a heat protectant is a must. Lehman recommends the Philip B Thermal Protection Spray ($38), a botanically-powered heat protectant and weightless primer that creates a barrier between your hair and your styling tool, reducing moisture loss and taming frizz.
Section Your Hair
Your hair will need to be divided into four sections before you start crimping it. Lehman recommends starting at the nape of the neck. "Your first section can be just around ear level, and you can divide one of these sections towards the front right and the other section towards the left front," he says. To hold your sections in place, use hair clips. Once you’ve sectioned your hair, you can also choose your preferred parting.
Choose Your Crimping Iron
Next up? Choosing your crimping iron. Lehman and Nast point out that crimping tools come in various sizes and styles. "Some crimpers are also called the waver (a large triple curling iron)," Nast explains. "The smallest crimper is mostly used for volume at the roots and updo styling. A regular-sized crimper will give you that iconic '80s look."
Lehman recommends using a crimper or waver from Babyliss to achieve the look because they come in various degrees. The 9000 Cordless Waver ($163) ensures effortless wave formation and lasting results even when styling at lower temperatures. Thus, it makes it easy to achieve the size of crimp you want without damaging your hair. "The smaller the ridges, the tighter the wave or pattern will be," he adds. "If the heated plate has almost tubular plates that are large, it will give you a larger, loose crimp that resembles a large wave."
Tips
The crimped look can also be achieved with a one-inch flat iron or a curling iron. However, the most significant difference is that the crimping iron is stationary. You’ll need to move a flat iron or curling iron back and forth to achieve the look.
Crimp Each Section
Before crimping your hair, you should apply a bit more heat protectant. "If your hair is fine, you can also spray each section with a little hairspray before using the crimper to help with the hold," Lehman adds. "I love the Shu Uemura Finishing Hair Spray ($42)."
Once your hair is prepped, the crimping can begin. Make sure to keep the crimper on low heat to protect your hair. For ease, it's best to start with the back sections first. "Start a few inches out from the scalp (so your roots will be flat) and place the hair in the crimper for about 10 seconds before removing it from the hair," Lehman explains. "Working with that same section, go below the first wave or crimp you made and repeat until you get to the ends."
Lehman adds. "After one section is done, work upwards towards the crown and make about an inch and a half horizontal section around the head. Start in the center of the back of the head, bring the hair forward to see what you're doing, and repeat the same technique.
To achieve the look with a one-inch flat iron, Nast tells us that the iron will need to be rocked back and forth in a wave-like motion as you move it down the hair shaft towards the end. "This will give you a much softer look," she says. "The waver can expedite your styling after this," she adds. As with the crimper, Lehman recommends keeping the flat iron on low heat to avoid heat damage.
Tips
To limit heat styling, you can braid your hair to maintain the crimped look. "This option works best if your hair is long," Lehman says. "Keep the first few inches of your hair straight before starting to braid. You can do two ponytails with braids or create several one to two-inch braided sections across your head to create a tight crimp."
Apply Finishing Touches
Once your hair is fully crimped, you can brush through it a little if you want a more voluminous look. Lehman recommends applying a bit of texture spray before doing this. If you prefer a tighter wave pattern, you can use the texture spray to separate the crimps lightly. Alternatively, hair oil or serum can be applied to your ends to create texture and shine.
Up Next: 22 Y2K Hairstyle Ideas to Satisfy Your Spiky Hair and Butterfly Clip Cravings
Read the original article on Byrdie.

