How to Create S-Shaped Beach Waves With a Flatiron, According to Hairstylists
Our audience misses their stylists, derms, and manicurists as much as we do. Here, we bring experts straight to the Allure reader's home for lessons on handling at-home beauty like a pro. This is Home School. Get ready to take notes.
When I was younger, braiding small sections of my hair all over my head used to be my go-to trick for subtle, beach waves. The process was tedious, though, and took a whole night's sleep to achieve the final result. Luckily, hairstylists David Lopez and Jen Atkin have the quickest tricks for creating S waves, as the professionals call them, with a flatiron. You'll have stunning, smooth waves with just a flick of the wrist.
Gather Your Tools
On the top of Lopez's list of essentials for this look is a flatiron, like the T3 Lucea. Be sure not to heat it up to the highest temperature to avoid frying your hair. Instead, aim for the midrange setting.
You'll also need a heat protectant. Lopez prefers dry aerosol formulas, such as the Kenra Professional Platinum Heat Cast Spray 12, because they shield hair from damage while giving it hold. A wide-toothed comb and a styling clip will also come in handy.
Step 1: Section and Spritz
First, split your hair in half vertically like you're about to put your hair into pigtails. Lopez suggests raking through both sides with the wide-tooth comb to detangle. Then, for one side at a time, section off the top half of your hair from your temple to the back of your head before clipping it up. Once your hair is sectioned, you can mist the bottom section with the heat protectant. Then, comb it through to evenly distribute the product.
Step 2: Iron Time
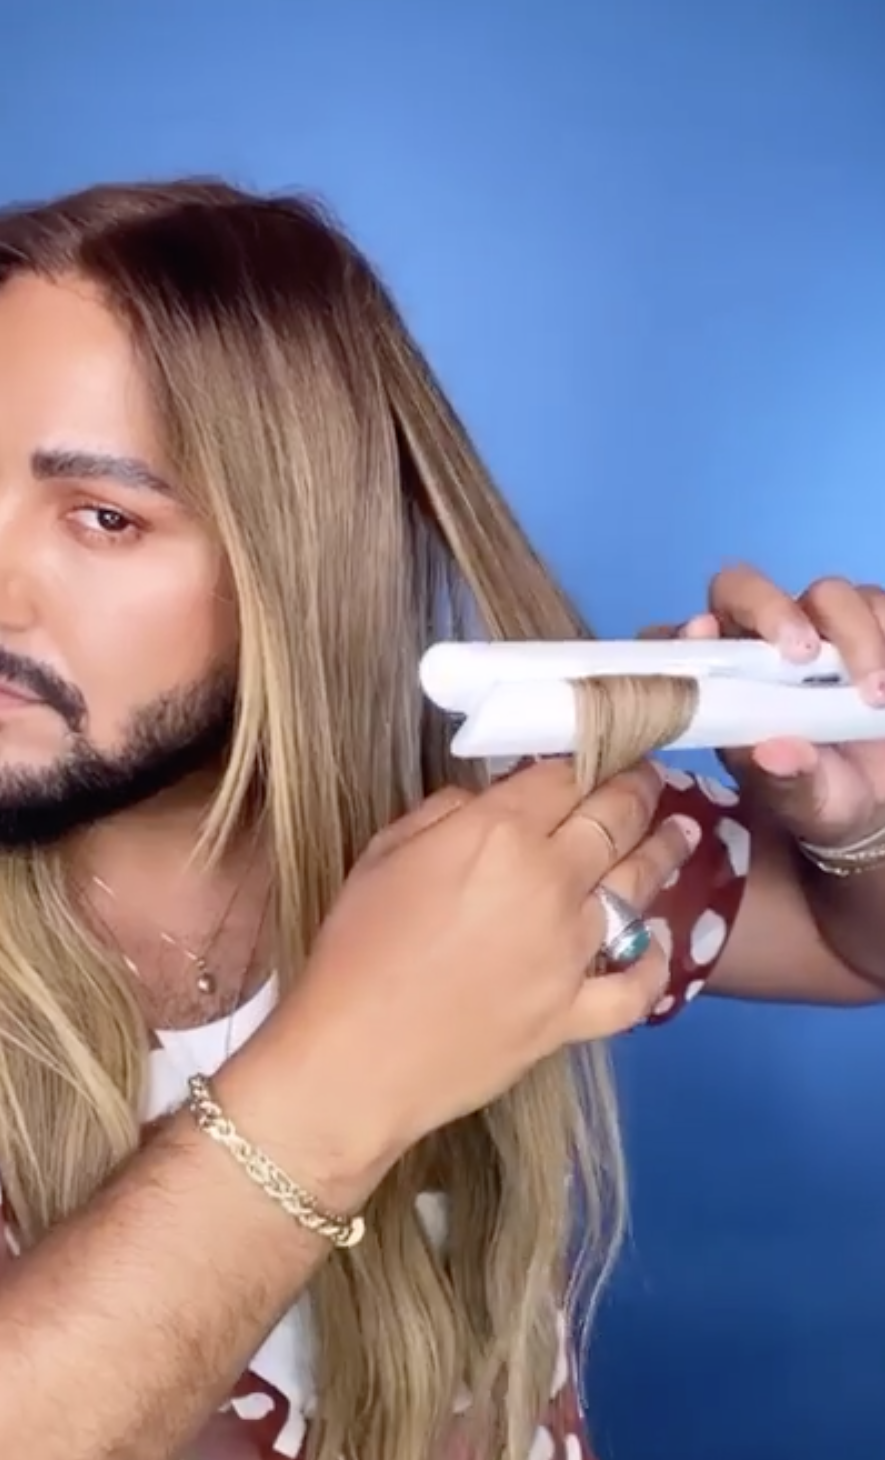
Now, grab your pre-heated straightener. Lopez calls the way you'll maneuver the flatiron for S-shaped waves the "over-and-under technique."

Gently close the iron over a section about two inches wide about an inch or so from your roots. Then angle it under and over as you move the iron down the length of your hair. You can steady the section in your other hand. Basically, you'll be flicking your wrist back and forth like you're constantly flipping a pancake.
"If you're not used to doing a technique like this, I always suggest making sure that you try this for the first time with the iron off," Lopez says. "Once you feel like you've mastered the motion, turn your iron on, and then, go for it." After that first section is done, repeat this technique throughout your hair.
Atkin, on the other hand, does larger passes through the hair to create looser bends. She angles the iron in one direction of the hair for about a third of the way down. Then, she unclamps the air and puts it back on while turning her wrist in the opposite direction, and so on.
Step 3: Finesse
After letting your waves cool down, brush through them with the comb to break up the cast that the heat protectant formed. If you want to add extra shine, Lopez suggests adding a pump of hair oil throughout your hair. From there, your beach wave look is all set and ready to be paired with a bronzy look.

You can see every single step in action by watching David Lopez's easy tutorial on Allure's Instagram.
All products featured on Allure are independently selected by our editors. However, when you buy something through our retail links, we may earn an affiliate commission.
Read more tutorials from our favorite beauty professionals:
How to Create Gorgeous Metallic Winged Eyeliner With Blue Imitation Gold Leaf
How to Lay and Wave Your Edges With a Spooley, According to a Pro Hairstylist
Now, learn about 100 years of long hair history:
Follow Devon Abelman on Twitter and Instagram.
Originally Appeared on Allure

