Create ridiculous resolutions with a multi-row panorama stitch
Watch video: Ridiculous resolutions
If you love lots of fine detail in your photos, you don't need one of the highest resolution cameras – you simply have to try multi-row panoramas! Essentially the technique involves shooting the scene in a series of overlapping segments, just as you would with a panorama. But instead of a single row, you do several rows to create an entire grid of photos. The longer the lens and the wider the grid, the more resolution you can achieve.
The individual images are then stitched together in Photoshop or a dedicated pano stitcher, such as PTGui. This can give you an astonishing level of detail and enables you to make a huge print or even a wall mural.
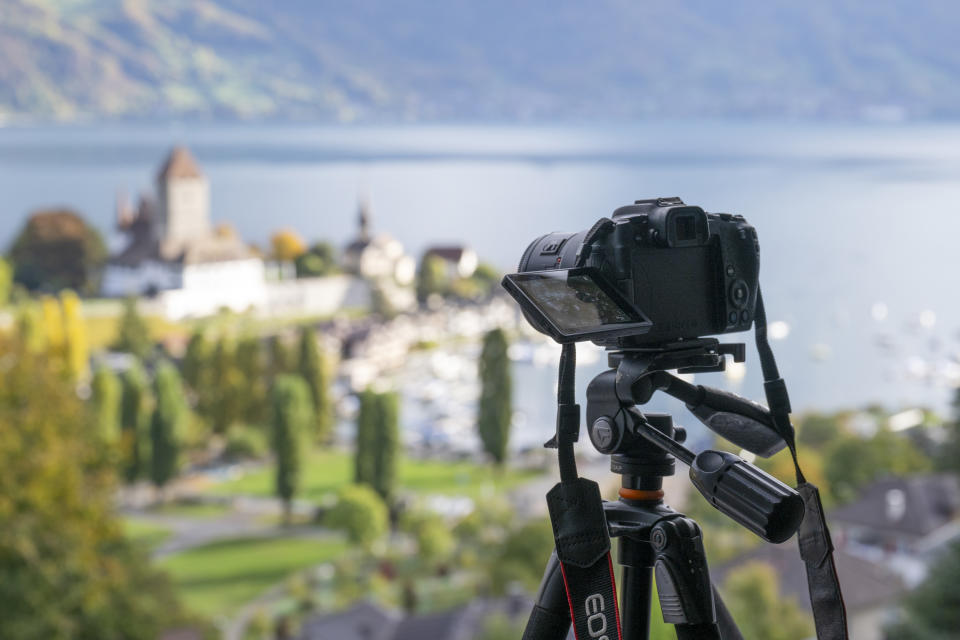
We look first at the basics of multi-row shooting, from camera settings to tripod techniques. The fundamentals are simple, but it gets more advanced depending on what you’re shooting. Basically, if you decide to include objects that are close to the camera, things can get more complicated because you have to account for parallax when rotating and tilting the camera, which can lead to misalignment between frames.
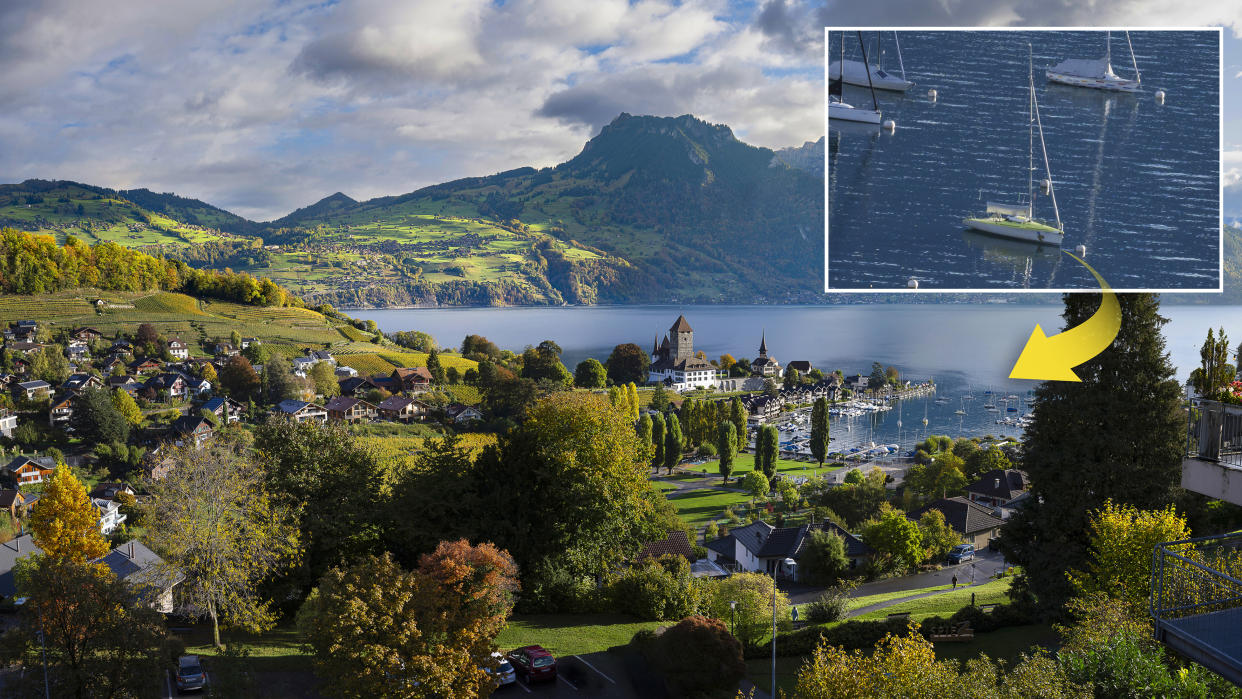
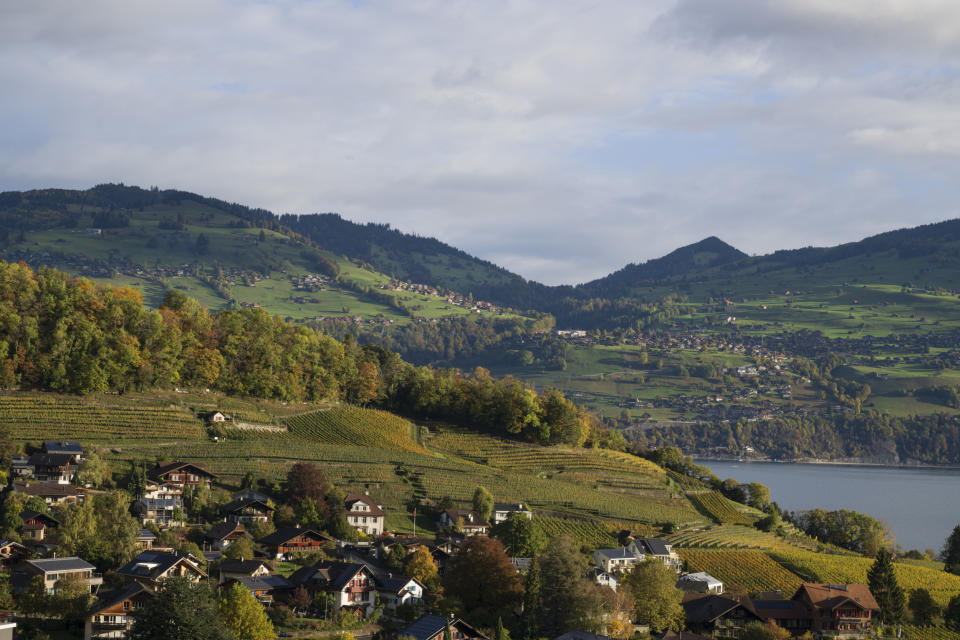
As such, we’ll delve into parallax correction and nodal points later. But if you’re shooting a relatively distant scene (we shot the Swiss village of Spiez above) then parallax has minimal effect, which makes the technique easier as there’s no need to find the optical center of your lens; you can just stick the camera on a tripod and eyeball it.
1. Shoot extra around the edges
It can be difficult to visualize the aspect ratio of the final panorama, so shoot more around the edges than you think you need. Shoot frames further to the right, left, up and down to give more wiggle room for cropping and choosing an aspect ratio later.
2. Horizontal or vertical
The advice for panoramas is to shoot with a vertical camera, but this only really applies to single-row panos (and only if you need maximum resolution). For multi-row, you can shoot horizontally or vertically. An L-bracket is handy if you want to shoot vertically.
3. Use your level
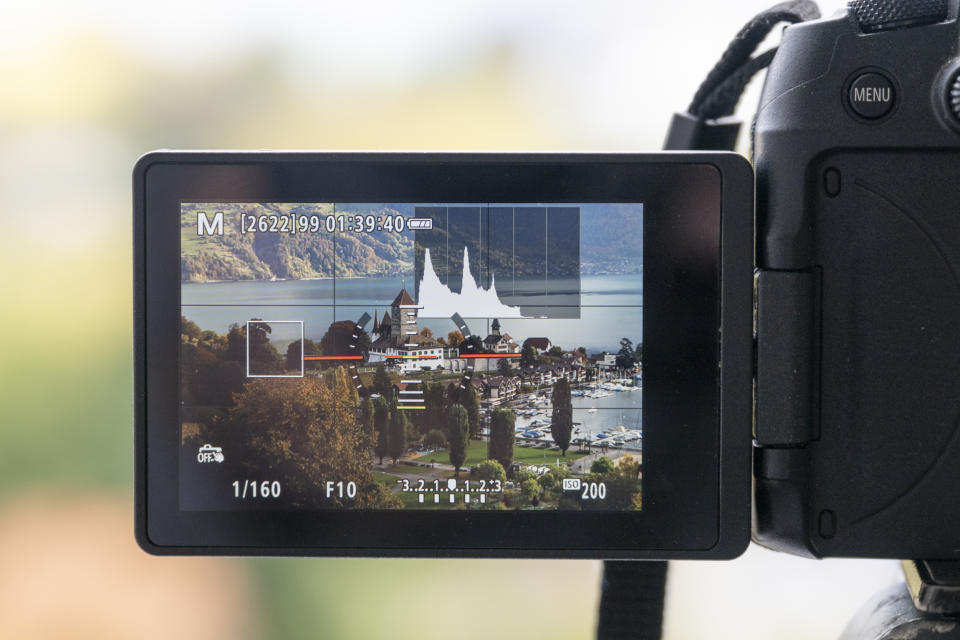
Turn on the virtual horizon in your camera. It’s far more accurate than the bubble level in the tripod or nodal rail, and it can help you shoot more quickly. You might also find it useful to turn on a rule of thirds grid to help you judge your overlaps.
4. Try an automated head
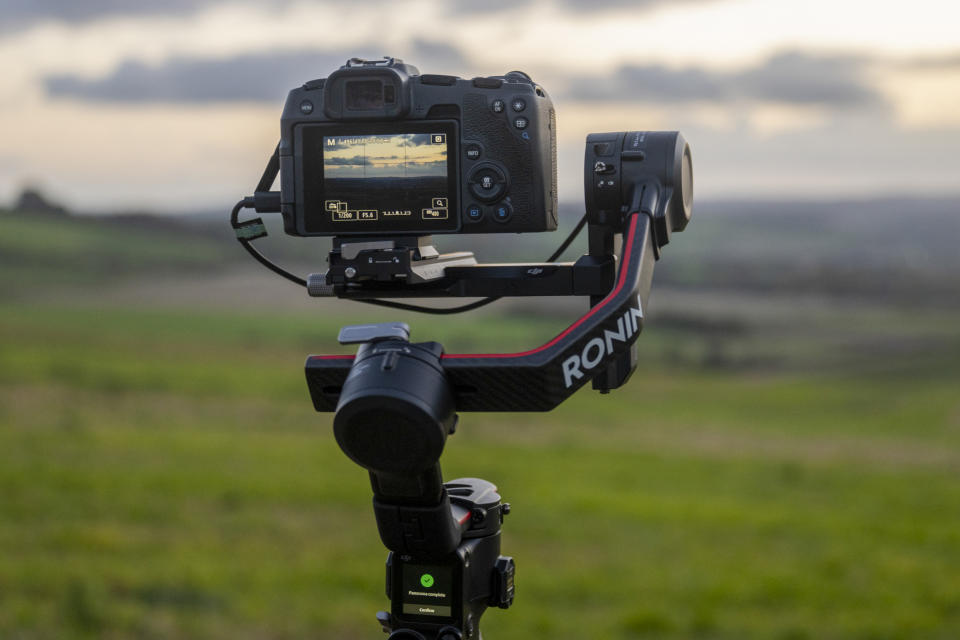
A motorized panorama tripod head like the Nodal Ninja Mecha lets you shoot multi-row panoramas with ease, especially 360-degree images. Many gimbals used for video, like the DJI Ronin RS2 here, have a panorama feature, although it’s difficult to correct for parallax.
5. Merge images in Photoshop
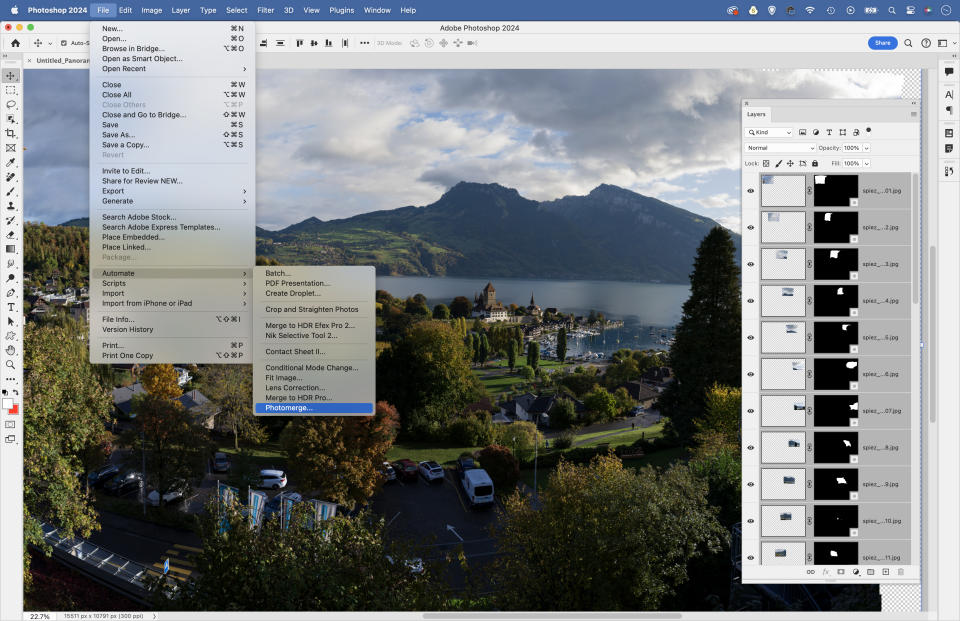
Now open Photoshop and go to File > Automate > Photomerge, then select your images and choose a layout. If you want even more resolution, consider running your images through the Super Resolution command in Camera Raw first (right-click > Enhance).
6. Try PTGui
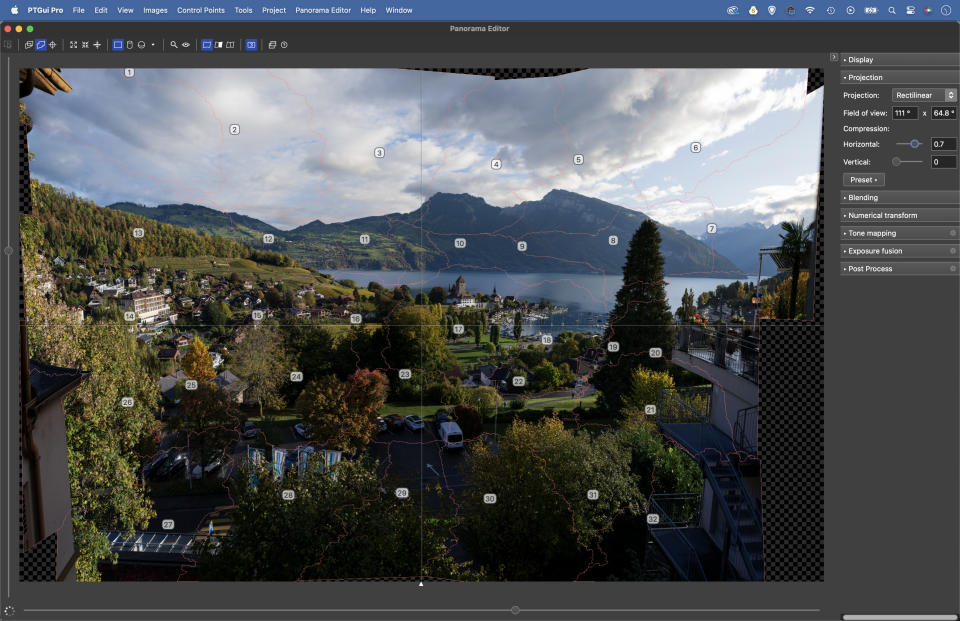
A dedicated stitcher like PTGui gives more options. Sometimes segments that lack discernible detail, like blue skies, can cause issues. PTGui enables you to manually add control points to link parts from different photos to identify parts of sky that match in different frames.
7. What is parallax?
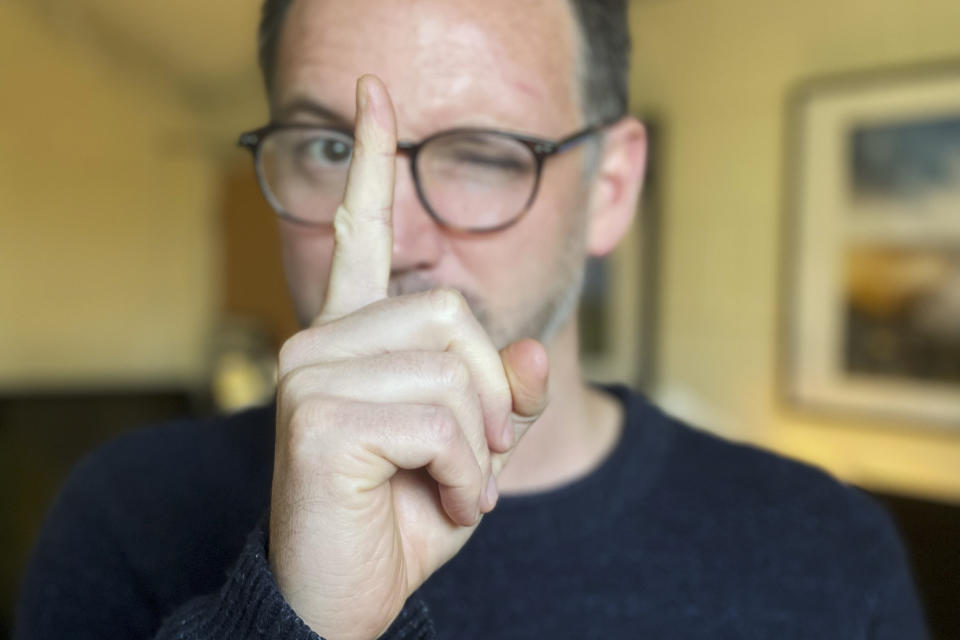
Parallax occurs when two overlapping objects shift position depending on the viewpoint. Hold a finger up to your nose and close one eye then the other to see parallax. If you use the tripod thread in the camera body, the rotation of the camera causes parallax, which affects stitching.
8. Shift the camera back
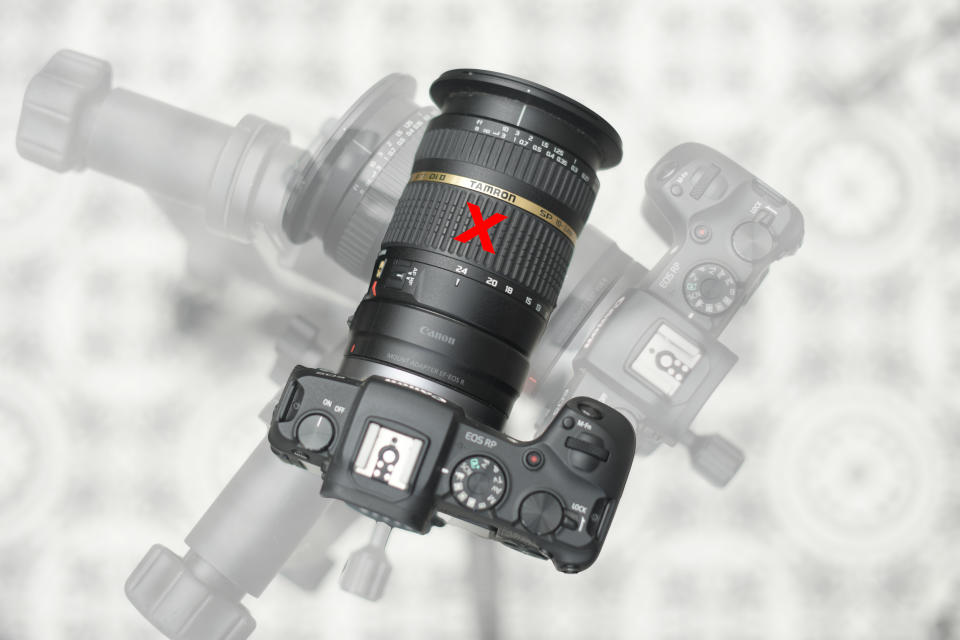
If your pano includes close foreground details, shift the camera back to prevent parallax, so the horizontal axis of rotation is matched with the optical center of the lens. A long Arca-Swiss tripod plate called a nodal slide enables you to shift backwards. Our Neewer slide was 13 bucks second-hand.
9. Correct for vertical tilt
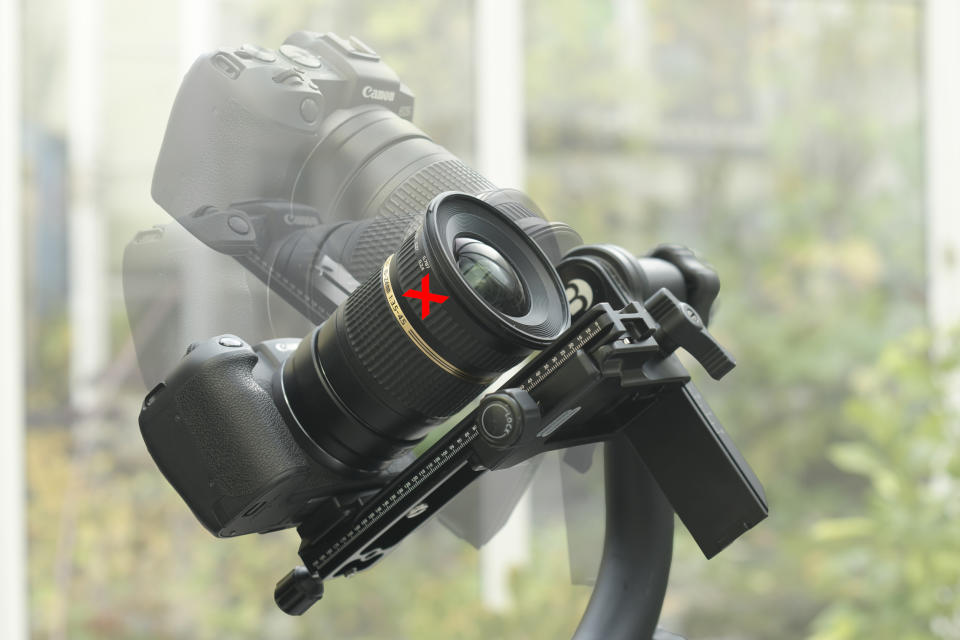
With multi-row panos, you need to tilt up and down, which can throw off the optical centre unless you align the vertical axis. Use a gimbal or panorama head and move the centre point of the lens up so it’s in line with the pivot point on the gimbal. This way it matches the vertical axis of rotation.
PhotoPlus: The Canon Magazine is the world's only monthly newsstand title that's 100% devoted to Canon, so you can be sure the magazine is completely relevant to your system. Every issue comes with downloadable video tutorials too.
If you're serious about scenery, take a look at the best cameras for landscape photography along with the best lenses for landscapes.

