Create cool shadow art photography without pro studio lighting
The light conditions can either make or break your photography. Used in a controlled way, it can make familiar and everyday objects appear in a completely new light – literally!
This theme was particularly pronounced in the Golden Twenties when the ‘New Vision’ movement emerged. Before then, photography had been used to capture reality as accurately as possible, but as photographers began to use the medium more creatively, they pioneered new ways of creating images with a focus on light, shadows and shapes.
Pro advice
Shoot in sunlight
You don’t need a studio setup to achieve abstract photo art – simply use the harsh midday sun and set up the scene in front of a window. This makes it more difficult to control the shadows, but you can adapt your setup to the available light.
At that time, the invention of color photography was still some way off so the resulting photographs from this era were mainly black and white. But although digital photography has changed significantly, with many more options, converting to black and white is still one of the most effective solutions for this photographic endeavor.
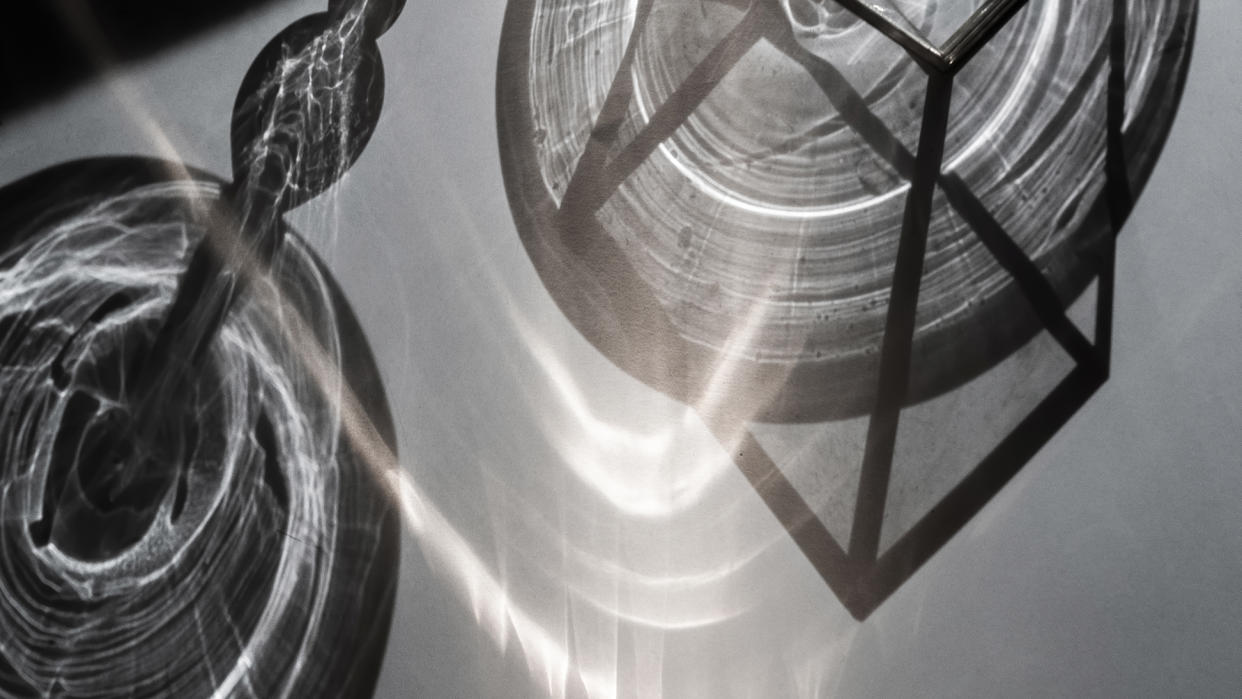
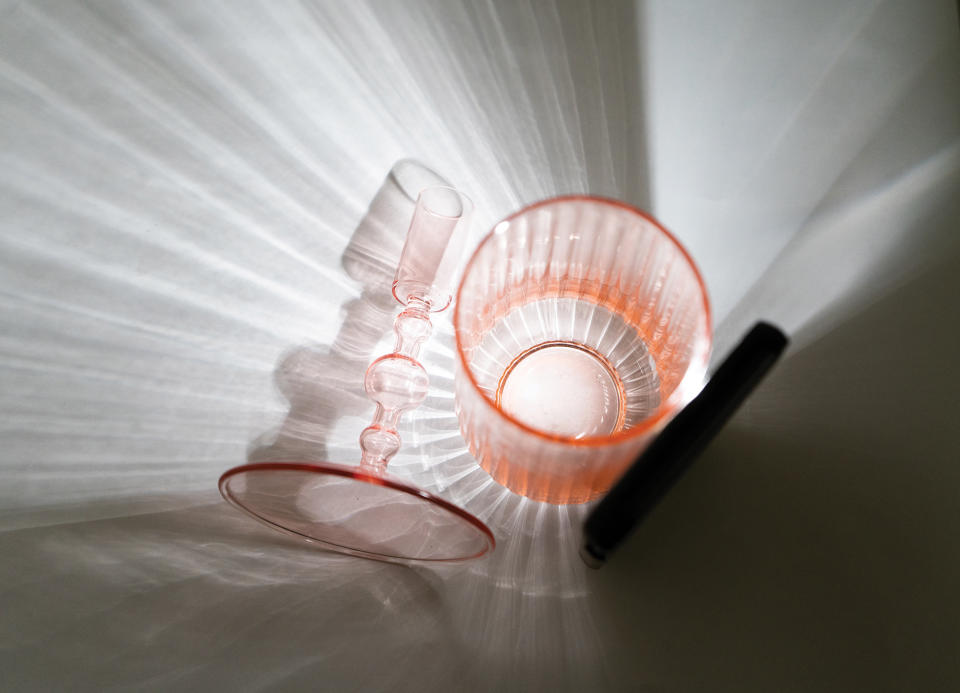
The absence of color provides contrast and brings geometric shapes into focus, ultimately creating abstraction in a photograph. As well as different perspectives, shadows are a central element, as they give objects an alienated appearance. You don’t need much equipment to create abstract scenes – just a few objects, some light, and an understanding of the interplay between light and materiality.
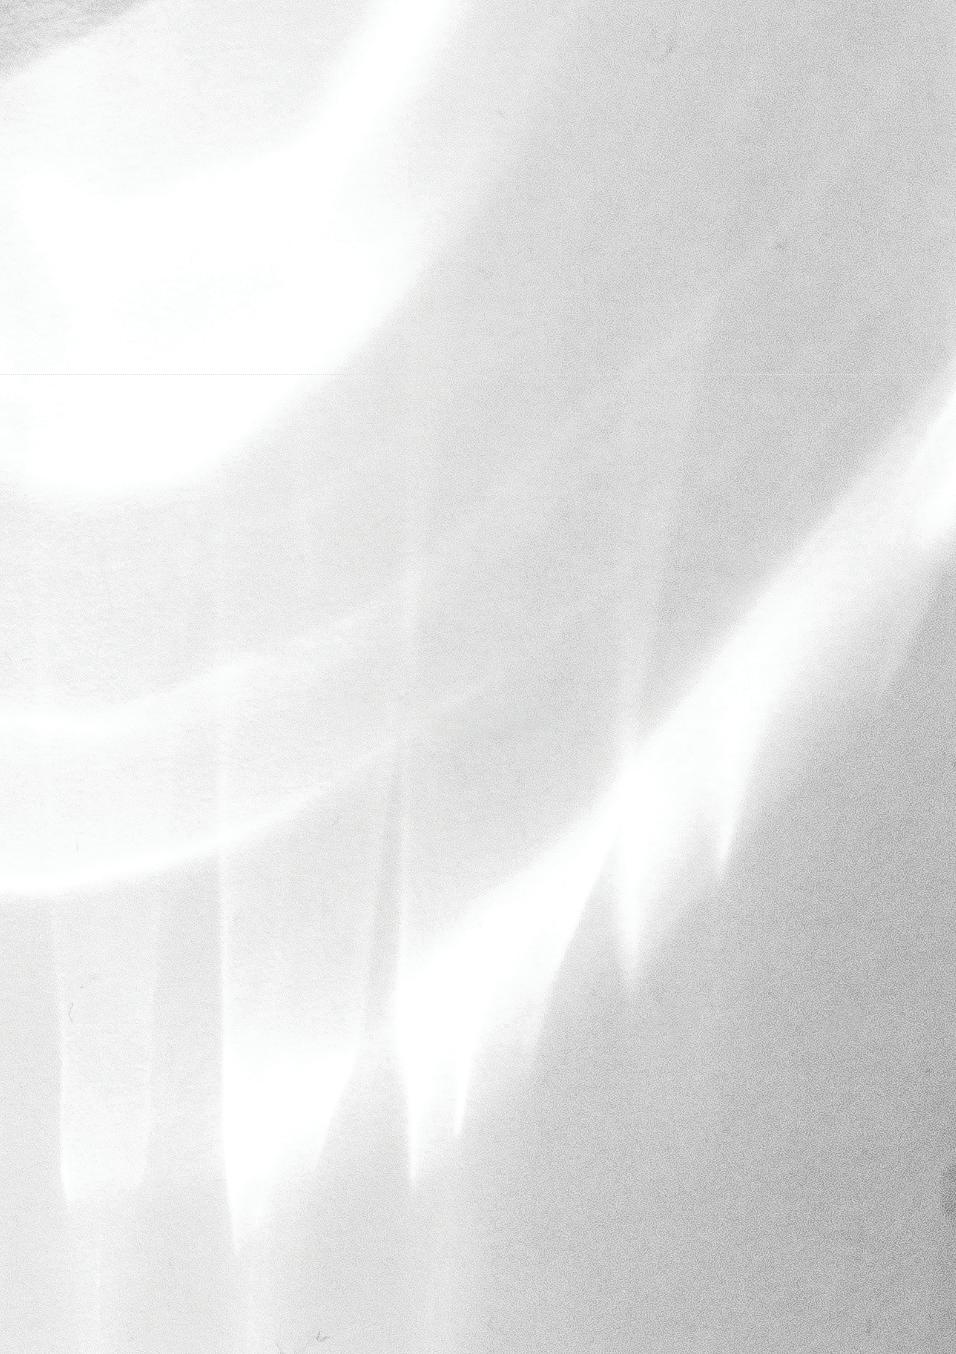
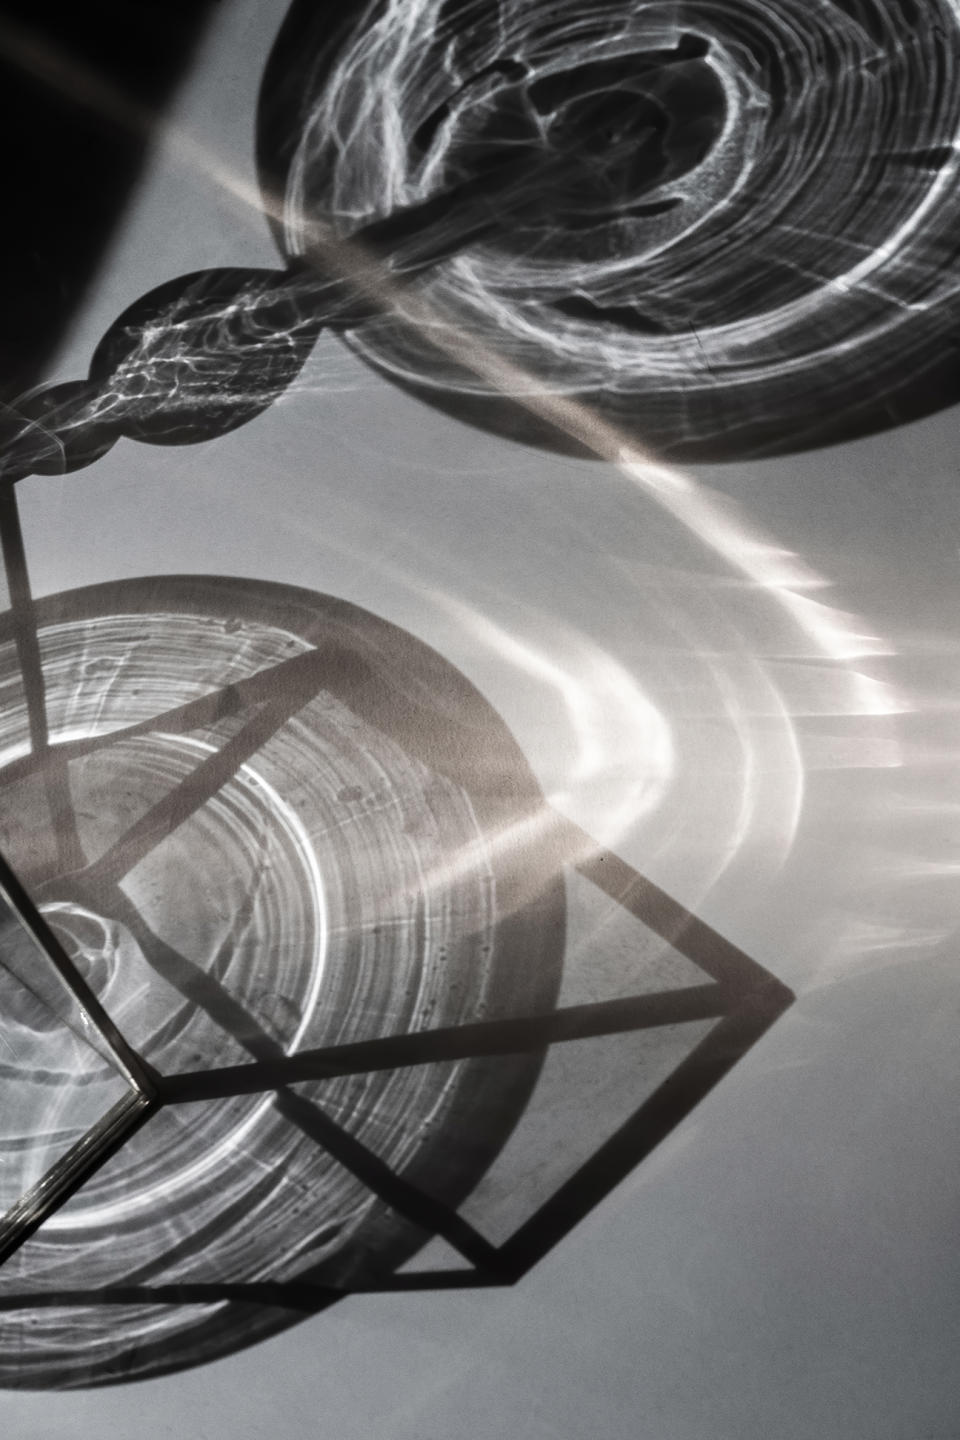
Before and after
Shooting steps
1. Find objects

You will need a few objects, preferably transparent glass or plastic ones that let the light shine through. To achieve a more abstract look, choose everyday items that have an interesting material structure or features with a distinctive shape.
2. Decide on background
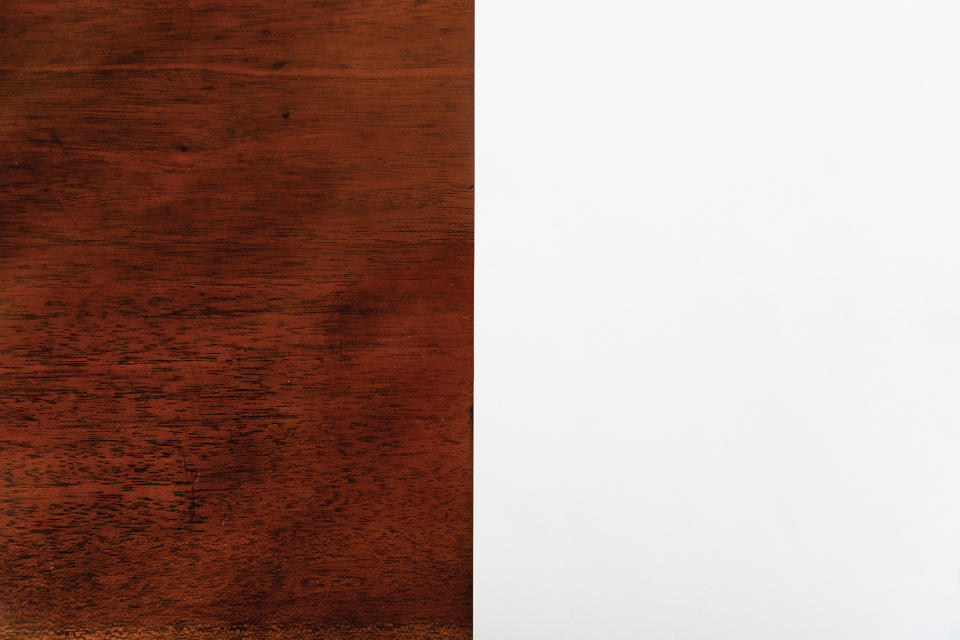
To bring out shadows and details to the maximum, you need to provide contrast. A white background will help highlight the shadows, but to include even more elements, you can also use a bright background with a visible texture.
3. Choose light source

You don’t need pro studio lighting, any source that has a defined cone light works fine. You can even achieve those results by using a flash or your phone torch. Having an assistant will help here so you can keep your hands free for shooting.
4. Test light
Darken the room and experiment with the light. Adjust its height or move objects to see what influence different positions have on the shadows. The further away and higher the light is positioned, the more distinct the shadows will be.
5. Create the shot
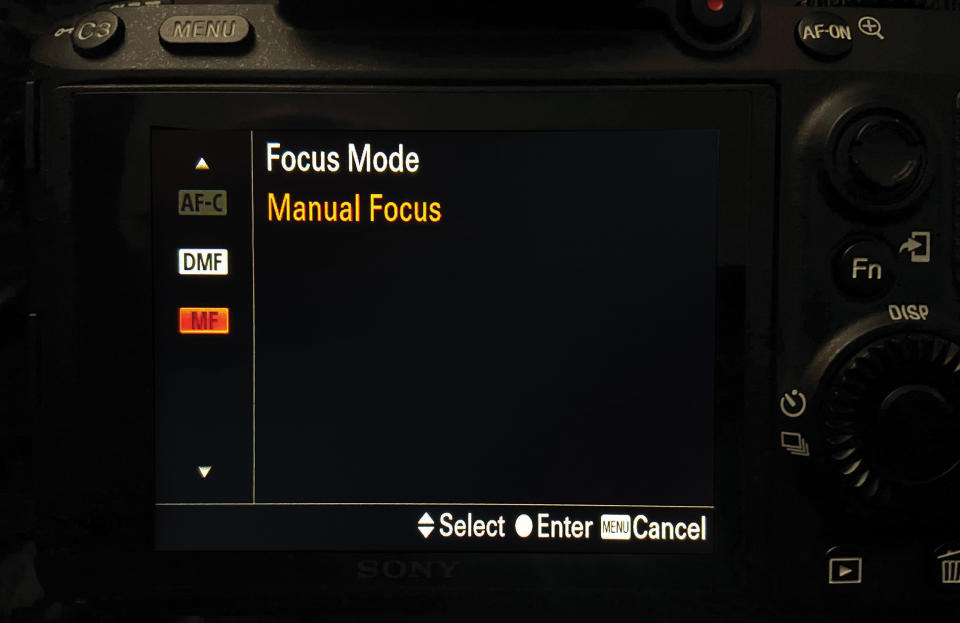
Try different perspectives before mounting the camera on a tripod. Shoot in manual mode with an aperture of f/8 and compensate the exposure with slower shutter speeds. Use manual focus, as the AF may not work in low-light conditions.
6. Be creative
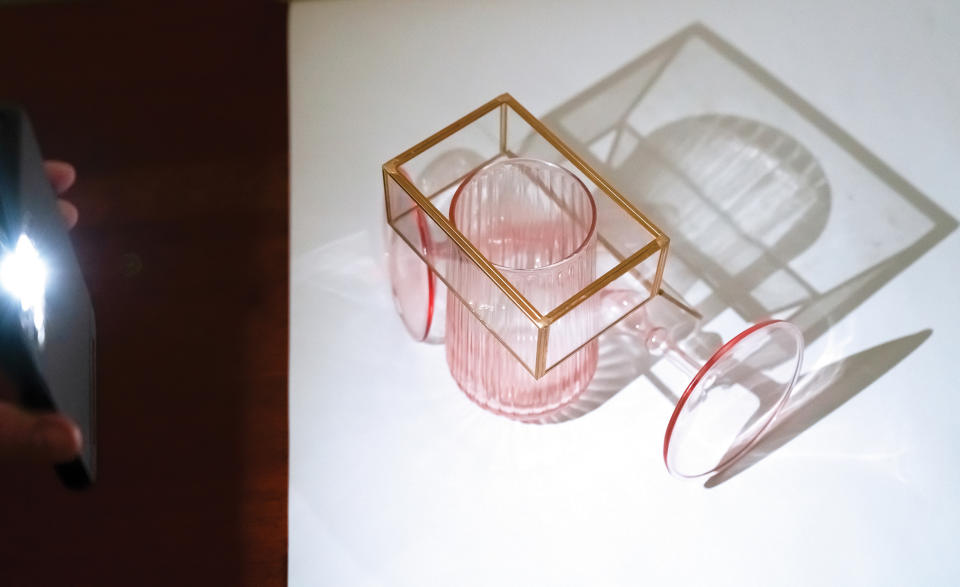
Take your images to the extreme by alienating the scene from reality. Hold transparent items with structure in front of your light source or combine the objects in such a way that the shadows combine to create further layers in the photo.
More tutorials

