Contouring 101: How to Lift and Sculpt Your Face
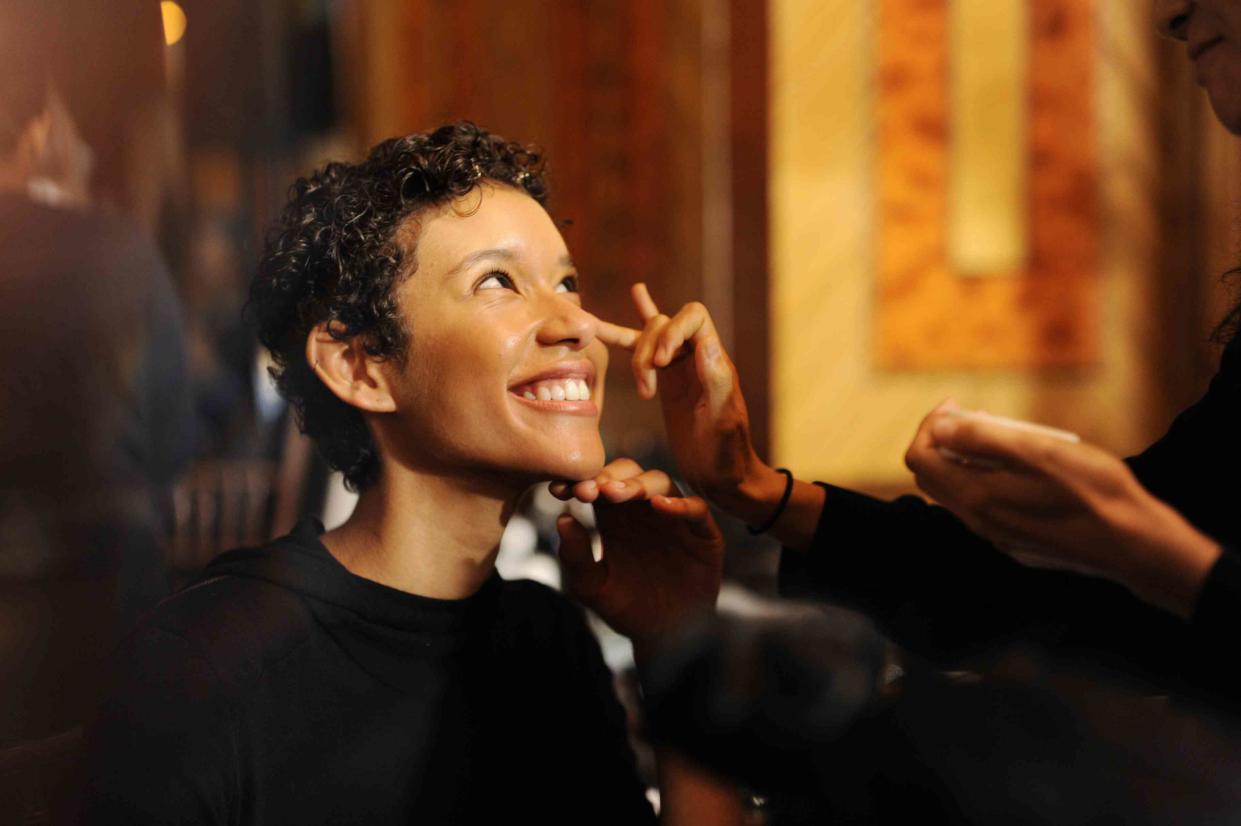
Getty Images
It’s hard to remember a world in which a sculpted complexion wasn’t a makeup mainstay. This ubiquitous beauty look is usually achieved through contouring, a makeup method that gained mainstream popularity in the 2010s thanks largely to the trademark glam makeup artist Mario Dedivanovic created for Kim Kardashian. If you happened to skip the meteoric rise of YouTube beauty tutorials and full-beat faces, defining contouring is all down to the definition itself. “Contouring is a technique that creates shadows using makeup to define and sculpt certain physical aspects of the face and body,” says makeup artist Katie Mellinger.
“Contouring is the art of creating volume and depth,” adds celebrity makeup artist Valeria Ferreira, who notes that the technique has been used for centuries in oil painting, with well-placed shadows offering the illusion of depth while light (and in the case of makeup, highlighter) helped to illustrate volume. As noted by Melligner, the method has been employed throughout history by the likes of Elizabethan actors and drag performers, each seeking a more striking, feature-forward (or obscured, depending on your inclination) face. In the present tense, contouring is a tool to subtly elevate your organic beauty, pulling focus toward the most appealing elements of your natural bone structure.
Related: The 13 Best Contour Palettes for Natural-Looking Definition
That said, makeup artist Omayma Ramzy advises against using contour to completely reinvent your face (unless, of course, you’re performing, or said full-tilt transformation allows you to feel even more like yourself). “In small doses, contouring can be a fun way to enhance the beauty you all already innately have, so just have fun with it,” says Ramzy. Mellinger agrees: “Experiment with what looks good for you and you alone,” she says. “Do what makes you feel good, but also remember that you are your own unique and gorgeous self.”
Meet Our Expert
Katie Mellinger is a makeup artist who works in New York City and Los Angeles.
Valeria Ferreira is a celebrity makeup artist whose clients include Anya Taylor Joy and Lily James.
Omayma Ramzy is a makeup artist who works in New York City and Los Angeles.
Benefits of Contouring
Contouring allows you to temporarily alter the appearance of your bone structure, and thus your face. The first step is getting to know your face so that you can better apply your contour. Take Ferreira’s advice and think of your face like an oil painting. Observe your complexion in different lighting, noticing how the shadows shift and in turn transform your face. In the ultimate lighting, where exactly do those shadows fall? “The more observant and strategic you are with your contour placement, the more natural and effortless the result will be,” says Ferreira.
When applied correctly and thoughtfully, contouring can easily boost your facial definition in an understated way. “It is much better to be subtle as the effect will be much more realistic and believable,” says Mellinger. The best part? “No one will notice that anything has been done; you’ll just look magically ‘different,’ somehow.”
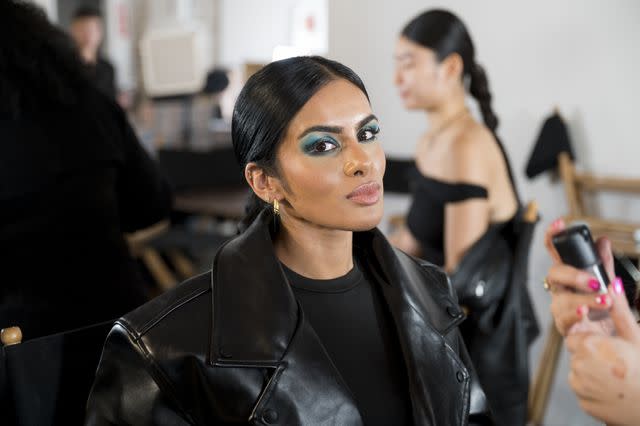
Getty Images
Essential Products and Tools
The first step toward achieving an artfully “snatched” makeup look is assembling the correct products and tools. Your skin type and skill level will help determine which approach is best for you—but ultimately, a little bit of each iteration will help contribute to a fully “done” face.
Contour Sticks
“I find using a contour cream in stick form so easy,” says Mellinger, noting that she’s a big fan of sticks for nose contouring. “I love to use either LYS Beauty No Limits Cream Bronzer Stick or 19/99 Cream Contour Stick. You can use either to directly draw the contour onto your face in the area you want to contour, and then blend out as needed. If I am contouring a large area, I like to use the fat back end of a Beauty Blender Sponge to stipple blend out the edges or the BK Beauty 109 Mini Contoured Foundation Brush,” says Mellinger. “For smaller areas, I like to use the Trixie Cosmetics P-10 Angled Detailed Buffer Brush.” We tested the best contour sticks and found Fenty Beauty's Match Stix Matte Contour Skinstick to be the best overall.
Contour Creams
“For other creams not in stick form, my favorites are Tower28 Sculpting Cream Contour and Tom Ford Shade & Illuminate. I particularly like both for contouring the cheek,” says Mellinger. For those who favor liquid products over creams, experts agree that Charlotte Tilbury’s Hollywood Contour Wand makes for a worthy investment. “I like to use the Sigma F53 Air Contour/Blush Brush to apply and blend for cheek contour,” says Mellinger, who favors the brush for cream products.
Highlighter
While you can technically carry off a contoured look sans highlighter—why would you? Blending highlighter at the high points of the face works in tandem with your contoured shadows, accentuating and enhancing the effects. Try Rose Inc’s Solar Radiance Hydrating Cream Highlighter, Nudestix’s Nudies All Over Face Color–Glow, or Dior Highlighter Powder for an instant luminous glow. When it comes to the best highlighters out there, Jouer Cosmetics' Powder Highlighter gave our testers the most luminous glow.
Pressed Powders
“In my opinion, the best pressed powder contours out there are the One Size Made for Shade Bronze & Sculpt Trios and the Make Up For Ever Artist Longwear Skin-fusing Contour Powder (the cool undertones are perfection for contouring),” says Mellinger. “My favorite brush to use for contouring larger areas with powder is Spectrum’s Sculpt Number 9 Brush The Universal Makeup Brush. It’s my go-to brush for a lot of things—not too big, and not too small, so I can swoop it around to make it fit into a lot of areas as needed. If you’re contouring a smaller area like the nose, you can use a tapered blending eyeshadow brush: just about every brand that makes brushes has one.”
Setting Powder
Keep your look in place and soak up any excess oil with a final application of setting power, lightly dusted. Mellinger recommends applying a loose setting powder after applying cream products, but before applying powder contour. Charlotte Tilbury’s Airbrush Flawless Finish works for all methods, as does LYS Beauty Triple Fix Translucent Pressed Setting Powder. “Brilliance is such a gorgeous shade, and I reach for it all the time to blend out powder edges if it’s appropriate for the skin tone,” says Mellinger. “If you find a powder product’s edges are sticking, try blending the edge with a setting powder.” Tarte’s Double-Ended Cheek Brush has two sides, one fluffy and one a touch more exacting, making it an ideal choice for all of your setting powder needs.
How to Contour Your Face
Contouring is a highly personalized process—one that should take face shape, features, and natural lighting into account. Remember to think of your face like a painting and offset and elevate your contour with highlighter, blush, and ample blending for a complete look.
1. Create a Base
Start by doing your usual skin-centered routine. Apply your daytime skincare—ample moisturizer will ensure a smooth, hydrated canvas—followed by foundation and concealer as needed.
2. Apply Contour
After you’ve determined the optimal contour pattern for both your general face shape and your entirely unique complexion, apply your preferred contour. The methodology will differ depending on the desired results—let your face be your guide. Swipe or brush on contour to chisel angles, deepen hollows, slim down and soften sharper features, and more. (Don’t forget to pause post-application to ensure that the trompe l'oeil shadows are correctly placed before proceeding.)
Related: The 8 Best Contour Brushes That Will Flawlessly Sculpt Your Features
3. Blend It Out
Blending is perhaps the most crucial step in contouring, transmuting added color into depth and your face into a seamless work of art. “Blending is key,” says Mellinger. “If there are hard lines, then the contour will be extremely obvious, completely ruining the effect.” Use a fluffy brush and gentle sweeping motions to incorporate the color. And, as mentioned above, use setting powder as needed for a flawless blend. “Use loose powder to blend out any edges that catch on to creamy areas you may have missed,” says Mellinger.
4. Add Highlight and Blush
Highlights create the illusion of plumpness and volume that further accentuate the contour's shadow, making the duo an excellent team. Apply highlighter to the areas that the light hits naturally (areas that you’ll have pinpointed during your facial study sessions). While blush is by no means a contouring mandate, if it’s a regular part of your beauty routine, a simple swirl can help make your look more cohesive.
5. Set
Reach for your go-to setting powder or spray to lock in your look. Et voilà! Your face is a work of art.
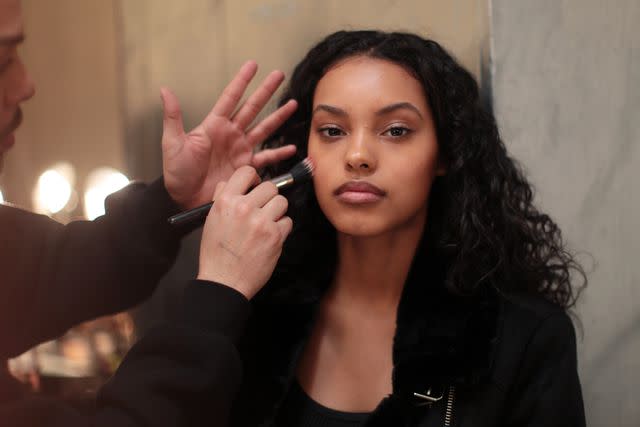
Getty Images
Tips for Contouring Different Face Shapes
As you begin to understand the shapes and planes of your face, you’ll notice that contour patterns and placement are not one-size-fits-all. Contouring is all about balancing your features to flattering effect, which may mean carving and sculpting for some and blurring and softening for others.
Round and oval faces benefit from added structure, meaning contour should be placed deeper in the cheeks and jawline. Soften square-faced features by applying product toward the perimeter points and rounding out, and sculpt a heart-shaped face by focusing on the cheeks and forehead. The more you practice and get to know your face, the more obvious your personalized placements will become.
Common Mistakes to Avoid
Contouring should be, above all, subtle—an unassuming elevation rather than an exaggerated overhaul of your features. Avoiding hard lines and too-deep tones is a good place to start. “You definitely want to avoid going too dark with your contour, especially in your day-to-day look, as it will come across as too harsh and bring attention to the area rather than take away attention from the area—the opposite of what you are trying to accomplish,” says Mellinger.
Frequently Asked Questions
What’s the difference between contour and bronzer?
Contouring is the process of carving and creating shadows, while bronzer is applied similarly to highlighter or blush. “Contour colors are neutral or cool-toned and mimic shadows, as opposed to bronzing, which should add healthy warmth to the complexion in places that the sun would hit,” says Ramzy. So, while bronzers can sometimes be used to contour, the difference really lies in the application process.
Should I use powder or cream to contour?
Both cream and powder contours are great options for achieving your final look. Cream contour is easier to apply and thus an ideal option for beginners, while powder is the better choice for anyone with oily skin and blends out well with a fluffy brush. The reality? A fully contoured face will likely benefit from a little bit of both, strategically applied.
Does lighting matter?
Yes! “When you apply your makeup and go about your day, the lighting changes,” says Mellinger. “If you walk into the coffeeshop in broad daylight in the middle of the afternoon with makeup you beat on your face at 6 a.m. in your poorly lit bathroom before the sun came up, that makeup is going to look wild. Try your contouring in different types of lighting before you settle on what’s best for your face.”
For more InStyle news, make sure to sign up for our newsletter!
Read the original article on InStyle.

