Companion Rescue Practice 101
The Arena Media Brands, LLC and respective content providers to this website may receive compensation for some links to products and services on this website.
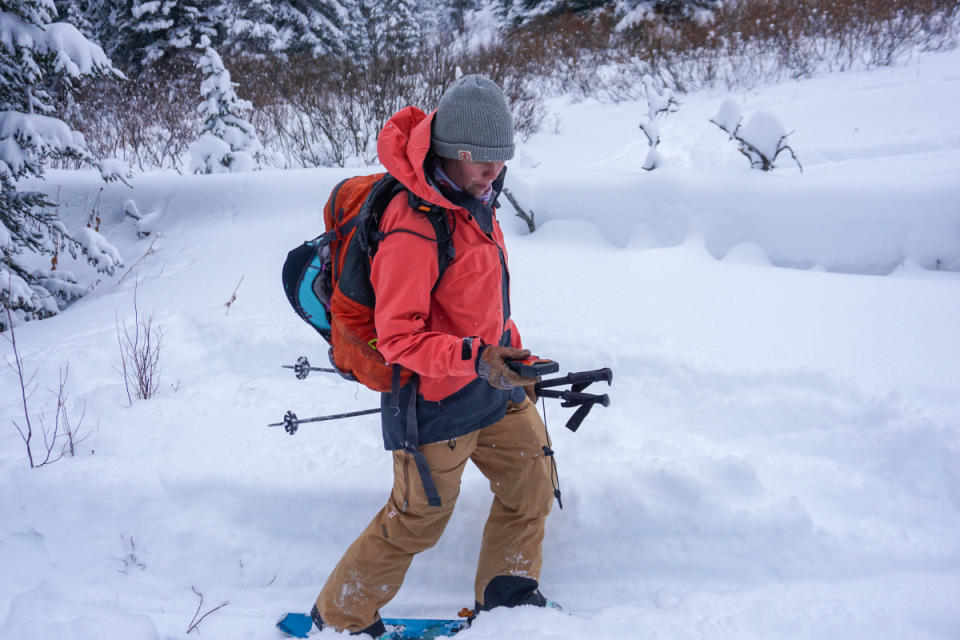
Whether you’re a veteran backcountry skier or just getting into it, knowing how to use an avalanche beacon (transceiver) is a vital safety skill. It’s best to learn this from a professional in an Avalanche Level 1 course. But even if you’ve taken the course, it’s important to refresh your skills before the season and throughout the winter. Here is a great video from BCA that steps through the process. Once you’ve refreshed your knowledge on the standardized process, head out with your buddies to practice. Below are some tips that I use every year to remind my students, ski partners, and myself how to be more efficient at using the rescue tools.
Pre, pre-season
We don’t even need snow to start the reintroduction to our beacons. In the fall, you can get together with friends in a city park and take turns hiding a beacon under a pile of leaves or behind a tree in a pack. Watch how the numbers on your transceiver change as you move closer to a hidden beacon. Listen to the beep tone change. This exercise will help you understand how your beacon works, what quirks it may have, and generally help you feel more comfortable using it. I also deploy my probe and build my shovel at home before ever setting foot in the mountains to make sure everything is in good working order.
This is important to me because it’s easy to get complacent with our gear. When we forget specific ways that our beacon, shovel, and probe work, we get flustered when we practice or worse still, actually need to do a rescue. It’s hard work. And the less we do it, the harder it becomes. To make this easier, start your reorienting early and well out of the stress of snowy mountains.
Getting out in the snow
Once you have some snow in the mountains, it’s time to really practice. Head to the hills with your partners and all of your avalanche gear and a pack for it all to fit in. This last piece is particularly important for me: I particularly like a 40 liter pack to make sure I have all of my essentials and that they are in the right place. All of my backcountry ski packs have a designated pouch or pocket for my shovel and probe. Nothing is dangling on the outside of my pack. I wear my beacon across my body in the factory built harness because it is how I learned and have practiced. I have friends that keep theirs in their pocket of their snow pants, which is fine as long as it is a beacon specific pocket. If you’re unsure, wear it in the harness. Regardless, practice with these tools where you would keep them on a day out skiing in the backcountry.
As you set up an “avalanche,” talk through the start zone, the flanks, and the deposition zone or debris flow. These will help you wrap your head around a real life situation and make the exercise make more sense. Establish a last point seen. How many people do you have in your rescue group? How many buried beacons will you search for? What should different people do, and when should we do it?
I would suggest practicing one at a time, to dial in your tools, then with two rescuers as you may be skiing with multiple partners. It’s up to the group to decide who is the leader, who will be staying back and making a phone call to 911 if possible. After you have run a couple of these, try throwing in some confusion: a “clue” like a ski pole or other gear that might lead you to a partner faster than your beacon will.
When you go to search, stay focused on the standardized steps through the drill. They are the method we all use, and they work.
Run, walk, crawl
In your “signal search” you should be moving very quickly toward 10 meters. Think of this as your “run.”
When you get into “coarse” (approx. 10 meters away) and “fine” (approx. 3 meters away) searches, let your lower numbers be your guide. As you move into the coarse and fine search, this is where you can slow down and take those important extra seconds to dial in your lowest value. Think of the coarse search as your “walk” and your fine search as your “crawl.” Building your grid during the fine search should take the longest out of the transceiver search.
Remember during all of these stages to keep your transceiver level in your hand, and as close to the snow as you can without moving it erratically. You should be using the leash to its full extent to get as close to your buried beacon as possible.

A common trap I have seen groups get into when doing a rescue is to get caught up by their search signals. People will spend too much time on the flashing numbers in their signal search. If they seem to be jumping around, that’s okay, as long as they are generally trending to lower values. If they go up, slow down, turn 180 and walk the other direction. If you have to give your device a second to catch up, that is also fine - it should take about 10 seconds. After that, keep moving in the direction your beacon guides you. Use the arrows but don’t let them be your only guiding factor. If they ping between down the fall line and a specific direction, generally trend that direction. Pick your head up and look around: are you still in a part of the slide path that makes sense?
If you decide to practice this with a friend and you’re both searching, I have seen the same mistake play out many times. Both rescuers try to do a fine search at the same time, looking for one beacon. They start running into each other, getting in one another's way. You only need one person doing a fine search. If your buddy has low values, step back, let them work on their grid, and build your probe to support their next effort: the pinpoint. Communication is key here - talk to your partner and let them know what you see on your beacon.
Strike!
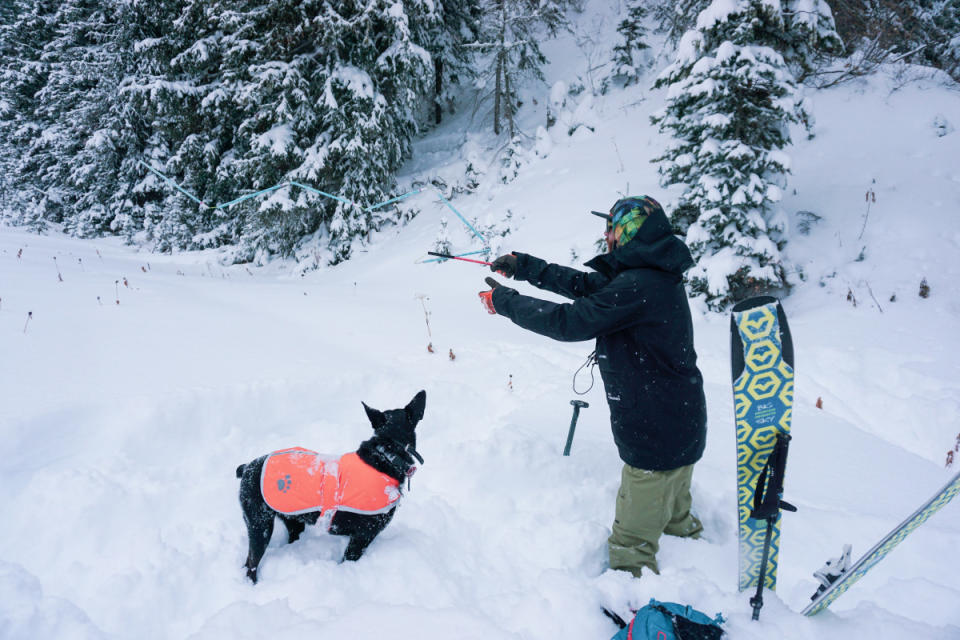
After you have your grid built, deploy your probe. This should be easy because you have practiced it at home, and your probe is stowed in good order, without its factory sleeve getting in the way (right?). Probes will have differences in how they snap together, but generally you must throw and yank on it to deploy it, you cannot build it like a tent pole. So, get that motion dialed.
Here’s a cool trick: your lowest value at the center of the grid will (hopefully) be the distance from the snow surface to your buried partner. So, you can hold your probe with the thrust hand at that depth marked on the probe. For example, if my lowest value is one meter I will hold my probe in my right hand at the one meter marking. With that grip, I will guide the probe with my left hand into the snow. I know that the burial cannot be deeper than my hand, so that is my stopper for going too deep and wasting precious seconds. I use smooth, firm movement to search with my probe.
The hard part
While many people get caught up in their transceivers during a rescue, the hardest, most time consuming part of this (once you have dialed in your transceiver) will be shoveling. Snow is very heavy. Worst still, avalanche debris quickly set up like concrete. It will be hard work extracting your friend from the frozen torrent of tons of snow.
How can we prepare for this? Practice strategic shoveling: shovel hard for 90 seconds, start sweating, have your buddy move snow away from you. Then, switch for another 90 seconds. Practice shoveling deep into the snowpack: stab a probe 1.5 meters down and dig to the bottom of it as fast as possible.
Your search doesn’t end until you have established an airway - you have to uncover your partner and make sure they are breathing. This is hard, arduous work. Take it seriously.
Keep practicing
Once you have your systems down, you and your partner can time each other. An extraction must take less than 15 minutes to maximize chance of survival. And, the faster you get to your partner’s airway, the better. Last year I found and dug out two buried packs in a 30x30 meter square in 3 minutes and 40 seconds. Let’s see how fast you can do it!
It’s easy to get nervous or confused while working with these tools. Practice can help reduce this anxiety. Ultimately the beacon wants to lead you to your partner, a little bit of patience goes a long way with the device: slow is smooth, smooth is fast. By dusting off these skills once a month throughout the winter, you will know that when you travel into the backcountry you will have the knowledge and skills you need to save a friend or loved one from the worst case scenario.

