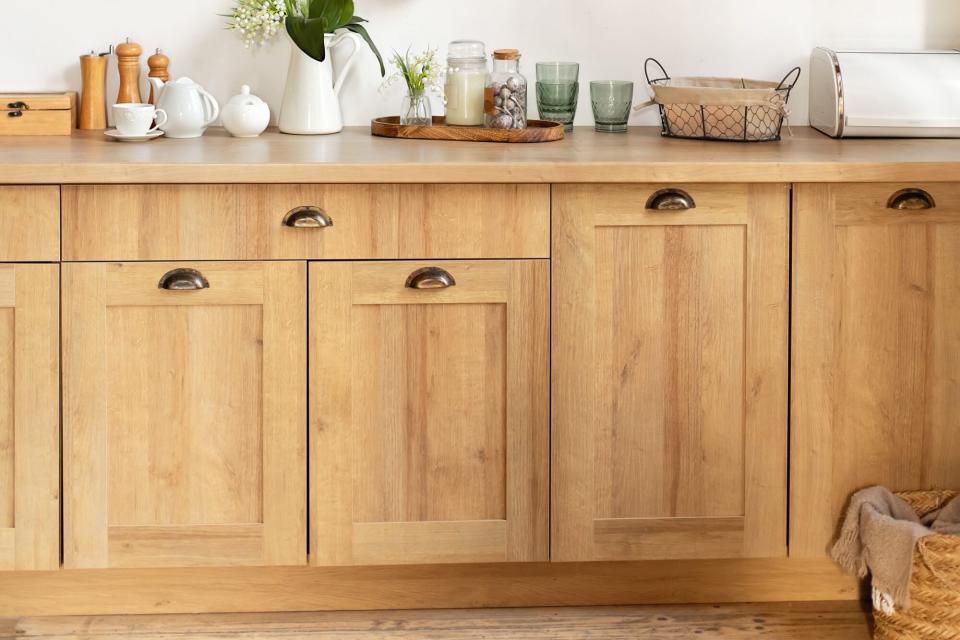
How to Clean Wood Kitchen Cabinets, Which Can Harbor Dust and Grease From Frequent Cooking
TABLE OF CONTENTS
On This Page
How Often to Clean Wood Kitchen Cabinets
Materials Needed
How to Clean
How to Get Rid of Stains
How to Dry
Your cabinets are the backdrop of your kitchen, so you want to keep them in pristine condition. But everything from splattered grease on the doors to stray crumbs on the shelves can make these nooks (and their façades) a hub for built-up grime. As these substances accumulate every time you cook, regularly cleaning your kitchen cabinets is a must. If yours are made from or finished with wood, you'll want to be extra diligent about how you clean and dry them so you don't ruin the material.
Related: How to Deep Clean Your Kitchen Floor (Without Harsh Chemicals)
How Often to Clean Wood Kitchen Cabinets
How frequently you clean your wood kitchen cabinets depends on how often and what you cook. "When oils or fats are heated during cooking, some of the oil becomes airborne and disperses into the room—not just around the stovetop or oven," says Mary Gagliardi, in-house scientist and cleaning expert for Clorox. "Kitchen cabinets pick up the oil, which attracts dust and makes cabinet surfaces grimy and difficult to clean." As a general rule, kitchens that are heavily used will require a monthly deep clean with weekly touchups.
Materials Needed
Make sure you have these tools on hand before you tackle this household chore.
White vinegar
Vacuum with crevice tool
Spray bottle
Liquid dish detergent
Microfiber cloths
Multi-purpose cleaner

GETTY IMAGES
How to Clean Wood Kitchen Cabinets
Before getting started, you will need to patch test the cabinets with your cleaning solution. "Wood is naturally porous and needs to have a protective finish that turns it into a hard, non-porous surface—this makes it safe to apply cleaning products as long as the finish is in good condition,"says Gagliardi. "Testing first on a hidden area before use is important if you aren't sure if the finish is safe for a product." Once you know the product won't damage your cabinets, begin cleaning following these steps.
Empty the inside of your cabinets.
Vacuum inside the cabinets, using a crevice tool attachment.
Mix equal parts white vinegar and warm water in a spray bottle, adding liquid dishwashing detergent to cut through the grease.
Spray outside doors and let the solution sit for one to two minutes.
Wipe clean with a microfiber cloth.
Spray inside doors and shelves and let the solution sit for one to two minutes.
Wipe clean with a microfiber cloth.
Wet clean cloth with water and wipe all surfaces you cleaned with the vinegar solution.
Use a clean, microfiber cloth to dry all surfaces thoroughly.
How to Get Rid of Stains on Wood Cabinets
If you use your kitchen often, it's not uncommon for your wood cabinets to have a few stubborn stains linger even after a deep clean. The best way to treat stains is to prevent them from forming altogether. "Apply wood furniture wax to your kitchen cabinets every six months to create a protective barrier," says Vera Peterson, president of Molly Maid, a Neighborly company. "This will help to prevent oil, grime, and other debris from sticking to and discoloring the wood. For the best results, spray the wax onto a rag and then rub it over the entire surface of the cabinets." If stains have already formed, though, you can remove them with a few basic cleaning supplies.
Spray a multi-purpose cleaner onto the stain, lightly scrubbing with a nylon brush to dislodge older stains.
Rinse with cold water to remove any lingering product.
Wipe dry with a microfiber cloth.
Don't Let Your Cabinets Get Too Wet
When cleaning wood cabinets, it's essential to be diligent when drying them. "It is so very important that you do not leave the wood sitting wet for too long, as this can cause warping or expansion in the wood itself," says Melissa Poepping, founder of The Chemical Free Home. "Always wipe the cleaned area completely dry immediately and be sure to leave no water spots, as this can also cause staining." If your microfiber cloth gets too damp when drying, immediately swap it out for a dry one.

