You Need to Clean Your Makeup Sponges — Here's How to Do It Correctly
Trust us, it's important.
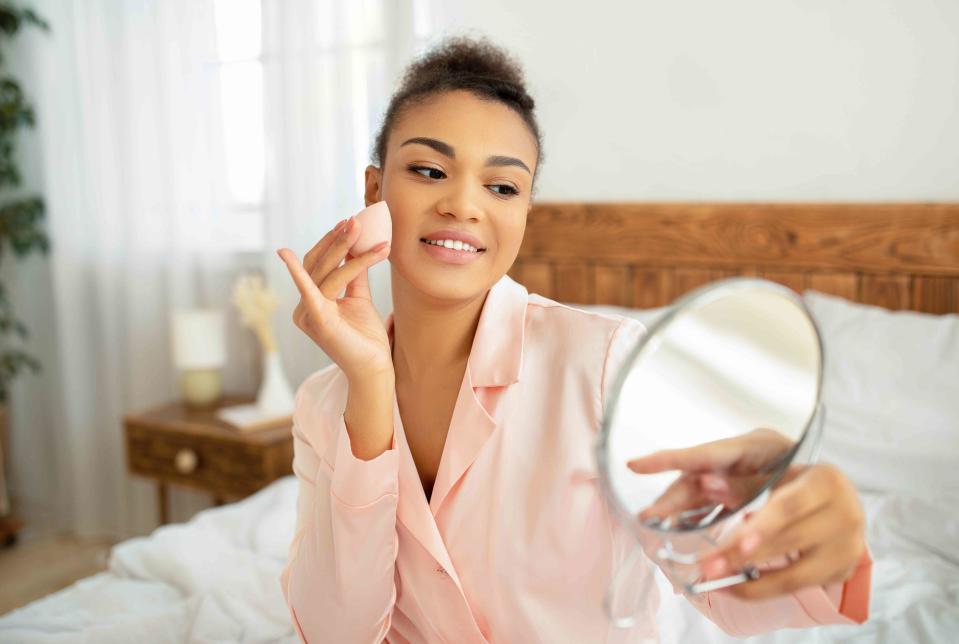
Getty Images
We all have a skincare routine we likely follow religiously: cleanse, tone, moisturize, protect, and repeat. Other bells and whistles can be added as needed, such as treatment serums and prescriptions. But there's likely one step you may be overlooking: cleaning your makeup sponges.
Everything you put on your face should be clean — it's why we put our skincare on after we've cleansed our skin. Considering all the product buildup and debris our pores are exposed to throughout the day, it's important to be mindful of what comes in contact with our skin if our goal is to have a clear, acne-free complexion.
"Keeping your tools as clean as possible really minimizes the risk of bacteria causing breakouts and keeps the sponge itself cleaner from harboring bacteria," explains Manhattan-based celebrity makeup artist, Neil Scibelli. Furthermore, Beautyblender CEO and Founder, Rea Ann Silva, says that cleaning your makeup sponges will also help prevent skin irritation.
Now that we've got your attention, keep scrolling to find out how often you should be cleaning your makeup sponges and the correct way to do so.
:
How often should you clean your makeup sponge?
"The most sanitary option would be to cleanse your sponge after each use to avoid any bacteria from building up over time. [However,] weekly is a reasonable timeframe to cleanse your sponges to prevent spreading oil, bacteria, dust, and so on back onto your skin," says Scibelli.
How to clean makeup sponges:
Time to roll up your sleeves!
Soak your makeup sponge in water. Wait until it has expanded in size and a good amount of water can be squeezed out.
Work in the cleanser. Scibelli says to use quarter-size of gentle liquid soap to start. However, both experts suggest using a fragrance-free formula that was created specifically to break down lingering makeup and grime. Beautyblender offer both liquid and solid cleansers that are made specifically to maintain the integrity of the makeup sponge's texture to make it last as long as possible. (Silva says other soaps or cleansers don't necessarily do.) Furthermore, Scibelli recommends Real Technique's brush and sponge cleansing gel.
Power up with a cleansing mat. "This really maximizes the cleansing process for your sponges because they contain little grooves and textures in the flat palettes which help to deep clean your products — and they're easily washable and reusable," explains Scibelli, who recommends the one from Real Techniques as it fits in the palm of your hand.
Rinse and squeeze. This will remove any excess cleanser and water.
Let it dry. To prevent your damp makeup sponge from absorbing germs and bacteria from its surroundings, Silva says to let it completely dry in a well-ventilated area. Alternatively, you can let them dry in a protective case, like the one from beautyblender.
For more InStyle news, make sure to sign up for our newsletter!
Read the original article on InStyle.

