How to Clean a Humidifier
For many, the cool mist of a humidifier is essential during the dry seasons. It improves the moisture level in the home by adding water vapor to a space, which soothes dry skin, eases breathing issues, and improves indoor air quality. By circulating and filtering the air, they are supposed to reduce problematic airborne dust. But because a warm and moist environment is created inside the appliance, a dirty humidifier is also a perfect breeding ground for bacteria and mold growth. These microorganisms grow in the water tank or on the air filter as the machine works. Then they are then released into the air, where they can lead to respiratory issues, asthma attacks, allergy symptoms, and other health problems.
Clean your humidifier at least once a week during periods of frequent use, such as in the winter months. If the machine is infrequently used, clean it every two weeks to refresh leftover, stagnant water, remove mineral deposits (that's the white dust you see building up on the walls), and keep your machine running at its best.
Evidence of airborne pollutants might not be visible until it's too late, so make it a part of your regular cleaning now.
What You'll Need
White vinegar: Its antimicrobial properties help eliminate bacteria, mold, and mineral deposits without introducing harmful chemicals into the air.
Bottle brush or old toothbrush
Clean cloth
Emily Fazio
Cleaning Your Humidifier with Vinegar in 8 Steps
Unplug the humidifier. Before starting the cleaning process, ensure that the humidifier is unplugged from the power source.
Disassemble the humidifier. Take apart all removable components of the humidifier, such as the water tank, filter, and any other detachable parts. *Clean or replace any filters on evaporative humidifiers by consulting the instruction manual for model-specific cleaning instructions.
Rinse with water. Empty the water tank and then rinse each component thoroughly with warm water to remove any loose debris or mineral deposits.
Soak in white vinegar. Fill a basin or sink with a mixture of one part white vinegar and one part water. Submerge the disassembled parts in the vinegar solution and let them soak for at least 30 minutes. This helps break down and eliminate any stubborn limescale deposits.
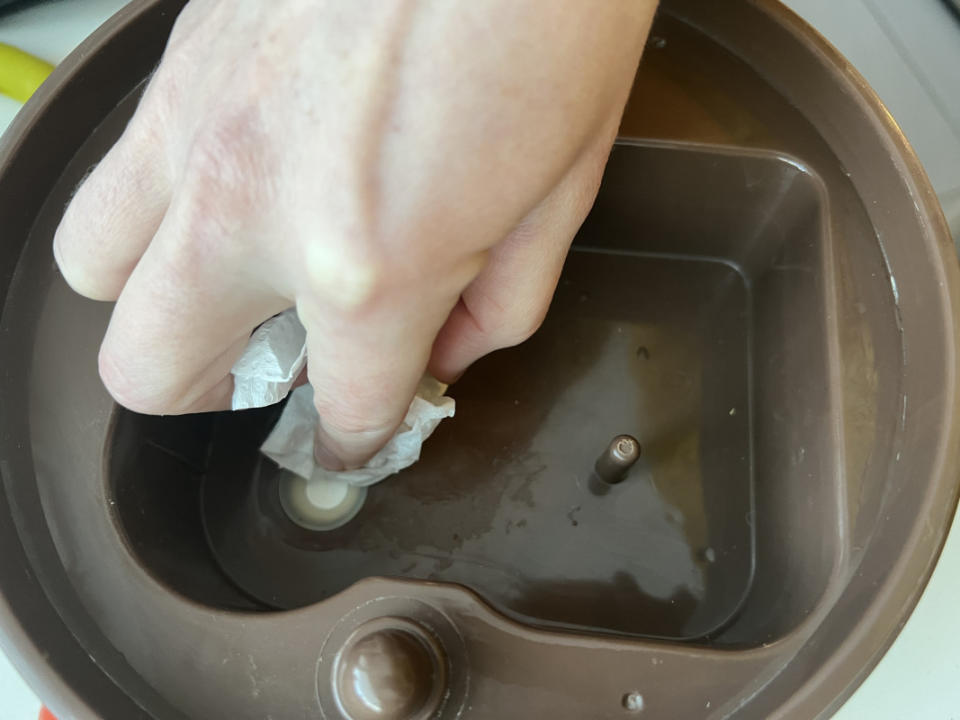
Scrub and wipe. Use a soft brush or cloth to scrub away any remaining residue. Use a bottle brush for especially hard-to-reach areas. Pay attention to corners and crevices where bacteria and mold may hide.
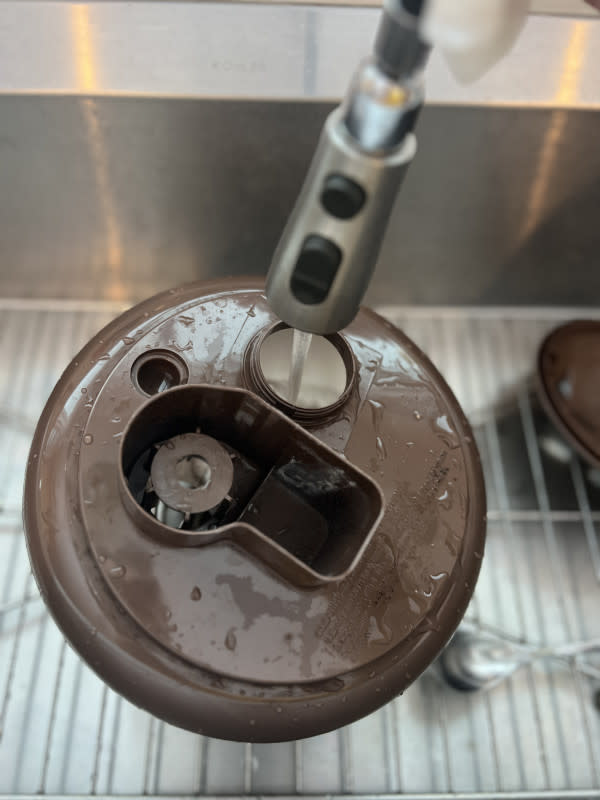
Rinse again. Rinse all parts thoroughly with clean water to remove any vinegar residue.
Air dry. Allow all components to air dry completely before reassembling the humidifier.
Refill. Fill the fresh water reservoir as normal. If you are particularly sensitive or if you noticed mineral buildup from hard water, you may want to fill it with distilled water instead.
Related: The Easy Way to Clean a Showerhead
Emily Fazio
Should you use bleach?
Liquid chlorine bleach is an effective disinfectant, but you shouldn't use it to clean your humidifier. The strong chemical odor of bleach can linger in the device and be released into the air, which causes respiratory irritation. Bleach is also very powerful and may damage certain materials and components in the machine. We recommend sticking to natural ingredients like white vinegar for a thorough but safe deep cleaning process.

