How To Clean Your Freezer: A Step-By-Step Guide
You don't have to do it often, but you do have to do it.
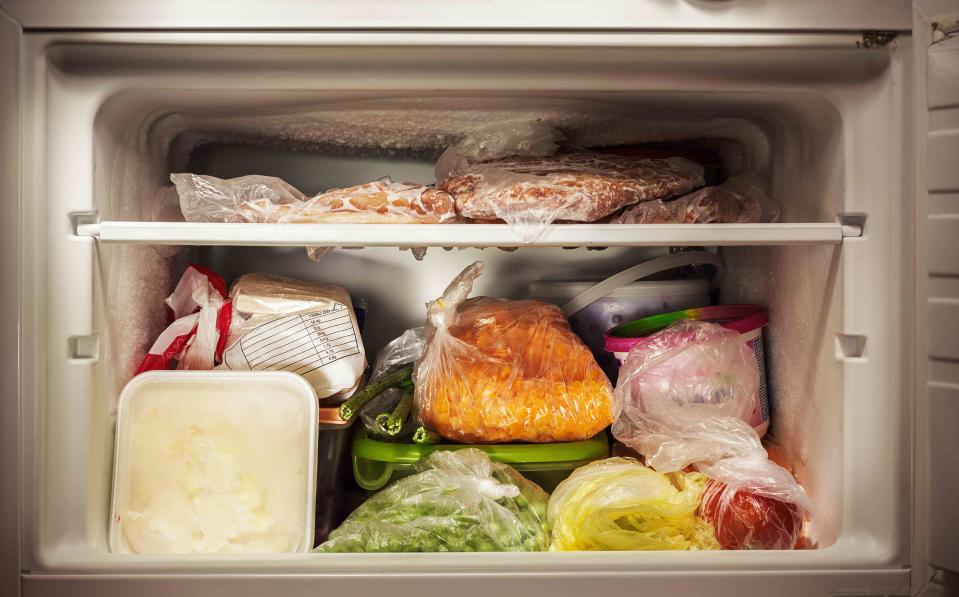
Getty Images
Much like our beloved junk drawers, freezers tend to be the overlooked catch-all of the refrigerator. They're opened a little less frequently and often are behind their own doors. This makes it easy to stuff something in, whip the door closed, and put the complete disarray you just beheld out of your mind completely. That is, until the next time you open the freezer.
It's a bit of a task, but cleaning out your freezer has lots of benefits. My favorite is the inner calm outer order creates. But the story goes much deeper than that: A dirty, crowded freezer can lead to lots more than an eyesore.
The myth that bacteria can't grow in freezing temperatures is a dangerous one. Salmonella, E. coli, and Listeria can all survive a freezer and start to multiply again when their host is brought to warmer temps. Freezing something often only "pauses" bacterial growth, so it's important to make sure that the items in your deep freezer are fresh and have remained healthy. What's more, a dirty freezer can impede the functionality of your appliance.
So let's get cracking: Here's how to clean your freezer and how often you should complete the task.
Unload Your Freezer (and Purge!)
What You'll Need:
A cooler
A garbage bag
Plastic grocery bags
Cleaning a freezer begins with emptying it. Start by unloading everything from inside your freezer. If you have items that need to remain frozen throughout cleaning—things that you know for certain you'll want to place back into the freezer when it's gleaming–have a cooler nearby where those things can live in the interim.
Now comes the most satisfying portion of the program: purging. Use this unloading process to sort and get rid of any foods you know are expired, half-eaten, or (eek!) may have dangerous things growing on them.
As you unload things, use grocery bags to sort them into categories: frozen fruits, frozen veggies, ready-made meals, etc. Maybe you have young kids and have lots of "kid food" that the adults in your home don't eat. Completing this step now will make reloading your freezer a breeze.
Defrost
While you're getting your food unloaded, thrown out, and sorted into a cooler, use the time wisely: unplug your refrigerator and allow your freezer to come to room temperature. Defrosting a freezer is important as it allows it to cool more efficiently and also prevents the buildup of ice, eliminating the chance that your food gets freezer burn.
If your freezer is in the same unit as your refrigerator, you'll of course want to make sure that you keep your fridge door(s) shut during this process to keep that cool air trapped inside, ensuring your food stays fresh. However, most refrigerators now offer a climate control specific to the freezer, so changing the temp in only that section is usually an option. Take care to place towels underneath your unit to catch any drips as your freezer warms up.
Once your freezer has come to room temp, you can begin cleaning.
Vacuum, Clean, and Sanitize
What You'll Need:
A sponge or cloth (or several)
The antibacterial/disinfecting solution or wipe of your choice
A small, handheld vacuum
Access to hot, soapy water (Dawn works best)
A toothbrush or other small brush to remove debris from hard-to-reach corners
You'll first want to remove dirt and debris, then clean, and finally, sanitize.
Freezers come with all sorts of different storage options depending on whether they're vertical or nestled in a drawer. If your freezer has glass shelving, carefully remove it and allow it to warm up on the counter. If your shelving is already room temp (or, better yet, plastic!), you're clear to move it to your sink and use warm, soapy water to scrub all the stains of the years away.
Warning
It's very important not to run warm water over frozen glass shelving, as that temperature change causes the glass to crack. Allow the glass to come to room temperature first.
Start by ridding your freezer of any large, loose debris. If you're seeing lots of food particles or other loose trash, grabbing a handheld vacuum can make quick work of extracting it.
You're now ready to start the cleaning process. For shelving or partitions that aren't removable, get gritty with it. Using a toothbrush, work away at any stains, spills, or buildup. Go over everything with a clean rag dipped in your soapy solution, wiping every surface. Dry completely with another clean rag, or air dry thoroughly.
Begin disinfecting by using a vinegar-based spray solution, a Clorox wipe, or some other anti-bacterial agent to make sure that your freezer doesn't simply appear to be clean, but actually is clean.
Take care to keep electrical components (like the ice maker or temperature control panel) dry. Give them a quick swipe, but make sure they're not sitting in suds for too long.
Cleaning the Ice Maker
If your freezer has an ice maker inside, whether it's vertical or in a drawer, this is the perfect opportunity to give it some TLC. If there are removable parts, remove them and follow the same steps as above (brush away debris, clean, and disinfect). Then replace the clean parts, check that the water filter is properly attached, and give it a final wipe-down (interior and exterior). Ice is actually a major carrier of food-borne illnesses (just ask anyone who's worked in a commercial kitchen), so even if the rest of your freezer is pristine, your ice maker still deserves its own special attention.
Final Steps and Reloading
When you've completed these steps, it's time to plug your freezer back in. After it's cooled down, move the items you elected to keep back into their freshly cleaned home.
To go the extra mile, create sections of your freezer by using clear plastic bins to designate categories, making storage a snap and mitigating the risk of overlooking items for years to come. What you can't see will never get used, so keep in mind that visibility is key in restocking: Imagine you're in your own private freezer section at the grocery store. Romanticize this process. Take this opportunity to make your freezer as beautiful as you can, remembering that if you enjoy interacting with a space, you're more motivated to cook and keep your organizing systems in place. You've done all this hard work—treat yourself by creating a lovely space with which to engage.
Final step: Relax! You're off the hook for a year. Set a reminder in your phone for a year from now, and when it goes off, return to this article to complete the process all over again. You're now a freezer-cleaning pro.
For more Southern Living news, make sure to sign up for our newsletter!
Read the original article on Southern Living.

