How to Clean an Air Purifier
Keep your air purifier in top shape by cleaning it regularly and replacing its filters in a timely fashion.
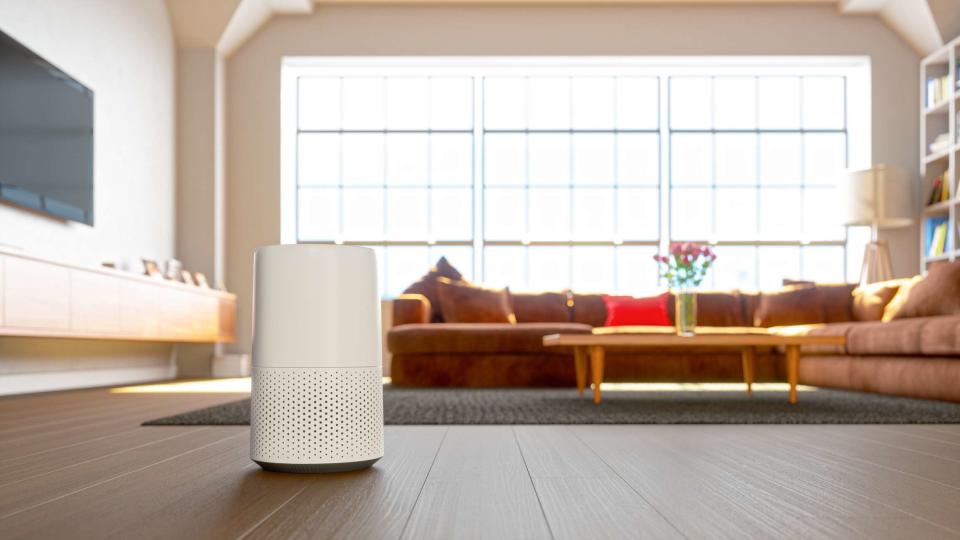
Imaginima / Getty Images
An air purifier helps remove contaminants from the air. While this device might look like a fan, it does much more than blow cool air. Air purifiers are used inside homes to remove airborne allergens, dust, and other particles to improve air quality. While designed to be low maintenance, air purifiers require routine cleaning to keep them running efficiently. Use the following tips to clean an air purifier and keep it running effectively.
Before Getting Started
Cleaning an air purifier is a two-part process that involves both the exterior of the machine and the filter. Start by cleaning the exterior with a soft cloth or sponge and mild soap and water to remove any dirt, dust, or debris collected on the unit, says Walter E. Bennett of Green Leaf Air.
Next, consult the user manual before cleaning the inside of the air purifier. If you can't find it, look for the serial number on the device and search for its user instructions online. Different models have different cleaning requirements and replacement filters, so follow the manufacturer's instructions for the best results.
In particular, pay special attention to how best to clean the filter, whether with a vacuum or warm water, and how often it should be replaced.
:
How to Clean an Air Purifier
What You Need
Screwdriver (optional, depending on model)
Vacuum with brush attachment
Large bucket
Microfiber cloth
Plastic bag
Dust mask
Eye protection
Gloves (optional)
Step 1: Unplug and Open Air Purifier
Unplug the air purifier from its power source and place it somewhere that can afford to get dirty. Consider cleaning it in your garage or outdoors. Because dust and airborne allergens will be released, protect yourself with goggles and a dust mask. If your skin is sensitive, you might want to use gloves.
To clean the air intake grill, use a screwdriver, if needed, to open the device. Use a vacuum on a low setting to suck up any dirt, lint, or particles stuck in the hard-to-reach areas of the grill or interior of the machine.
Step 2: Remove and Clean Accessories
If your air purifier has additional removable parts, make sure to clean them, too. Most parts can be gently cleaned with a microfiber cloth, so detach all parts and clean each piece thoroughly.
Be sure not to use water on any part of the air purifier that will come into contact with electricity. If you decide to use a damp cloth to wipe down any part of the interior of the purifier, make sure all the parts are completely dry before plugging in the purifier.
Step 3: Clean the Filter
If you’re not sure how to clean an air purifier filter, you're not alone. Some air purifiers use disposable filters, while others use washable or permanent ones. HEPA filters are common, but there are also ULPA filters that trap smaller particles and carbon filters that are great at removing bad smells and smoke. Ionic air purifiers are quiet and filter-free, requiring the blades to be wiped down with a dry or damp cloth.
You might also find that your air purifier has multiple layers of filters and each needs cleaning. Each kind of filter has its own care instructions. Always follow the manufacturer's guidance for cleaning your air purifier filter. Below are some general rules to follow:
Remove the Filter: “Most models will have a release button or latch that you can press or push to release the filter,” says Ryan Collier of Heat Pump Source. Once it's released, you can simply pull the filter out and start cleaning, but if your model doesn't have a release button or latch, consult the owner's manual before unscrewing any interior compartments.
Discard Disposable Filters: If the filter is replaceable, remove it and put it in a plastic bag. Tie it or tape it closed, then throw it in the trash.
Clean a Permanent Filter: If the HEPA filter is non-washable and permanent, use a low-pressure setting on a vacuum cleaner to remove major dust and dirt. Use a soft-bristle brush attachment for deep cleaning, being extra careful not to puncture the filter. These types of filters should not get wet.
Clean a Washable Filter: If the air purifier filter is washable, vacuum it first, then rinse the filter with warm water. Let it fully dry (often 24 hours) before putting it back into the device for use.
Clean a Carbon Filter: The instructions for carbon filters vary significantly. Some should be washed with warm soapy water and completely dried before use, while others are best replaced completely every 6-12 months.
:
Step 4: Put It Back Together
Remember to dry all parts before putting them back together again, screwing the device shut, and plugging the air purifier back in for use.
To make sure everything is running properly, run the device for about an hour. Listen for any rattling or clicking noises. If you hear or smell anything strange, immediately turn off the device and check the manual again to see if you’ve put any parts in the wrong place. A loose screw or ill-placed grate covering could be the culprit.
If you hear any whistling, hissing, or beeping, the filter might have been damaged or punctured in the cleaning process and likely needs to be replaced.
If everything sounds and smells good as new, mark your calendar to repeat this cleaning process again in three to six months.
false

