How to Build Fitness for Climbs When You Don’t Live Near Hills
You might have a plenty of reasons why you can’t tackle the iconic climbs or hilly courses you’ve been dreaming of—but the fact that you live in a flat area shouldn’t be one of them. While training for hills without actually living near hills isn’t ideal, there are plenty of tactics you can take advantage of to get your body ready for climbs, whether you’re training in the pancake-flat outdoors or logging miles on an indoor trainer.
Even if you have aerobic fitness that lasts for days, climbing puts specific demands on your body—and the more prepared you are to meet those demands, the lower your risk of injury, the faster you’ll reach the summit, and the more fun you’ll have. “Climbing typically requires high power output at a lower cadence and if you’re not training that way, [the effort] will feel foreign to the body,” says USA Cycling-certified coach and skills instructor, Patrick Carey of Speed Science Coaching.
That foreignness translates to your inability to repeatedly produce a powerful effort over the course of a ride, which will have major consequences if you’re in a competitive situation. On a hilly course, the inclines are “almost always where the deciding moves are launched,” according to Carey. “If you’re not used to producing power in that range, maybe you can go with the first move or two,” but you’ll struggle to respond to any subsequent attacks, he says. And if you don’t train strategically, you’ll burn all your matches way too early in the ride to stay competitive.
If you want to maximize the number of matches you have to burn, but your local elevation profile is more predictable than the Friends reruns that accompany your trainer workouts, here are some tactics to try.
5 Ways to Train for Hills—Even if You’re a Flatlander
1. Choose Your Gears Wisely
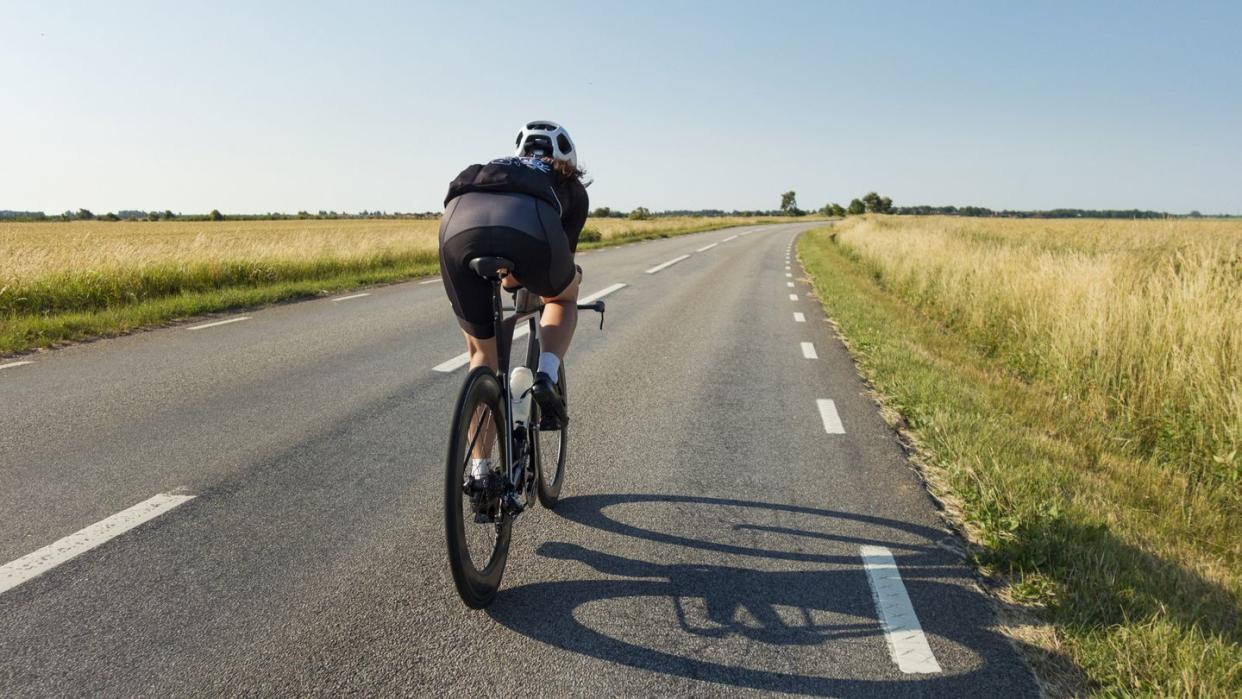
If you’re surrounded by flat terrain, you can still simulate a climb by shifting into a high gear and completing your hard efforts at a lower cadence. Carey suggests prolonged zone 3 or 4 intervals (10 minutes or longer) at 50 to 70 rpm, while being mindful of any knee discomfort. “If it hurts [your knees], do not push through,” he says
You can also do these intervals on any nearby gently rolling terrain, but you’ll need to use a lot of “active shifting” to stay in the target zone, says Carey. “This means down-shifting before getting bogged down on an uphill and up-shifting just as a hill flattens and tips downward,” says Carey.
That said, “if you’re doing really specific zone 4 training, it needs to be on a consistent grade (flat or uphill), or do it on a trainer,” says Carey. “The challenge with zone 4 training is that small excursions over threshold make the intervals much more challenging. These [fluctuations away from zone 4] can be caused by rolling terrain, gusty wind, and even simply inattentive shifting.” So keep that in mind if you’re looking to gain the benefits of these hard efforts at lower cadence and also want to ride outside—you have to be super aware of the effort you’re riding at and the zones you’re hitting.
Wherever you ride, if you’re training with power, Carey suggests setting your computer to display 10-second average power. “This smooths the displayed numbers and prevents you from continually chasing the power number up and down,” he says.
2. Take Advantage of Headwinds
If you live in a flat area, wind is most likely an ever-present factor—and with a little planning, you can use it strategically. While it’s certainly not the same as riding uphill, pedaling into a headwind can create many of the same adaptations.
To get the most out of a headwind, plan an interval workout so that you’re warming up with a tailwind (or even a crosswind), then head into the wind when it’s time to pedal hard, change direction for your recoveries, and repeat.
The benefits of this type of workout aren’t just physical. Anytime you take on a challenge, whether it’s riding into the wind, ascending a steep climb, or tackling a challenging set of intervals you’re reinforcing the idea that you are capable of doing hard things, a form of resilience that will serve you well during your event when you do encounter climbs, says cycling coach, physical therapist, and Olympian Ann Trombley.
3. Practice Your Posture
When riders pedal hard, especially on steep hills, they tend to round their backs and “curl up” their torsos, which is a huge mistake, says Carey. This position puts pressure on the thoracic and lumbar spine and “tears your low back to pieces,” he tells Bicycling.
Instead, try visualizing your chest being pulled uphill by an invisible string to help open up your chest and put your spine in a more neutral position, suggests Carey. This is a skill you can practice on any type of terrain, or even on the trainer, especially during a hard effort.
Also, pay attention to your position relative to the saddle. To optimize power transfer while climbing, your weight should be slightly more forward and your upper body should come down toward your top tube, says Trombley. She suggests practicing getting into this position when you’re riding into the wind in a bigger gear.
4. Tailor Your Intervals to the Course
When you’re training for a hilly course, you need to think beyond total elevation gain if you want to optimize your performance. Two courses could have the exact same number of feet of climbing, but the way you train should depend on whether the elevation profile looks like a long, steady upward slant or a series of peaks and valleys.
For long, sustained efforts, focus on building muscular endurance, says Carey. To that end, he suggests focusing on lactate threshold intervals (zone 4), including three to four seven- to 20-minute intervals, with a work-to-rest ratio of 1:1 to 3:1. “[It’s] not the most fun training to do, but it’s very, very effective,” he says.
If the course looks more like a long series of short, steep climbs (or what Carey calls “paper cuts”) he suggests prioritizing repeat burst training. The idea is to suffer for 30 seconds as you push a high gear at a low cadence in zone 5, recover for 30 seconds, and repeat anywhere from 10 to 30 times.
5. Turn to Your Trainer
If you can tolerate riding indoors, a trainer can be a super useful tool. Smart trainers do an excellent job of simulating hills, and depending which app you pair your connected trainer to, you might even have the chance to virtually ride the exact course you’re training for. (Platforms like Rouvy and FulGaz offer a selection of iconic climbs and cycling routes to choose from.)
If your budget is tight but you like the idea of being able to execute your interval workouts without having to contend with incompatible terrain, traffic, cold weather, or limited daylight, a magnetic or fluid trainer are great options. Trombley recalls executing hill workouts on an indoor trainer long before smart trainers existed, with her front wheel propped up on a stack of books in order to simulate the feeling riding at an incline.
If the idea of spinning in place makes you want to pull your hair out, feel free to skip it. “If you’re motivated to go out and do a 20-minute interval in a big gear, go do that outside. If you’re motivated to get it done on Zwift, find a hilly course and do that,” says Trombley. The best way to approach your hill training without hills is whatever way works for you—as long as you actually get it in.
You Might Also Like

