How to Blind Bake a Pie Crust
So, you want to learn about blind baking pie crust? Congratulations! That means you probably have something delicious in the works. And while this process may seem mildly intimidating the first time around—I promise, it’s pretty straightforward once you get into it.
What Exactly Is Blind Baking?
Blind baking simply refers to baking a pie crust, partially or completely, without filling in it. Easy enough right? The only catch is that if you’re using pastry dough for your pie (versus a crumb crust), you can’t just slide the pie into the oven as-is.
Because of the structural makeup of pie dough, if you’ve made it well, you’re going to have pockets of steam coming to life during the baking process—this is ultimately what leaves you with those wonderful flakey layers. However, if there’s no filling in your pie shell to weigh it down, and help the sides uphold their architectural integrity, this process can cause your pie dough to puff up, shrink, and slump. Yikes.
Fortunately, avoiding this deformed fate is easy. You just have to weigh the shell with a temporary filling as it bakes, allowing the dough to crisp up and hold its shape.
Why Would I Blind Bake My Crust?
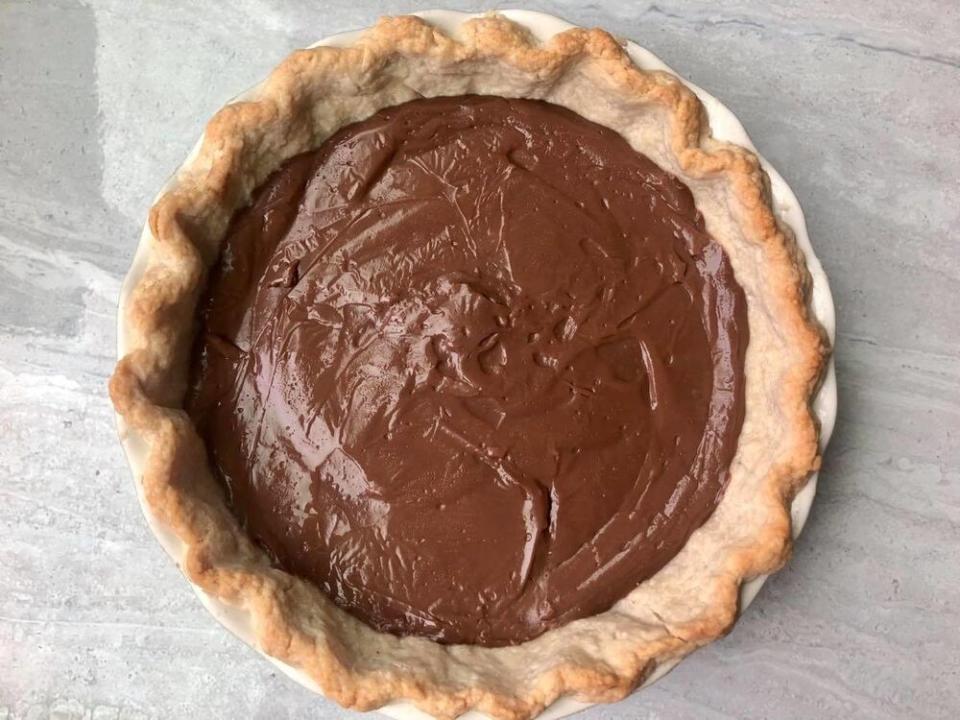
Generally, you’ll want to blind bake a pie crust destined to hold a filling that requires little to no oven time itself. For example, a pie with a custard-based filling that’s cooked on the stovetop, like our Chocolate Cream Pie, needs a pie shell that’s already entirely baked and ready to go. Or, take for example, a key lime pie. This pie’s filling typically only needs about 15 minutes to bake, so you’ll probably want to give the crust a little bit of a head start without it. Some bakers also like to partially bake the crusts they’re using to hold fruit fillings (like apple or berry) in order to prevent the fruit’s juicy filling from soaking into the soft, raw pie dough—yielding a soggy crust once completely baked. This is also a common approach when it comes to baking a savory quiche.
What Kind of Pie Crusts Can I Blind Bake?
Any variety of pie crust you may wish to use can be blind baked. This includes graham cracker and other cookie crumb crusts as well as those that incorporate ground nuts into the equation. Below, is a step-by-step guide for blind baking a pastry dough crust (A.K.A. a crust that involves cutting fat into flour). As mentioned above, this is slightly (but just slightly!) trickier than blind baking a crumb crust because you’ll need to use pie weights.
So, What Are Pie Weights?
You can purchase legitimate pie weights from craft and hobby stores that sell baking supplies, or online. These are small, rounded pieces of metal or ceramic that you can use to weigh down your crust during blind baking. However, you can employ any number of objects around the house to serve this same purpose. My personal favorite are dried beans, because I generally always have a load of these in my kitchen anyway. (And your beans are still perfectly fine to cook and eat as usual after using them as pie weights.)
How to Blind Bake a Pie Crust In 7 Easy Steps
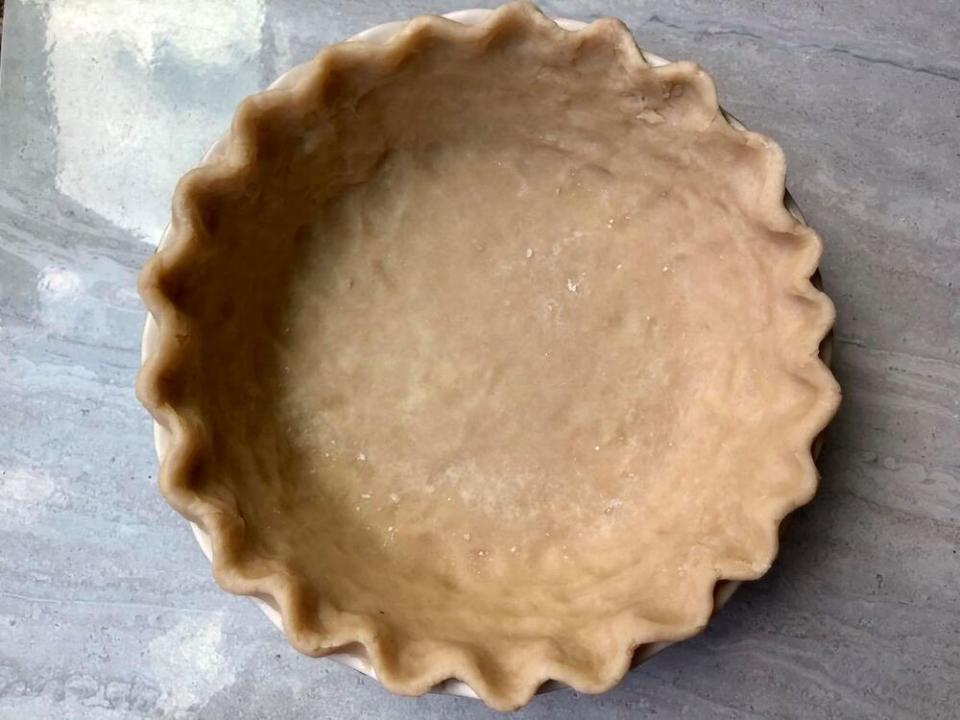
Step 1: Put Your Pie Dough In Place
Whether you’ve made your own or you’re using store-bought, roll out your pie dough, press it into your pie plate, and crimp the edges as you normally would. You’ll also want to have your oven preheating to 425°F.
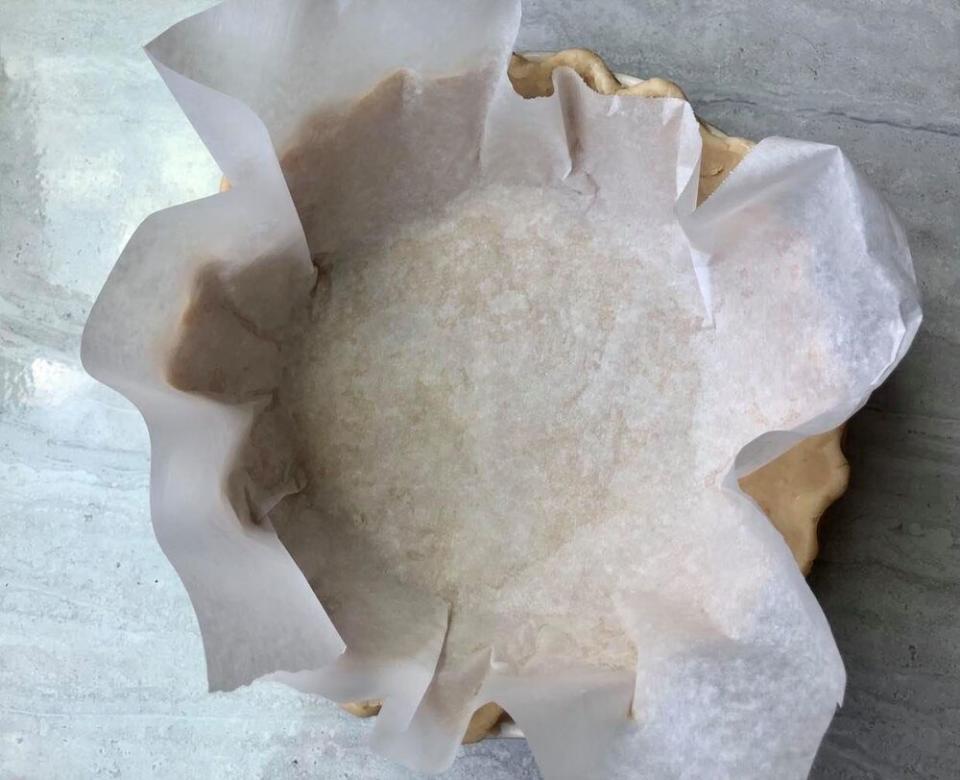
Step 2: Lign Your Pie Shell
Press a large square of parchment paper along the bottom and sides of your unbaked pie shell. If you don’t have parchment paper, you can use aluminum foil. Either way, allow for plenty of overhang.
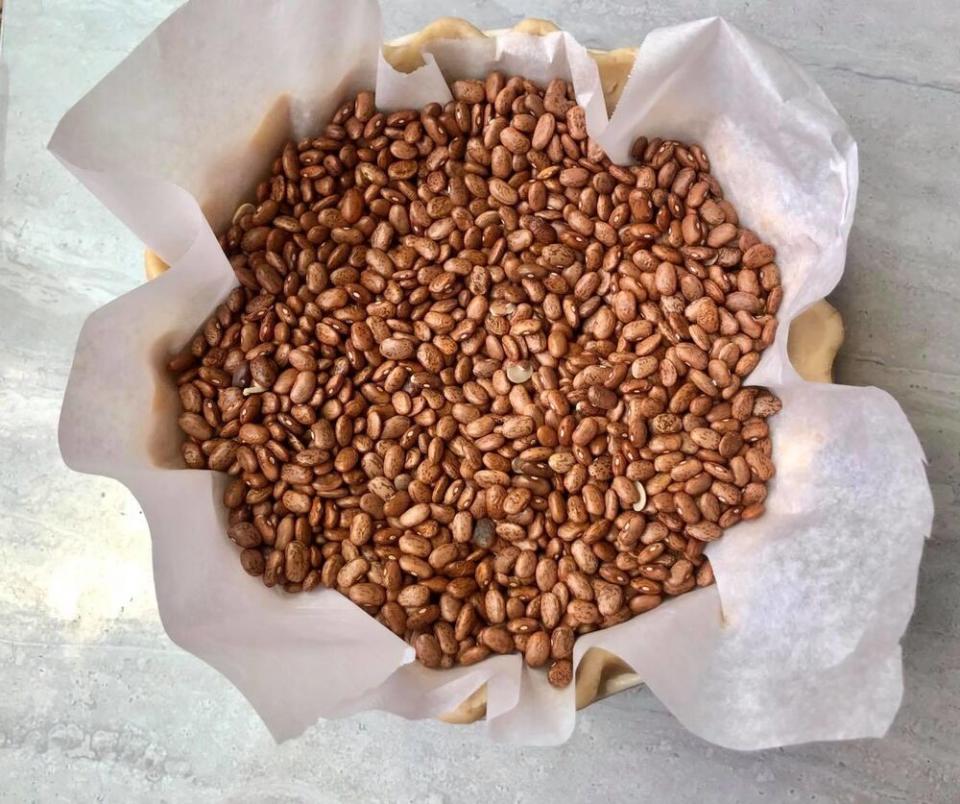
Step 3: Weigh It Down
Proceed to add your pie weights into the lined pie shell, making sure to fill the shell completely. You want the pie weights to come all the way up the sides to the edge of the pie shell.
Step 4: Bake It
Slide your weighted pie shell into the oven and bake for 12-15 minutes. Your crust should be beginning to brown.
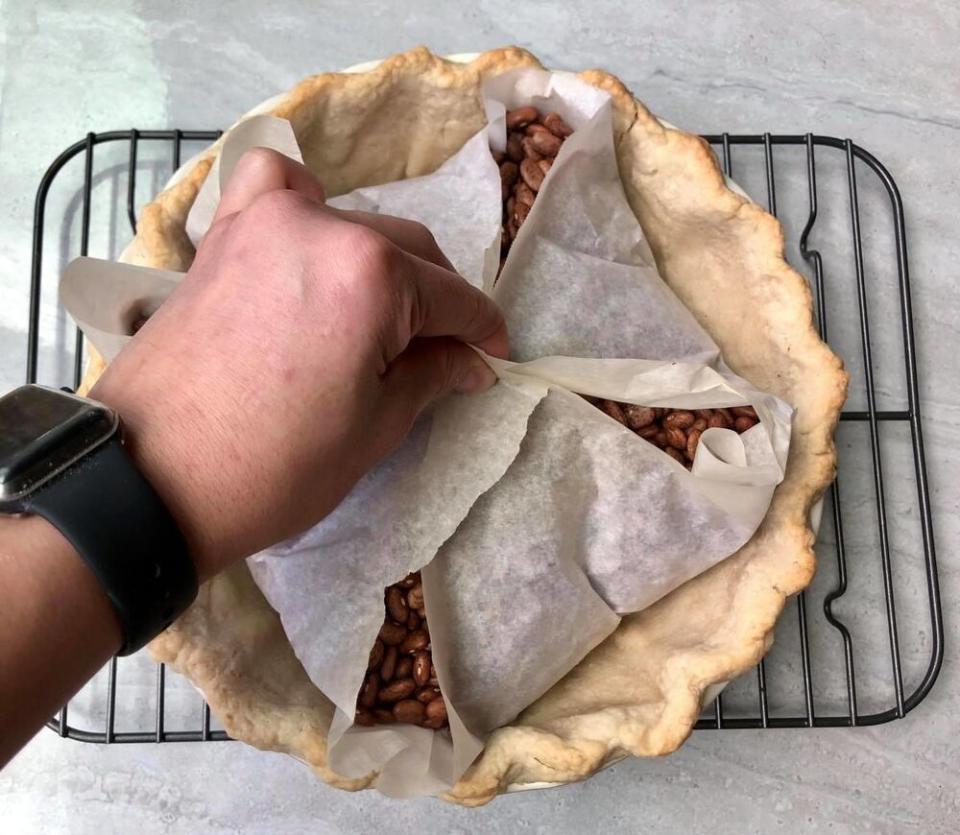
Step 5: Remove the Weights
Take your pie from the oven, and using the corners of the parchment paper or foil, carefully lift the pie weights from the center of the shell and place them in a large, heat-proof bowl to cool off.
Step 6: Bake It Some More
You’ll now want to return your pie shell to the oven in order to get a little direct heat exposure to the inside of the shell, which was previously covered. Don’t worry, it won’t take long to wrap this process up. Bake the unweighted shell 5-7 minutes, or until the bottom of the crust looks dry.
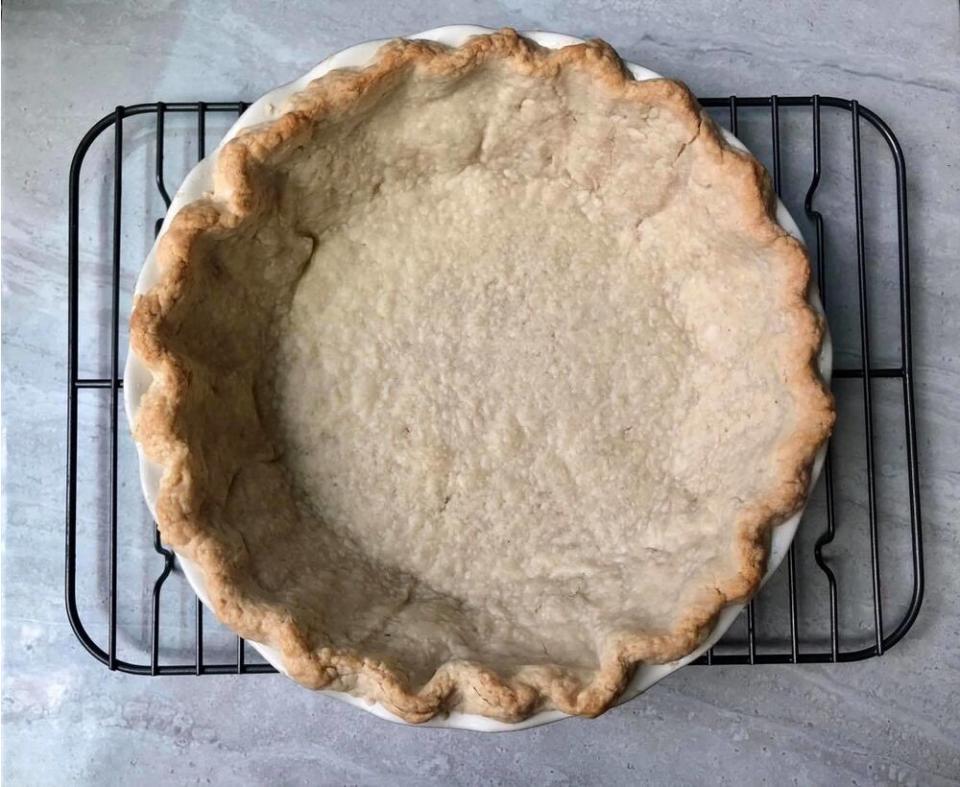
Step 7: Cool It Down
Allow your crust to cool appropriately for the recipe you’re using. (Some recipes require a completely cooled pie shell while others may have you proceed with the filling while the crust is still warm.)

