Blender 4.0 review: still free to all, and still incredible
Blender 4.0 system requirements
OS Windows 8.1, 10, and 11 / macOS 10.15 Intel
Processor 64-bit quad core CPU with SSE4.2 support
Min. memory 8 GB RAM 8GB RAM
GPU Graphics card that supports OpenGL 4.3
GPU memory 2GB or higher
Blender 4.0 continues to grow and develop the free 3D software into an increasingly mature digital content creator. This latest release is another stake in the ground demonstrating why and how Blender, a free 3D app to enable the creation of animated films, visual effects, art and more, is taking the fight to industry heavy weights like 3ds Max.
If you're new to this 3D software, read my explainer, 'Blender: everything you need to know' where I detail its core features and tool. We also have a collection of the best Blender tutorials to see what it's capable of doing (and how to do it).
New features in Blender 4.0 centre around rendering and creation tools enabling artists to create even better materials and therefore renders. The New Principled BSDF shader is now set up to conserve even more energy and be noticeably more flexible due to a new way to mix layers.
On top of this, a light linking feature, that has been available in the likes of V-Ray for a while has now, has been introduced. This excellent feature gives unbelievable control over the final rendered output, enabling artists to control which lights affect which objects. This is an artist's dream come true because it enables the fine tuning of an image in new ways.
In my Blender 4.0 review below I'll take a look at some of these impressive new features and explain how they work and whether then can really put Blender on a new footing against expensive industry software.
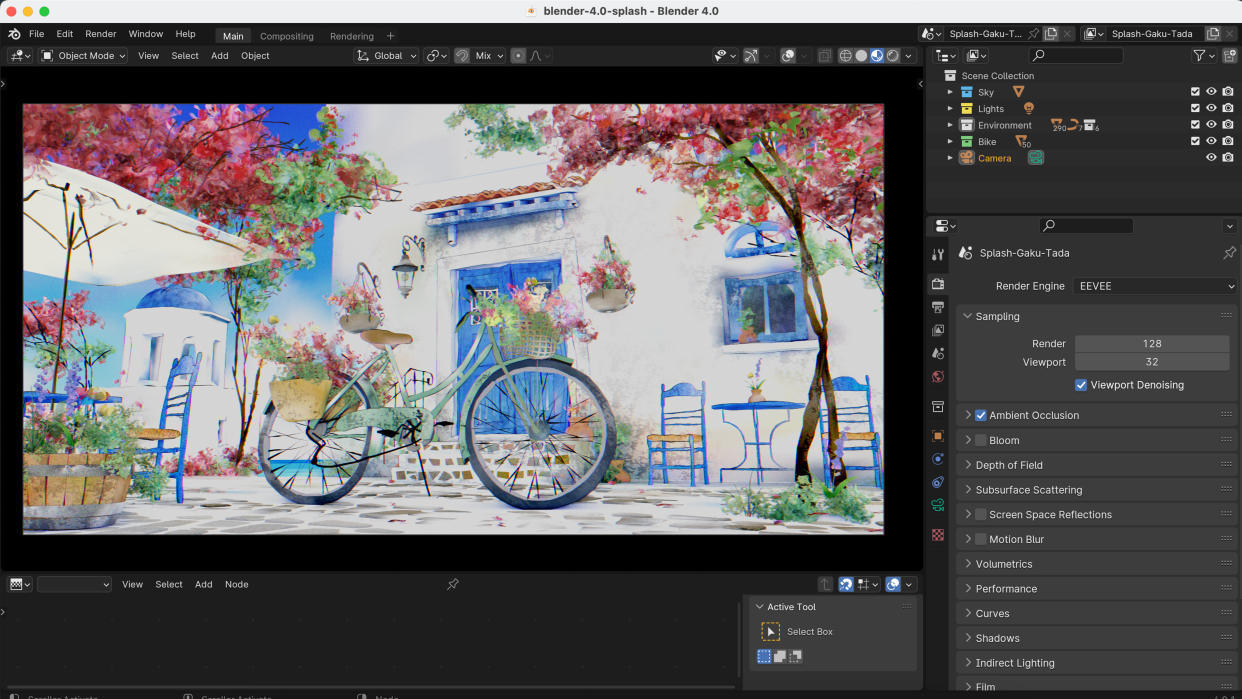
Blender 4.0 review: User interface

The user interface has been significantly overhauled in Blender 4.0. It's generally much more pleasing to look at and interact with than previous iterations. User interface improvements rarely hit the big headlines but I think software should always be improving and tweaking its design, particularly for free apps like Blender that are becoming more powerful and professional.
No application has got its UI implementation spot on so there’s always room for improvement. With Blender 4.0 the interface has returned to the flat background of older versions. The font has also changed, which according to the dev makes it easier to read; I found it hard to tell the difference when I switched versions but this is the kind of thing you notice after months of use and realise your eyes are less strained (let's come back to this when Blender 4.1 releases!).
An asset shelf has been introduced, which is a big win for managing screen real estate. The shelf means that you don’t have to open a whole new editor just for assets. Unfortunately this has only been implemented with pose assets and the pose library, which I think is a little limited. Hopefully future releases will address this.
Another change that has huge benefits is that select hierarchy now works with multiple selected objects. This has been a long time coming and it’s a little frustrating that it’s taken this long to happen, but it's finally here and is a great addition to Blender.
Finally, the material nodes now support collapsible sections, which makes it markedly easier to view complex materials and big node networks; it's changes like this that makes interacting with Blender increasingly a joy to use.
Blender 4.0 review: New Principled BSDF shader

This shader, thankfully, has received a complete overhaul especially for Blender 4.0. The shader is quicker but more importantly more accurate than ever before. This increased accuracy has largely been funnelled through the implementation of the Index of Refraction (IOR), which is now utilised fully throughout the whole shader.
The IOR is used for the rays that enter the subsurface component. It is now possible to set the IOR value to whatever you want alongside the IOR level, which acts as a multiplier for the IOR value. It is possible therefore to really easily increase and decrease the IOR effect on the shader.
I don’t personally find the IOR level slider particularly intuitive in terms of the effect it has but, in essence, 0.5 is the standard amount that has no effect, 0 removes it entirely, and 1 doubles it. I think a slider from 0 to 2 would have been more obvious.
Overall, the results of this are really nice and enable a much smoother workflow when working with this type of material.
Blender 4.0 review: Light and shadow linking
The new light and shadow linking functionality gives an increased level of control to artists that just hasn't been seen before in Blender. I'm so glad to see it though because I've enjoyed it in V-Ray for a long while, and now Blender 4.0 is aping that renderer.
In essence, the feature enables you set which objects will receive light and which objects will cast shadows from a light. The possibilities of flexibility here are endless and I'm sure you can imagine the benefits to your own workflow. The ability to brighten up one side of an object or a particular area of the scene is fantastic. If a shadow is causing problems in the overall look of the image then just remove it. Much more flexibility, much more control.
Everything centres around each light and makes it easy to conceptualise exactly what is and isn't being included. Artists can take advantage of this feature by selecting a light and going to the 'Shading' rollout. From there, you'll find two sections, one for Light Linking and one for Shadow Linking. Drag and drop objects from the outliner into each category to see the effects.
The only thing that isn't immediately obvious is the fact that if you add objects to the list but then untick them all, Blender 4.0 will automatically apply the light or shadow link to all of the objects 'except' the ones listed.
Should I get Blender 4.0?
Blender 4.0 comes with a number of impressive improvements that will help artists take their creativity to a new level. The fact that it continues to be absolutely free makes what the Blender team have achieved even more impressive.
The New Principled BSDF shader makes the process of creating complex materials significantly more straight forward with the ability to conserve more energy and generally be more efficient.
The ability to mix layers more flexibly is a welcome change, too. The new light linking feature is long overdue and lets artists control exactly which objects are affected by which lights. This release has added a number of new features which continue to help it stand tall with the big guns.
If you are looking for a digital content creator that has an extensive toolset and most importantly is free then Blender will deliver for you. It is hard to compete with the likes of 3ds Max and Cinema 4D, but Blender is doing a pretty good job and it's becoming a go-to app for many studios. The introduction of a number of new features further strengthens Blender's hand.
Blender isn't going anywhere and if anything will get more popular as it continues to get better, and it remains free to all which means there really is no excuse not to give it a go.
Try it for yourself, download Blender 4.0 now. Take a look at our guides to the best laptops for animation and best laptops for 3D modelling if you're looking to upgrade or get started in 3D art.

