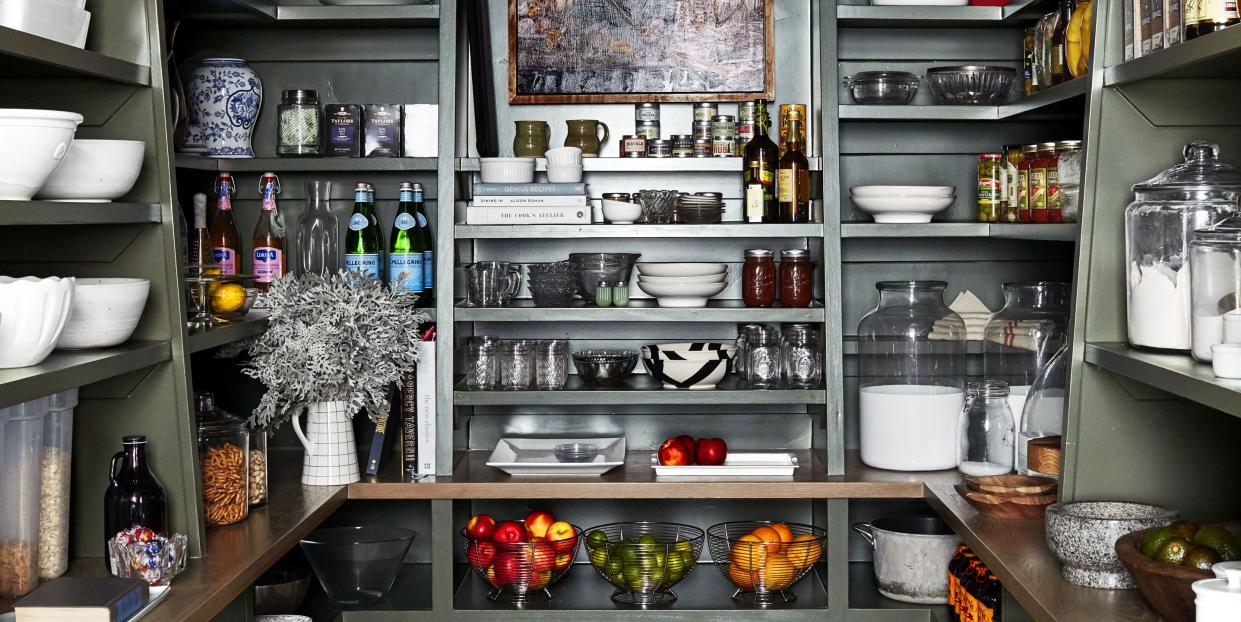
The Best Way to Clean Out Your Pantry

For those seeking a useful way to spend their time during social distancing—or anyone simply interested in forging a deeper connection with their homes—HB has launched Home Love, a series of daily tips and ideas to make every minute indoors more productive (and gratifying!).
When was the last time you really, truly cleaned out your pantry? If the answer is "when I moved in, maybe" or "um, never?" don't worry—you're in good company. While essential to any kitchen—even if it's just a spare cabinet!—a pantry is one of those spaces that can feel way too overwhelming to ever clean out. There's just... so much in there. And who knows what sticky stuff will need to be cleaned up? Better to just keep cramming new foodstuffs inside and quickly shut the door once you've grabbed a can of chickpeas... Right?
Wrong. A clean, tidy pantry will literally make it easier to make dinner (because you'll be able to see what you actually have!). And right now—while you've probably got a countertop full of quarantine-inspired pantry additions and a big, empty weekend on the horizon due to social distancing—is the perfect time to tackle this project. Here's how to properly clean out your pantry.
What You Need
A little time
A desire to feel extremely productive
Cleaning gloves
All-purpose cleaner
Rags or paper towels
Shelf liners (optional)
Clear, stackable food storage containers (optional)
Remove Everything!
Seriously—all of it. Every unidentifiable baggie, dented can, every half-eaten box of pasta. Plus the stuff you actually do eat, too. (You might want to clear off your counter first so there's plenty of room to see it all.)
Sort It All Into Four Piles
Trash: Anything expired. Be generous with this pile. If it looks off, smells off, or is simply too old to imagine eating, you're not going to eat it now or in the future. (Hot tip: Dried beans don't last forever!) Open containers should be carefully considered for this pile. T
Compost: Anything that falls into the above category but is compostable—and not rancid. Compost at home or look for a compost collection near you (Tip: If you won't be able to compost for a bit, store this in a sealed container in the freezer).
Donations: This pile includes any foods you're not going to eat but that are still viable for eating. Be honest here—can you ever, ever imagine eating canned corn? If yes, keep it (the next pile), but if it was just something you got for a recipe you never made and that you haven't the slightest inclination to utilize, put it here. No opened containers. Pile all this into a box and drop it off at your local food bank.
Keep: Food you like! Food you have eaten in the past few months that you can imagine eating again. Oh and all that new food you just picked up on your Costco run.
Clean the Shelves
Time to tackle the space itself. Don some good cleaning gloves, snatch up your all-purpose cleaner and some rags, and go to town getting any dust and gunk off the shelves where your literal food supply is going to live. In reality, this doesn't even have to take long; just wipe them down.
Feeling extra-ambitious? Cut shelf liners to fit the shelves before you move onto the next step. This will keep anything from slipping and sliding when you set it in place.
Decant and Repackage
If you are completely over it by this point, feel free to skip to the next step. But note that the most functional pantries are those in which you can actually see inside all the containers.
Clear jars: Mason jars might be cheesy—but they're see-through, stackable, inexpensive, and seal tight. Fill them with dry beans, grains, pasta, and cereals.
Silicone pouches: Same function as the clear jars above, but a different (and more easily packable) material.
Wire baskets: Did you know that potatoes, onions, and garlic will keep for longer in a cool dark place? Free up the crisper drawer and store them in a bin in your pantry.
Restock!
Once your beans are shelves are all clean, your beans decanted into tidy containers (or kept in their original packaging, you're ready to restock the shelves. Organize it however you like—cans here, boxes there; or vegetables here, grains there—but do think vertically as much as possible. Stacking containers, rather than hiding some behind others on the same shelf, will ensure you see exactly what you've got. All the more likely you'll actually cook with it (and not buy an accidental surplus on your next grocery visit!).
Follow House Beautiful on Instagram.
For more Home Love ideas, head here—we'll be launching a new one every day until April 1st. And tag your own home project photos #homelove for everyone to enjoy.
You Might Also Like

