The Best Meat Pounders for Cooks of All Levels, According to Our Tests
Dotdash Meredith and Yahoo Inc. may earn commission or revenue on some items through the links below.
Use the OXO Good Grips Meat Tenderizer to up your scallopine game.
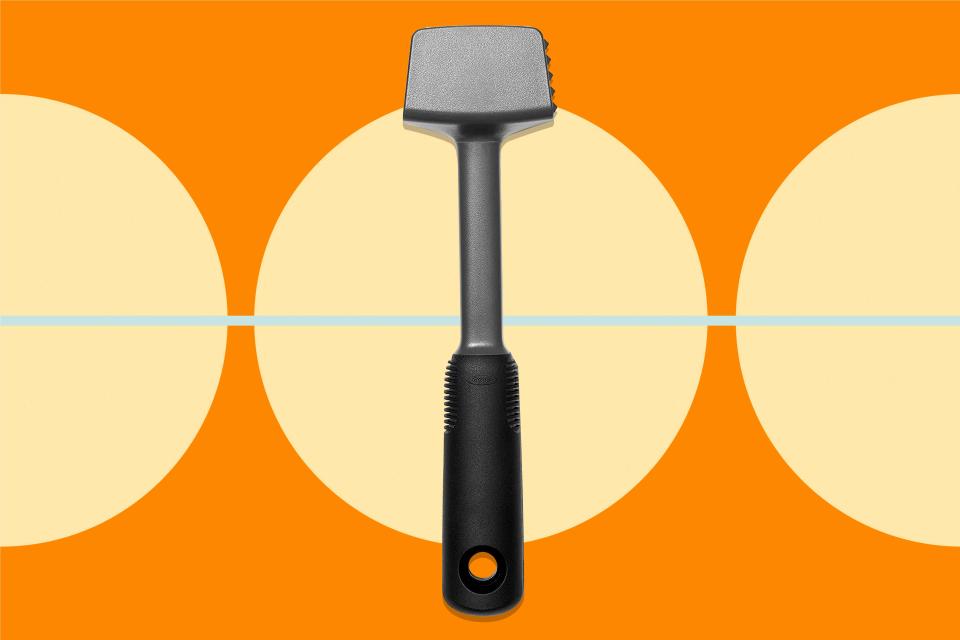
Courtesy of Merchant / Photo illustration by Kevin Liang for Food & Wine
When I was a young cook, I was standing, sweating profusely in the sub-tropical heat, at a table covered in thin-ish cuts of meat whacking away at them with a piece of cast iron on the end of a handle, just trying to get through the project as fast as I could so I could run to the walk-in cooler for some relief from the heat when my chef appeared and unleashed a tirade on me about how I was disrespecting his pork schnitzel. “Flat is flat,” I thought, “how you get there is unimportant.” This was precisely the wrong train of thought for my boss. He then gave me a lengthy, German-expletive-laden master class on how to make thin thinner.
Whether schnitzel, scallopine, paillards, Milanese, shawarma, roulades, cutlets, or country fried steak (hint: they all start the same), flattening a piece of meat requires a degree of finesse to prevent destroying it. Updated grips, handles, tenderizing surfaces, and more are vast improvements from the heavy piece of metal that I used back then. We tested nine top-selling meat pounders to find the best on the market for cooks today. The OXO Good Grips Meat Tenderizer ultimately came out on top, with three others coming close behind.
OXO Good Grips Meat Tenderizer
Best Overall

Pros: It has a comfortable grip, and its balance allows precise swings.
Cons: It’s easier to tear meat with this mallet, and the slightly angled head can work to your benefit or detriment.
The Good Grips scored near-perfect scores on our tests. With both smooth and toothed surfaces and an angled head, it flattened chicken breasts and pork cutlets in less than a minute, although there was some tearing to the chicken breast. The head and handle are nicely balanced, with a comfortable grip, enabling an even, forceful swing. That swing allows precision in pushing meat from the center to the outside, resulting in an evenly thin piece of meat. It also made short work of a pile of graham crackers, and the design efficiently targeted bigger chunks that needed breaking up. The Good Grips is dishwasher safe, making cleanup an easy task.
Price at time of publish: $12
Weight: 13 ounces
Head Width: 2.5 inches
Material: ABS plastic with a solid steel core
Dishwasher Safe: Yes
Aliglow Meat Tenderizer Hammer
Best Value

Pros: With great precision, it's very effective for such a lightweight tool.
Cons: The conical teeth can work for or against you, and it’s not dishwasher safe.
Nobody wants to wear themselves out pounding a cutlet. The Aliglow makes good on that idea, making short work of both chicken and pork thanks to its easy-to-use design. Although there were a few divots and slight tears, the Aliglow performed quite well in all of our tests. Where many pounders feature a pyramid-shaped design on their toothed side, this one features conical teeth that come to a needle point, which we noticed can work for or against you. Cleanup is a simple wash with soap and water, as it’s not dishwasher safe.
Price at time of publish: $9
Weight: 10 ounces
Head Width: 2 inches
Material: Zinc alloy
Dishwasher Safe: No
KitchenAid Gourmet Meat Tenderizer
Best Splurge

Pros: It’s lightweight and produces even cutlets without tearing.
Cons: The silicone grip could be more comfortable, and it allows debris to collect in the grooves.
This pounder features a more traditional design than the previously reviewed ones, with upgrades. First is the lightweight aluminum construction, followed by a slip-resistant silicone grip for the handle. It also features conical teeth for heavy tenderizing. It actually scored higher in the performance category than our top pick, leaving no tears or divots in the meat. The silicone grip is a nice touch for stability, but it has some grooves that could trap stray bits of protein if not cleaned properly. It’s not as comfortable on the hands as the OXO, but it is far from uncomfortable.
Price at time of publish: $17
Weight: 10 ounces
Head Width: 3 inches
Material: Aluminum, silicone grip
Dishwasher Safe: No
HIC Dual Sided Meat Tenderizer
Most Versatile

Pros: It’s efficient and aesthetically pleasing.
Cons: It’s heavy and requires disassembly to clean.
We’re definitely kicking it old school with this configuration, but there’s a reason some designs stand the test of time. This pounder’s design requires straight up-and-down striking – quite literally pounding – as opposed to the mallet-type models we tested. It’s also quite heavy compared to the other models, almost two pounds. But that weight and the design combine to yield an even surface with no tears or divots. It, too, has smooth and toothed surfaces, with the teeth being conical and very sharp for tenderizing. Because of the structure of the design, you have to unscrew the handle, flip the head disk, and reattach the handle when switching between sides. This handle arrangement also adds to the cleaning tasks, but the mode is dishwasher safe.
Price at time of publish: $20
Weight: 1 pound, 14 ounces
Head Width: 3 ⅛ inches
Material: Chrome plated zinc
Dishwasher Safe: Yes
Our Favorite
Because of its lightweight design, ergonomic grip, and angled head, the OXO Good Grips Meat Tenderizer scored at the top of our tests.
The Tests
For our tests, we first considered the pounder’s physical attributes – length, head width, weight, and handle – and judged them on ease of use. We then used the pounder on two distinctly-textured types of meat, chicken and pork, and noted the time it took to flatten them as well as the end product for any unevenness, divots, or tears, and how easy the pounder is to use in this process. We then judged them on how easy they were to clean, getting between the teeth and any grooves or dents.
We scored each of these categories on a scale of 1-5. The top-scoring models then faced a final test of reducing a pack of graham crackers into evenly-sized crumbs, such as you might use for baking. Finally, we averaged the scores from each test to arrive at the final score and presented the highest-ranked here.
What Didn’t Make the List
Strong Contender
OXO Good Grips Die Cast Meat Tenderizer ($18 at Amazon)
Results Still Simmering
Norpro Grip-EZ Stainless Steel Meat Pounder ($31 at Amazon)
Spring Chef Meat Tenderizer ($25 at Amazon)
Low Performers
Norpro Meat Pounder ($20 at Amazon)
Rösle Meat Tenderizer ($55 at Amazon)
Factors to Consider
Design and Ergonomics
With many kitchen tools, what matters is how usable they are for you. Ergonomic design typically applies to many people, but far from all users. For example, Nathan Gifford, the founder of Gifford’s Bacon in Nashville, prefers a smooth, rounded handle such as those offered by Rösle because sometimes the textured grips don’t fit his hand. You may find that a squared or textured handle works better for you, so by all means, go with what feels comfortable in your hand.
You should also consider weight, according to Gifford. “I don’t want something too heavy because no one wants to wear their hand out,” he says. “They all used to be very heavy; now they can weigh as little as ten ounces.”
Cleanup
If we’re being honest with ourselves, we give clean up about 60 percent of the effort we put into cooking. Facing that truth, a meat pounder has to be easy to clean, as bits of meat can and will hide in every crack, crevice, dent, and tooth of a meat pounder, presenting food safety issues down the line. Finding a meat pounder that matches your level of cleaning dedication is an important consideration.
Frequently Asked Questions
What’s the difference between a meat tenderizer and a meat pounder?
<p>“There are two main categories of meat tenderizers: the mallet type and the needle type,” says Gifford. The needle type is intended for tenderizing meat, while the mallet (pounder) type flattens meat into scallopine and such. The needle tenderizers shorten the muscle fibers, tendons, and nerves, quickly and easily, making the meat more tender. “I even tenderize New York Strips,” says Gifford. At the sirloin end of a strip loin, a large piece of tough nerve curves through the eye of the steak. A quick treatment with a needle tenderizer disrupts that nerve and makes a tough piece tender. </p><p><br/>The toothed side of the meat pounders reviewed here emulate a needle tenderizer, disrupting the tough areas of the meat. This side should be reserved for tough cuts, as it will tear holes through softer proteins such as chicken breast or pork tenderloin. “If you’re flattening a piece of meat to stuff it, you want to make sure you don’t have any tears, so your stuffing doesn’t fall out,” says Gifford. It’s also worth noting that holes and divots will contribute to uneven cooking and are generally aesthetically unpleasing.</p>
Why does pounding meat tenderize it?
<p>Pounding meat disrupts and shortens the strands of muscle that compose a piece of meat. The ideal way to cut any piece of meat before cooking is to slice it across the visible grain of the muscle fibers to shorten them. In shortening those fibers, the meat becomes easier to chew, and by further disrupting them, a formerly tough piece, such as that from a chuck or sirloin, is now very pliable and easy to chew.</p>
How long do you pound meat to tenderize it?
<p>Gifford pictures a piece of meat as a clock face and recommends two to three strokes, working out from the middle, in each of the 12, three, six, and nine positions. All told, this should take less than a minute, as you want to avoid over-pounding.</p>
What’s the best technique for pounding meat?
<p>Gifford puts considerable prep work into the process before lifting a mallet. He recommends laying out a layer of plastic wrap on your work surface. He then lightly oils the plastic (you can use cooking spray) to reduce friction when the meat spreads. After placing the meat on the oiled plastic, he then lubricates the top surface of the meat. He places a piece of parchment paper over the oiled meat and a layer of plastic wrap over the parchment.</p><p><br/>With that accomplished, working with a clockwise approach out from the middle, he strikes the meat two to three times at each of the 12, three, six, and nine positions, totaling eight to 12 strikes on each piece. Working the meat more will over-pound it, resulting in a mushy texture or being so thin that the meat will cook through on one side before you can flip it to cook the other, resulting in dry, overcooked meat.</p>
Our Expertise
Greg Baker is an award-winning chef, restaurateur, and food writer with four decades of experience in the food industry. His written work appears in Food & Wine, Food Republic, and other publications.

