The Basics of Piping Frosting
Whether you're thinking of artful swirls or gorgeous flowers and stars, piping icing to decorate cakes, cupcakes, and cookies may seem like a strictly-for-the-pros technique, but the truth is, anyone can do it (honest!). All you need is this basic how-to and a few essential tools: pastry bags (it's good to have a few on hand, especially if you are going to use different color icings); a coupler, which is a two-part device that a decorating tip attaches to; and a decorating tip or tips, if you want a variety of piping styles (some common ones are round, star, flower, and leaf).
Pastry bags come in disposable or reusable varieties, and you can even deploy a zip-top bag in a pinch—it's not as strong as a pastry bag, but it'll work. You can find pastry bags in a range of sizes; 12- or 18-inch bags are the most versatile (18-inch is great for a dozen cupcakes; this size bag can hold a lot of frosting, so you probably won't have to refill). Read on for advice on how to use these tools to create basic—and lovely—decorations.
Related: How to Assemble a Layer Cake
Fit the Pastry Bag with a Tip
First, prepare the bag by snipping off the end just enough so that the larger, cone-shaped piece of the coupler can poke through. Drop the coupler, pointy end first, into the bag and push it down as far as you can. Place a decorating tip on the end of the coupler that's sticking out of the bag and screw it on using the coupler ring.
Fill the Bag
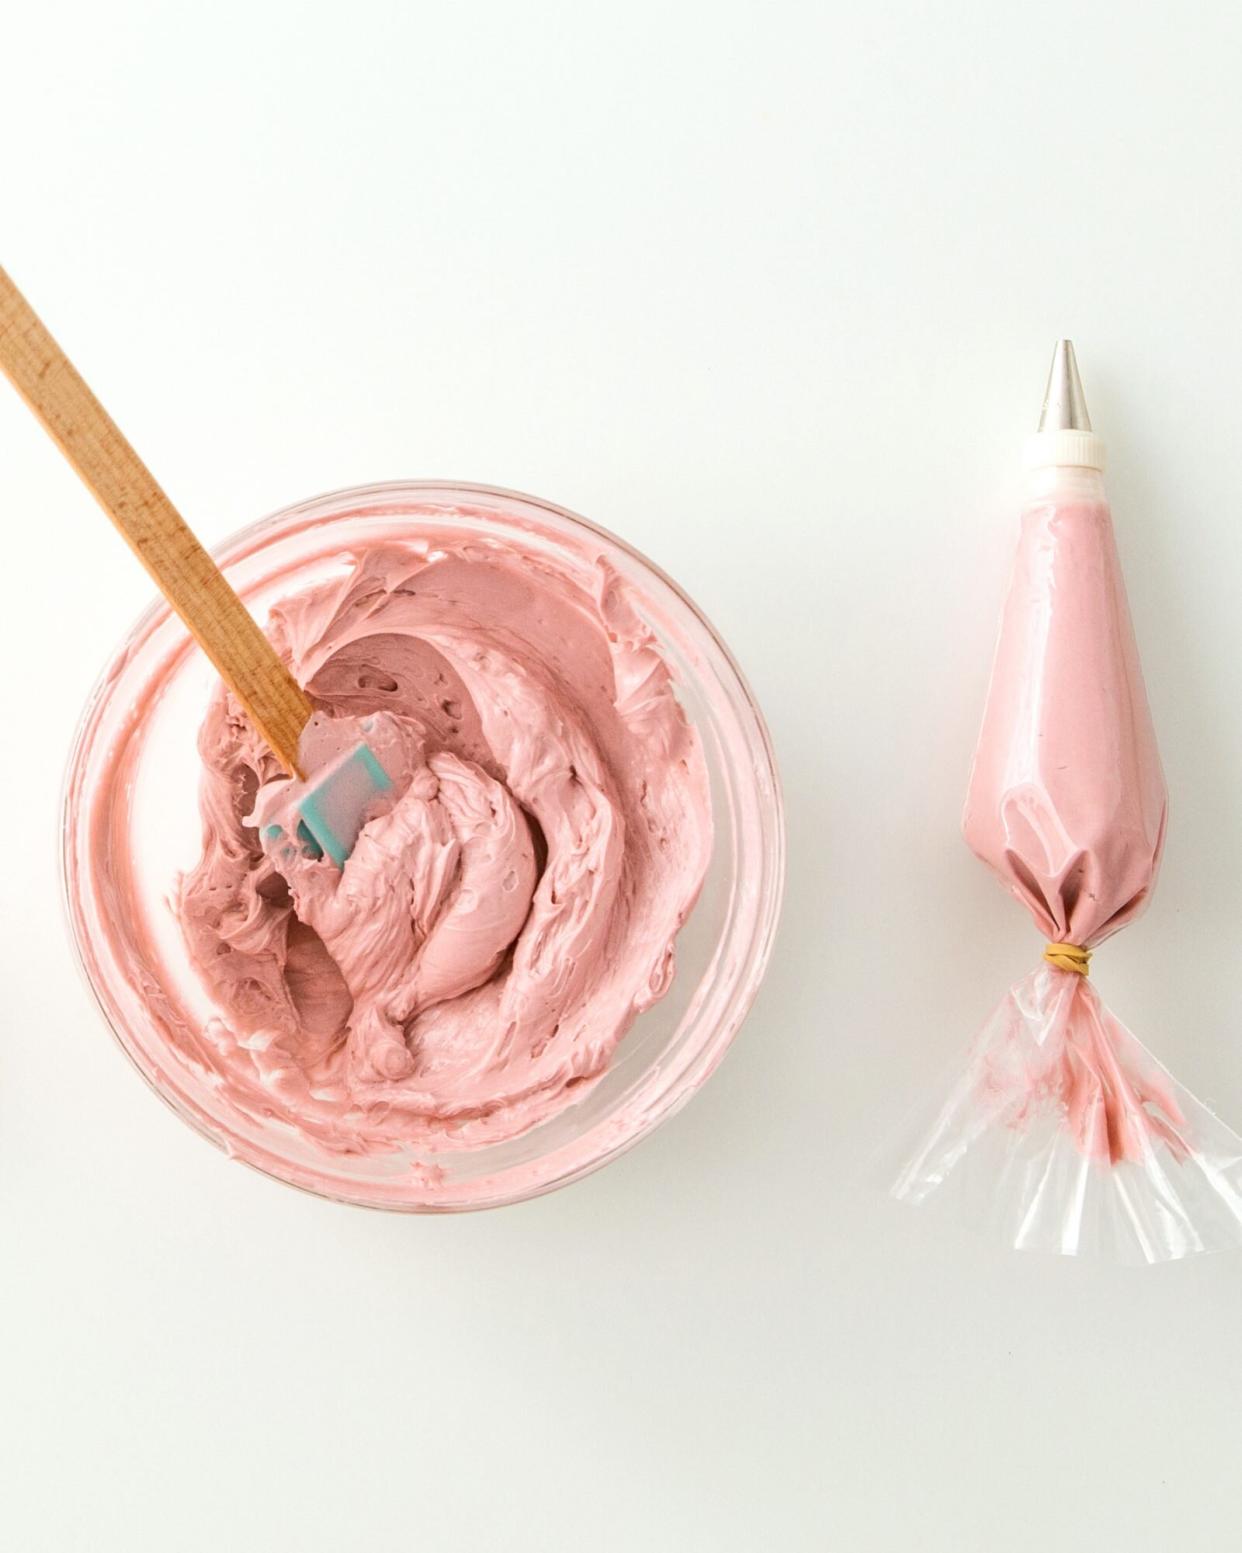
You can fill the bag with one hand while holding it in the other—or, even easier, place the bag, tip end down, in a large drinking glass or a plastic quart container, which leaves you with two hands free. Either way, you'll want to create a cuff on the bag, by folding it at least halfway down so it covers your hand (or the glass or container rim).
Using a spatula, spoon the icing into the bag, scraping the icing against the inside of the bag to release it. Once you've filled the bag halfway, lift it up and give it a little shake to help it settle. Unfold the cuff. Gather the top edges together and use a bench scraper to push the icing in the bag towards the tip. Twist the top of the bag to close and use a twist-tie or rubber icing bag tie to secure it.
Time to Pipe
Now's the fun part! Hold the bag in your dominant hand at a 90 degree angle over top of your cake and work from the outside edge of the cake or cupcake in. The hand holding the bag will squeeze, while your non-dominant hand will steer. To create a swirl, exert consistent pressure with your dominant hand while slowly moving the bag in a circular motion, moving inwards towards the center of the cake or cupcake until you reach the center.
To make designs such as letters or shapes, you can practice on parchment paper and then scrape off the frosting and use it again. And when you're working on the cake or cupcake itself, you can "sketch" your design by making a shallow dotted line with a toothpick or even a cookie cutter gently pressed onto the surface and then released, to leave an imprint you can pipe right over.
How to Pipe Using a Round Tip
Script messages and pipe delicate dots and lines with a small round tip. A large round tip is very helpful for piping larger dots, beaded borders, teardrops, and – just in time for Valentine’s Day – heart shapes.

