How To Make Authentic New York Black and White Cookies at Home

New York Black and White Cookie
These famous New York Black and White Cookies are the most delicious cookie experience everyone should try. Don’t miss out on enjoying homemade black-and-white cookies right in your own home, with this classic black and white cookie recipe. You can easily bake a batch of these delectable giant cookies with a few ingredients you probably already have on hand and the recipe backstory is fun too.
Related: The Best Cookies for the Summertime
I must warn you though while icing these cookies, it could get a little messy. You'll see why below in the photo of my countertop, but, we did have a lot of fun making the mess. In general, most black-and-white cookies are not what you would call neat cookies. No matter where I have bought one from, it's always a little messy. Lots of drips and sometimes the chocolate gets on the white side and vice versa. None of this matters however since it's the most delicious cookie!
What Are New York Black and White Cookies?
It’s said that the original black and white cookie recipe in New York is traced back to 1902, at the Glaser’s Bake Shop. The shop was owned back then by Bavarian immigrants and located in the Yorkville neighborhood of New York City. The black and white cookie recipe was one of the first cookies the bake shop made. Some people called this iconic cookie "half moon" cookies, which obviously makes sense. Most cookies back then were small, thin and crispy. The New York black and white cookies recipe produced large, thick, almost cake-like cookies that were anything but crispy.
How To Make New York Black and White Cookies
New York black and white cookies are baked to perfection. Thick, soft and cakey on the inside, with a thin layering of half vanilla and half chocolate glaze over the top. Ever since Glaser’s Bake Shop came out with the black and whites (an abbreviation we New Yorkers call them) they have stayed very popular and are now made all over the country and probably the world.
But, the best place to get a black and white is right here in New York.
When I say New York, it can be on Long Island where I live, upstate or anywhere in New York State. We take our New York black and white cookies very seriously here.
Related: Make the 5-Ingredient TikTok Cookies That Went Viral
To make a black-and-white cookie you will need the following ingredients:
all-purpose flour
baking powder
baking soda
fine sea or kosher salt
granulated sugar
1 large beaten egg, room temperature
sour cream, regular (low-fat or fat-free sour cream will not work for this recipe)
pure vanilla extract
real lemon extract, optional
10 Tbsp or 1 stick plus 2 Tbsp unsalted softened butter
Icing ingredients:
sifted powdered sugar
cold water
light corn syrup
fresh lemon juice
pure vanilla extract
unsweetened cocoa powder, I used Dutch process, you can use half regular and half Dutch also
fine sea or kosher salt
Instructions for making black and white cookies:
Preheat oven to 350 degrees.
Line two rimmed cookie sheets with parchment paper or a Silpat baking mat
Whisk flour, baking powder, baking soda, and salt in a large mixing bowl. Set aside.
Using a handheld mixer or a stand mixer with a paddle attachment, cream together the sugar and softened butter until light and fluffy. This will take about two to three minutes.
Add in the beaten egg, sour cream, vanilla extract, and lemon extract if using. Beat until combined. Stop and scrape down the sides of the bowl if needed.
Gradually add in the flour mixture. Using a large serving spoon is what I find to be the easiest way. Mix for about one minute. Scrape down the sides of the bowl and beat again until completely combined. Another 20 seconds. Stop and continue to combine by hand with a rubber spatula. The batter will be very thick.
Using a 1/4 cup measuring cup, lightly mist the cup with cooking or baking spray. Scoop and gently drop the batter onto the baking sheet. Five to six mounds at a time. Make sure they are spaced. If you can get all six on the sheet that would be best.
Bake between 15 and 18 minutes or until the edges of each cookie are lightly browned. The cookies will stay light with just a hint of color. The tops should spring back lightly when gently touched. Let cookies cool on the baking sheet for about five minutes. Then, slide the parchment paper onto the cooling rack for the cookies to cool completely.
Directions for vanilla and chocolate icing:
In a medium mixing bowl, stir together all icing ingredients except the cocoa powder. I used a small whisk to get out any lumps and to make a smooth and shiny glaze. If needed add a teaspoon of water for consistency or more powdered sugar to thicken up a little. The icing should be pourable yet not too runny. You want the icing to be spreadable but not as thick as a frosting would be.
Take half of the prepared icing and pour it into a separate bowl. Add in the sifted cocoa powder. Using the whisk again, mix until smooth and spreadable. If needed add more water a teaspoon at a time for powdered sugar for the right consistency.
Turn cookies flat side up. So the rounded side is facing down. Hold one cookie in your palm, Using a butter knife or an offset spatula, start with the vanilla icing. Spread a layer of icing on only half of each cookie. Lay that cookie down and go on to the next. When finished with the vanilla icing, start spreading the chocolate over the other half of each cookie. Let it set up completely. Once the cookies are completely dried and set, you can wrap them in plastic wrap like they do in diners and bagel shops. Best stored in a sealed glass container up to three days on the counter. Can be refrigerated up to five days or frozen up to a month.
This is one giant cookie waiting to be frosted:

Pam Beth
The spatula in the photo is an extra-large one. As you can see, these cookies wouldn't fit on a regular-size spatula:
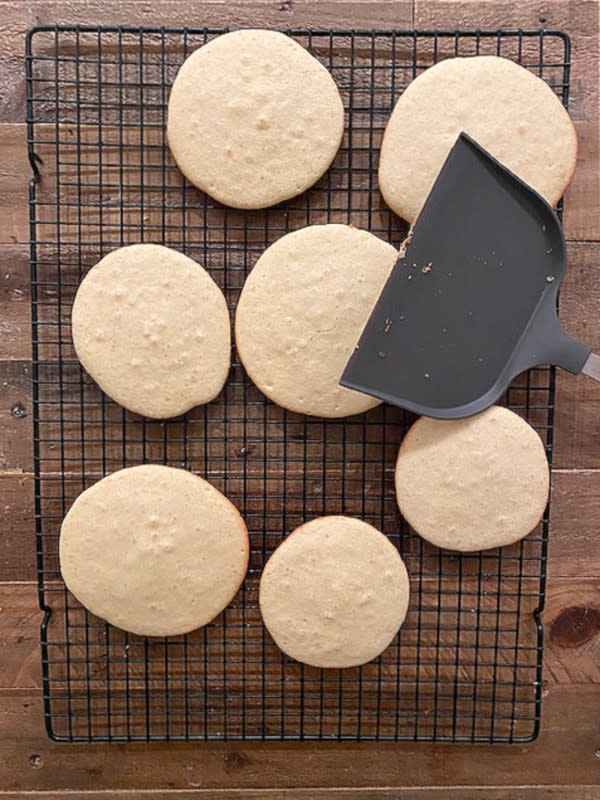
Pam Beth
Here's my counter top. Looks like a black and white art project:
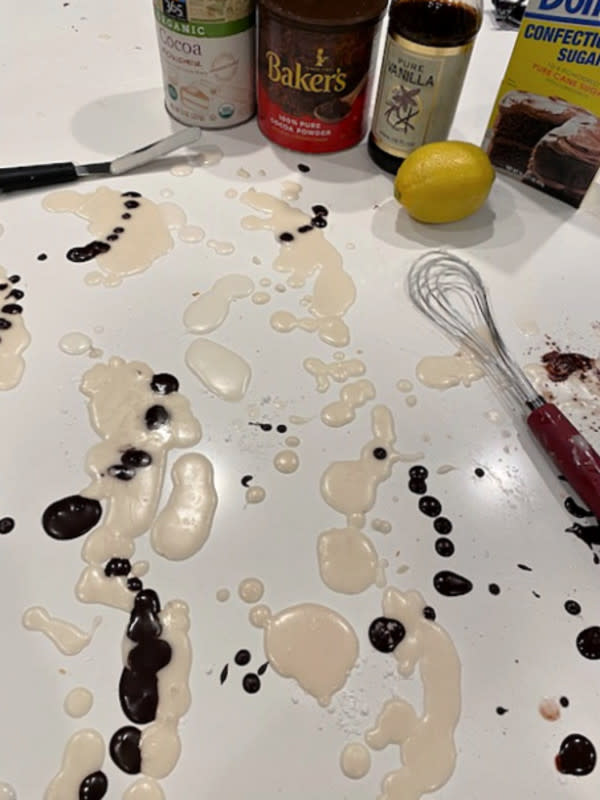
Pam Beth
Just finished frosting these gems:
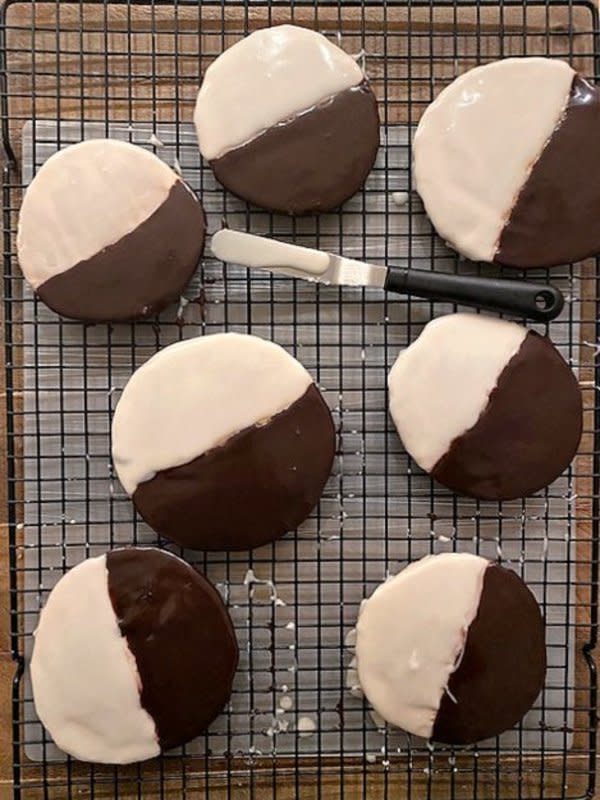
Pam Beth
Get ready for the best cookie experience!
Authentic New York Black and White Cookies Recipe
Ingredients
1¾ cups all purpose flour
½ tsp baking powder
¼ tsp baking soda
½ tsp fine sea or kosher salt
1 cup granulated sugar
1 large room temperature lightly beaten egg
⅓ cup sour cream, regular. lower fat or fat free will not work for this recipe
2 tsp pure vanilla extract
½ tsp real lemon extract, this is optional
10 tbsp softened unsalted butter
Preheat oven to 350 degrees. Line two rimmed cookie sheets with parchment paper or silpat baking mat. Whisk flour, baking powder, baking soda, and salt in a large mixing bowl. Set aside. Using a hand held mixer or a stand mixer with the paddle attachment, cream together the sugar and softened butter until light and fluffy. This will take about 2 to 3 minutes. Add in the beaten egg, sour cream, vanilla extract, lemon extract if using. Beat until combined. Stop and scrape down sides of bowl if needed. Gradually add in the flour mixture. Using a large serving spoon is how I find to be the easiest way. Mix about 1 minutes. Stop scrape down the sides of bowl and beat again until completely combined. Another 20 seconds. Stop and continue to combine by hand with a rubber spatula. Batter will be very thick. Using a ¼ cup measuring cup, lightly mist the cup with cooking or baking spray. Scoop and gently drop batter onto baking sheet. 5 to 6 mounds at a time. Make sure they are spaced. If you can get all 6 on the sheet that would be best. Bake between 15 and 18 minutes or until edges of each cookie are lightly browned. The cookies will stay light with just a hint of color. The tops should spring back lightly when gently touched. Let cookies cool on baking sheet for about 5 minutes. Then, slide the parchment paper onto the cooling rack for the cookies to cool completely.
Icing
In a medium mixing bowl, stir together all icing ingredients except the cocoa powder. I used a small whisk to get out any lumps and to make a smooth and shiny glaze. If needed add a teaspoon of water for consistency or more powdered sugar to thicken up a little. The icing should be pourable yet not too runny. You want the icing to be spreadable but not as thick as a frosting would be. Take half of the prepared icing and pour into a separate bowl. Add in the sifted cocoa powder. Using the whisk again, mix until smooth and spreadable. If needed add more water a teaspoon at a time for powdered sugar for right consistency. Turn cookies flat side up. So the rounded side is facing down. Hold one cookie in your palm, Using a butter knife or an offset spatula, start with the vanilla icing. Spread a layer of icing on only half of each cookie. Lay that cookie down and go on to the next. When finished with the vanilla icing, start spreading the chocolate over the other half of each cookie. Let set up completely. Once the cookies are completely dried and set, you can wrap them in plastic wrap like they do in the diners and bagel shops. Best stored in a sealed glass container up to 3 days on the counter. Can be refrigerated up to 5 days or frozen up to a month.

