How to Apply Nail Stickers for a Fun-Filled Mani That Lasts
Lights Lacquer
These days, so many nail art ideas are circulating the internet that it’s impossible not to find some inspiration out there. Still, we understand if you're overwhelmed by the options or searching for a DIY mani that has intricate details but doesn't require excessive skill or time. In these moments, you can make it easy on yourself by opting for nail stickers, which can take your mani from minimal to a work of art in seconds. Don’t just stick them on your nails all willy-nilly, though: A proper strategy will help ensure your stickers look exactly how you intended and last until you're ready for a new look. Ahead, check out our full guide on how to apply nail stickers like a pro, complete with expert tips.
Meet the Experts
Olivia Van Iderstine is the mani trend expert at Olive & June, where she is also the VP of content and creative.
Rachel Joseph is a celebrity nail artist with Nailing Hollywood. She's worked with Kim Kardashian, Ayesha Curry, Mia Goth, and more.
How to Apply Nail Stickers
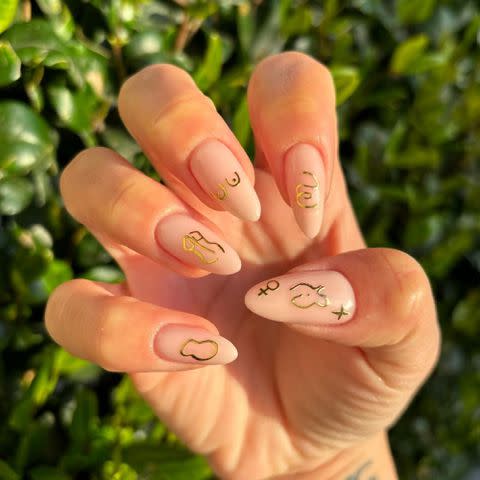
Start with Dry Nails
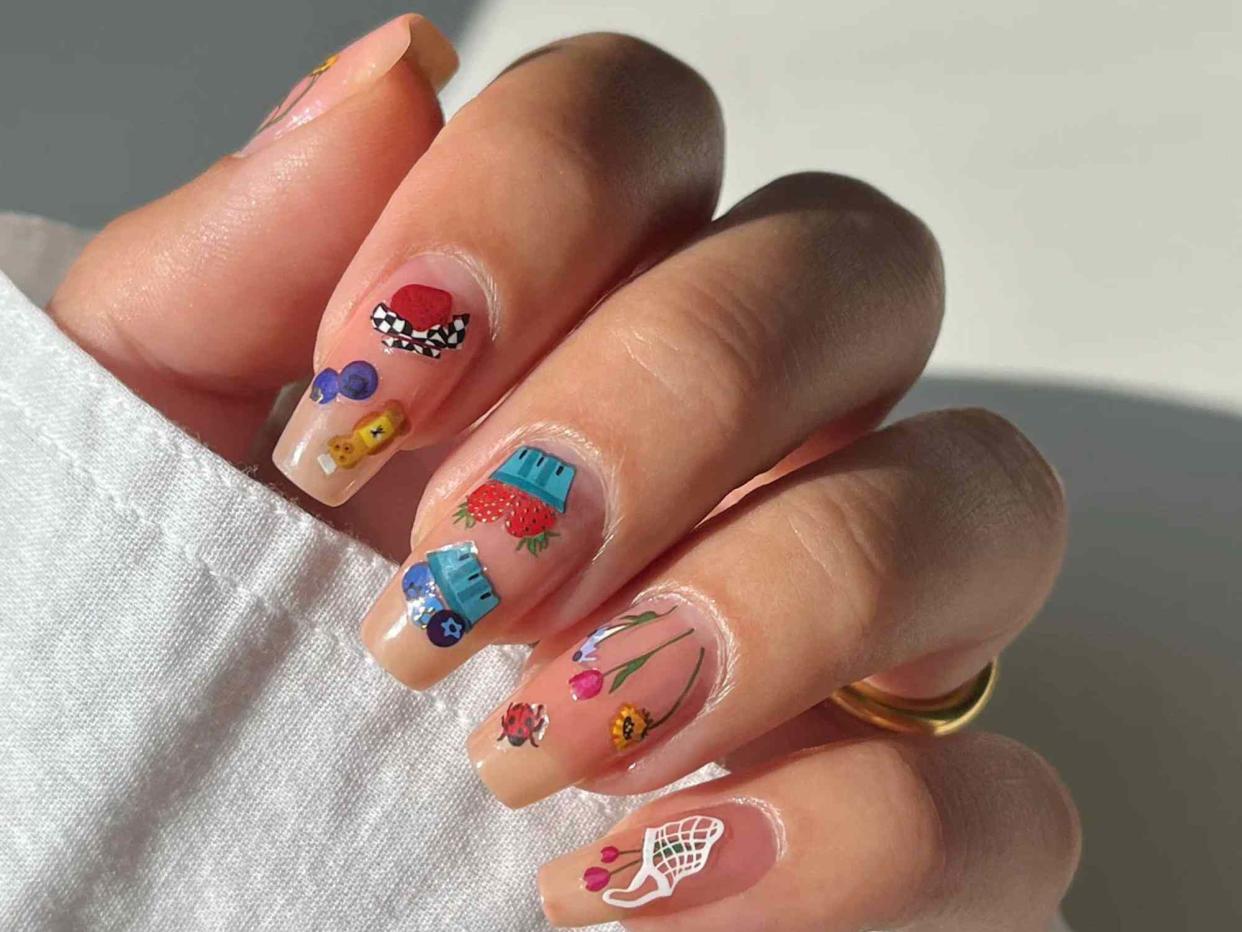
@deco.beauty / Instagram
“The key to nail art sticker application is to begin with completely dry polish,” says Olive & June mani trend expert Olivia Van Iderstine. “Stickers will not fully adhere to any polish that is even slightly wet.” She also warns that applying nail stickers to damp polish will cause peeling and denting, ultimately making your mani look worse off in the end.
Tips
While many people think of nail stickers as accessories to enhance their natural nails, Van Iderstine says that using them on press-ons is worthwhile, too. “Whether you use a solid press-on or a nail art press-on, you can create your own custom look [by adding nail stickers on top],” she explains. “This customization would usually take hours in a salon (with a price tag to match), but stickers make it easy to achieve this bespoke salon look.”
Determine Your Placement
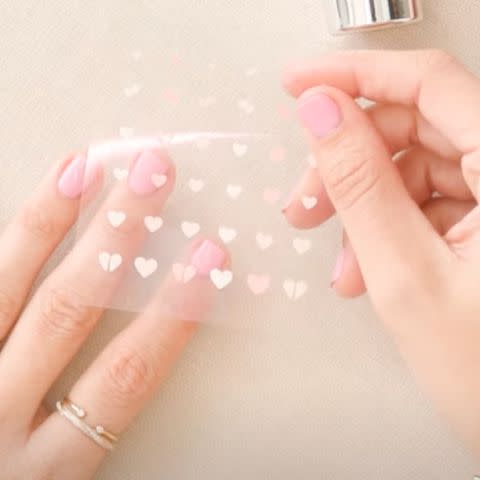
Olive & June
Most nail stickers come on clear sheets, which actually serve a purpose: This is so that you can easily envision them on your nails. “Remove the sticker sheet from the pack and use the clear sheet to ‘test’ your sticker placement before you apply them,” Van Iderstine says.
Apply the Stickers
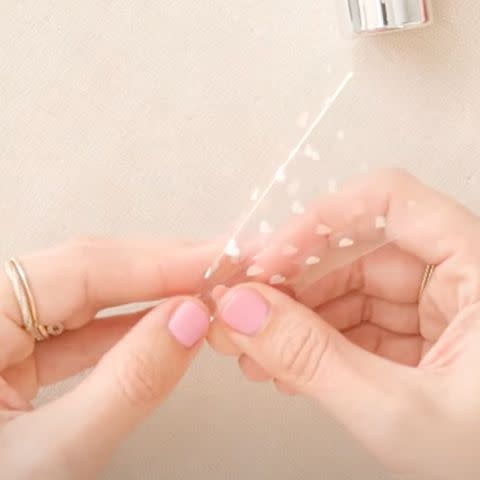
Olive & June
Once you know where you want to apply your nail stickers, it’s time to DIY. “Roll the sticker sheet to catch a corner of the sticker and lightly lift the sticker off the sheet," Van Iderstine says. “Place the sticker on your nail, and gently smooth it with your fingertip so there are no bubbles and it sits flat on your nail. This will prevent the sticker from curling and peeling up.” To avoid squishing the delicate sticker between your nails, she suggests using tweezers to lift and place them.
Seal Them In
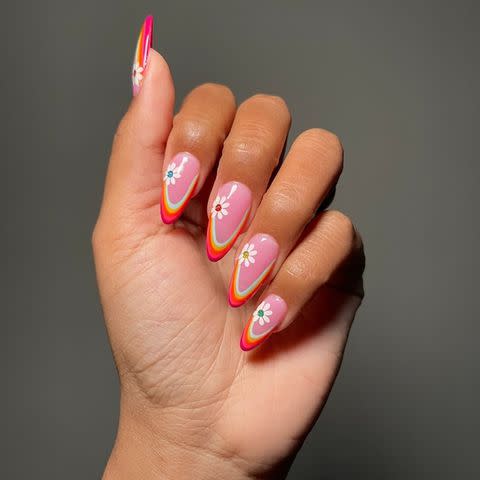
@rachelsuenails / Instagram
For a long-lasting embellished manicure, seal your nail stickers in with top coat—a tip that goes for natural nails and press-ons alike. “Apply two coats of top coat to ensure the sticker is well encapsulated,” says Nailing Hollywood artist Rachel Joseph. “With gel polish manicures, I like to apply a clear structure gel or builder gel over the stickers before I [add] top coat to make sure they’re well-encapsulated.”
If you’re using regular nail polish, try the Olive & June Super Glossy Top Coat ($9), but if you’re adding nail stickers to a gel mani, opt for the Aprés Non-Wipe Glossy Top Gelcoat ($13).
Tips
If you’re looking for a short-lived sticker mani, skip the top coat. “They will come off naturally,” Van Iderstine says.
The Best Nail Stickers to Shop
Excited to put your new mani knowledge to good use? Start by buying a few packs of fun nail art stickers. Some of our favorite packs include the Deco Beauty Farmer's Market and Sunny Side Up packs ($10 each), Olive & June's Under the Sea and Snack Time packs ($8 each), and Lights Lacquer's Likes It's 1992 and Not in the Mood packs ($7 each).
“[Some] of the best quality nail stickers I’ve used are from Deco Beauty,” Joseph tells us. “They have a large variety and always keep up with the latest trends.” Other popular brands that carry nail stickers include Inked by Dani, Le Mini Macaron, and Ciaté London.
The Final Takeaway
Nail stickers are one of the easiest ways to take your DIY manicure to the next level, and if you follow the above tips, you can achieve a stunning design with the potential to last as long as your mani in general. Given the increased popularity of nail art these days, we love that there's an option out there that allows you to have fun even when you don't feel like heading to the salon or spending hours on an intricate design.
Read the original article on Byrdie.

