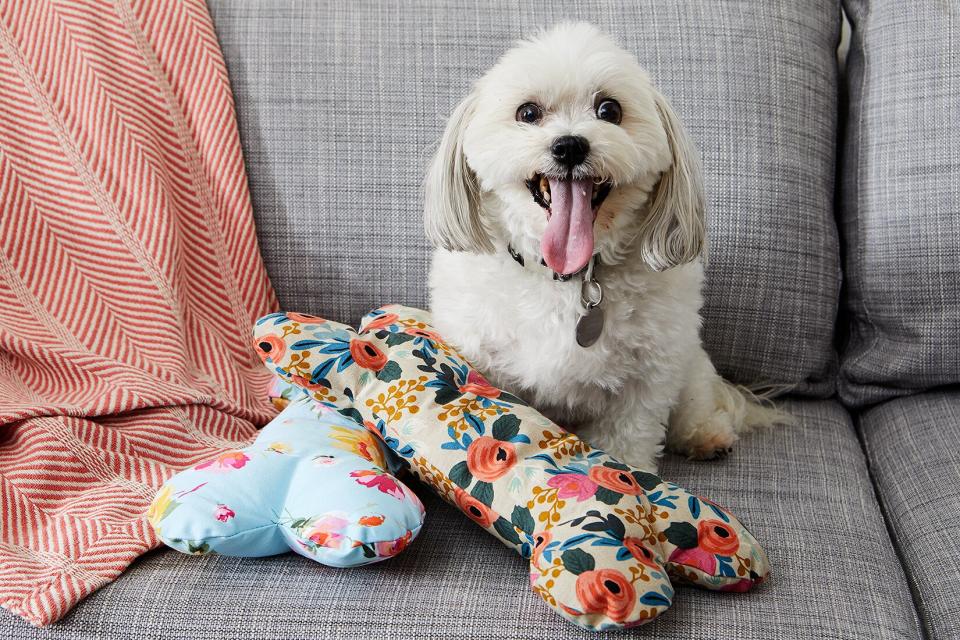
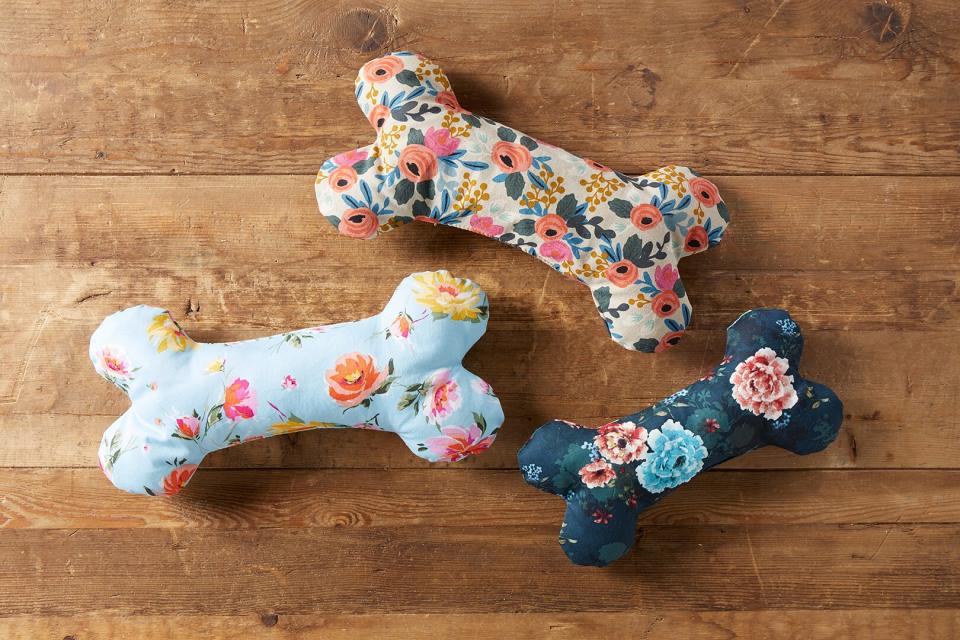
Make This Adorable DIY Dog Toy
Dog toys can be expensive, and they don't often come in colors or patterns that look good scattered across the living room floor after play time. Make your own DIY dog toys for your furry friends, complete with squeaking devices and gorgeous fabrics that match your style. These stuffed dog toys are easy to make, and our free pattern makes it easy to get the perfect bone shape. We'll show you how to cut and sew the fabric, and how to safely conceal a squeaking device inside the toy. You can purchase squeakers at your local pet store or online; sometimes they are packaged as replacement squeakers for repairing existing toys. Add as many squeakers as you like to each bone for a homemade dog toy that's truly customizable.
What You Need:
Dog bone template
1/3 yard fabric
1/4 yard duck cloth
Pencil
Scissors
Straight pins
Needle and thread
Ruler
Dog toy squeakers
Polyester fiberfill
Prep and Cut Fabric

To make these DIY dog toys, start by picking a fabric. You can use any fabric you're able to sew through—cotton, felt, faux fur, denim, or anything else that catches your eye. Start with 1/3 yard for each bone you want to make. To prepare the fabric, cut the fabric in half and fold one piece in half the long way, then fold in half again, quartering the fabric. Repeat with the other half of fabric, then lightly iron both pieces. Download and print our free dog bone pattern, then trace the pattern by lining up the pattern on the corner of the folded edges, repeating so the tracing is on both pieces of fabric. Cut the pieces out and unfold. Pin the pieces together with right sides of fabric facing each other.
Beginner’s tip: The “right side” refers to the side of the fabric you want to see on the outside of your finished project. The “wrong sides” refers to the side of the fabric that faces the inside of the finished project.
Conceal the Squeaker

To give your homemade dog toy an extra level of safety, we recommend enclosing the squeaking device inside a sewn pouch. That way, if the squeaker comes loose from the bone, it won't pose a choking hazard for your pet. Cut a square piece of canvas fabric that is large enough to cover the squeaker. Sew three sides shut to create a pocket and place the squeaker inside, then sew shut. Repeat this process for every squeaker you want to include in the bone.
Sew Shut
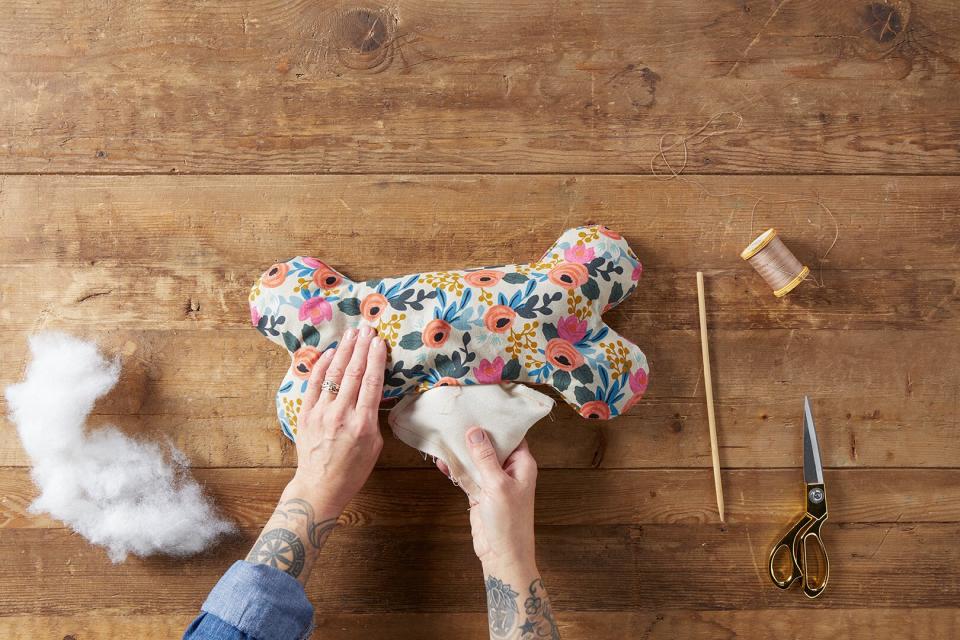
Once the fabric pieces are pinned together, sew seams about ¼ inch from the raw edges. You can sew these by hand, or guide the shape through a sewing machine. Sew almost all the way around the edge of the bone, leaving a 4-inch opening in the middle of one of the long straight edges; this is where you'll add the squeaker. Turn the sewn fabric bone right side out and use a pencil (or another long tool, like a knitting needle) to poke out any stubborn corners. Use the opening you created to stuff the bone with poly-fill, filling the ends first. Add the squeaker pouches in even intervals (or include just one in the center) and fill in with more poly-fill until full. Then, use a needle and thread to stitch the opening closed.

