Before and After: An $800 Redo Takes This Windowless Bathroom from Dim to Dazzling
Natural light does a lot of heavy lifting when it comes to the look of your home, especially in small spaces like bathrooms. So windowless rooms need to work extra hard — or extra smart — to compensate.
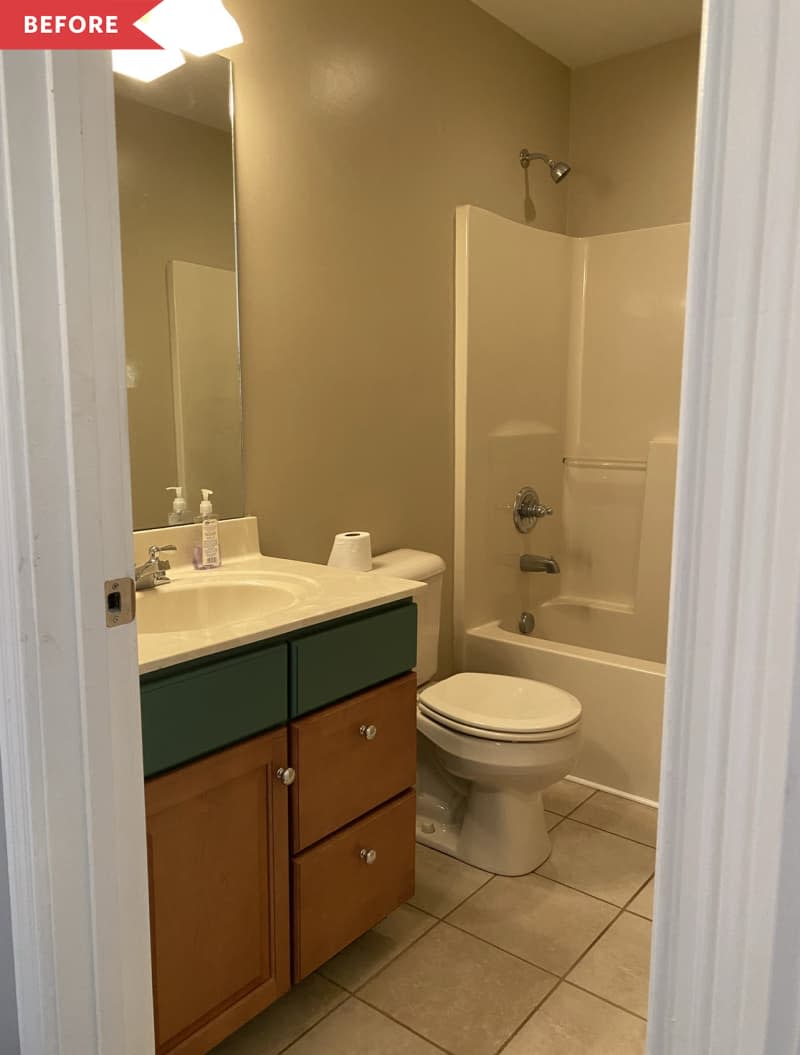
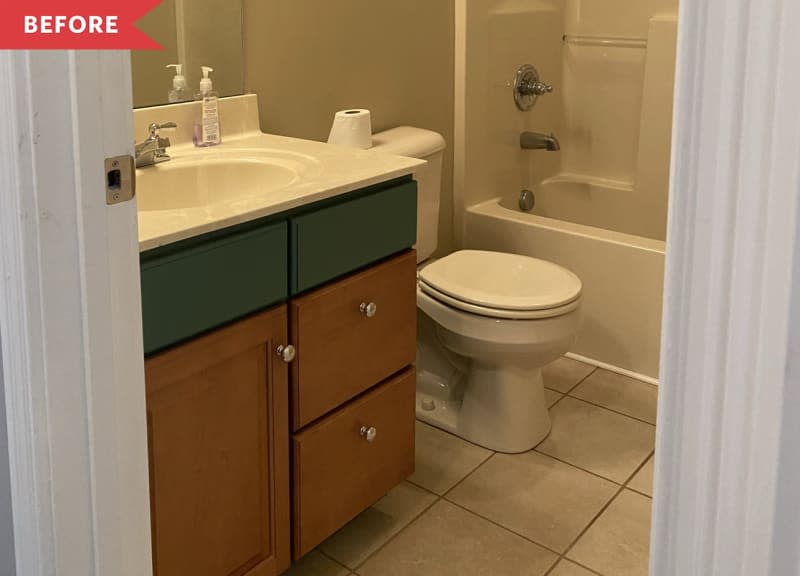
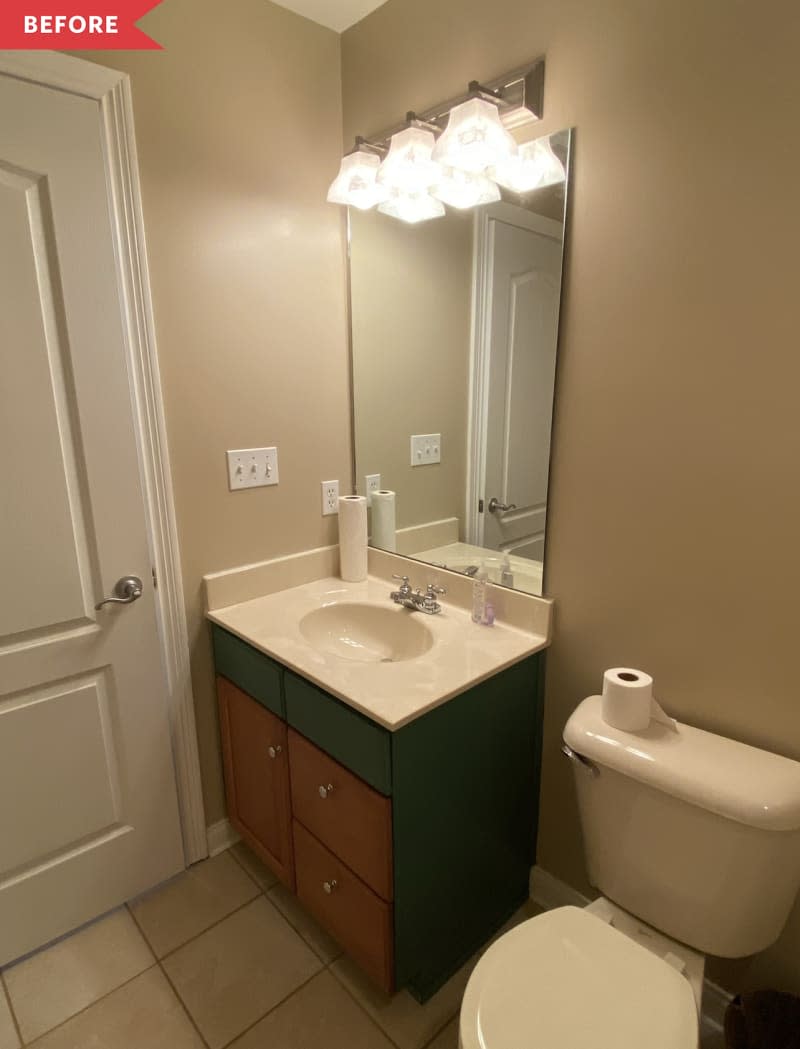
Take this windowless bathroom, made over by Caitlin Stanton (Cait in the Commons) for her friend, as a great example in how to decorate with low light. “The before bathroom was a builder grade bathroom with beige walls and felt very dark and unwelcoming,” Caitlin says. Plus, she says, “everything from the vanity, the tub, the toilet, and the light fixture felt old and outdated.”
“Since everything in this bathroom was outdated, I figured it would be easy to do cosmetic changes and really make this space feel bigger by using paint and upgraded finishes,” Caitlin says.

Caitlin started with a board and batten wall on one side of the bathroom, installing pretty gray and white peel-and-stick wallpaper above. Painting the wainscoting and all the other walls white — instead of the old beige color — went a long way in brightening up the bathroom. So did painting the existing tub and shower insert a bright white, using a tub and tile paint.
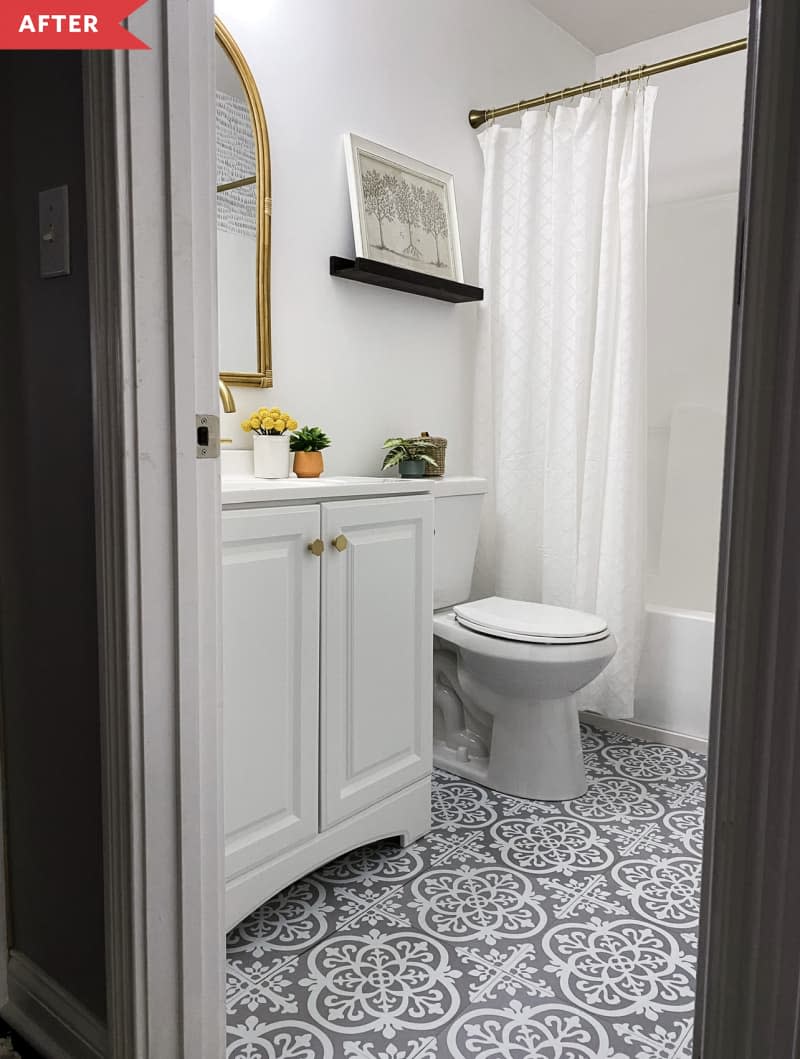
Caitlin took out the toilet and vanity to be able to install new peel-and-stick tile on the floor in an intricate gray and white pattern. Since it’s peel-and-stick, the old tiles beneath didn’t need to be removed — saving time and money on demo.
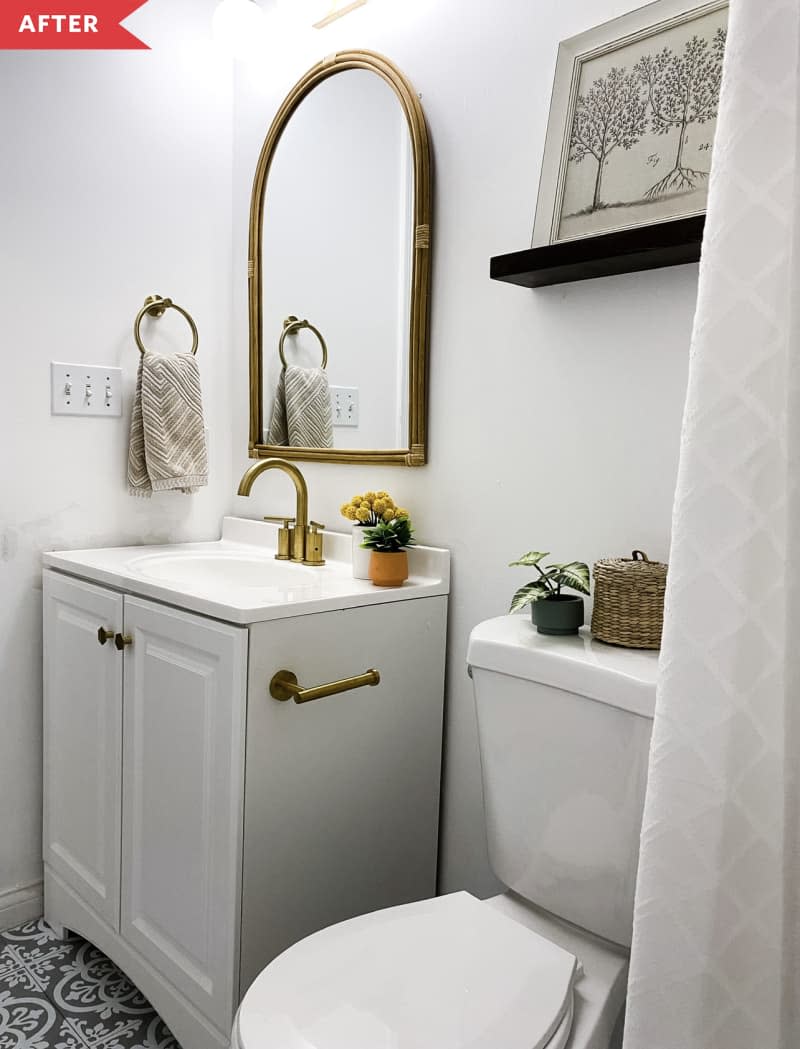
Finally, a new toilet and vanity were installed, along with a new arched mirror and a new globe vanity light. And while the dramatic transformation looks expensive, it rang up at just $800 total.
“I LOVE how bright this bathroom is now! It feels a million times bigger,” Caitlin says. As for her favorite part? “I am most proud of the board and batten wall,” she says. “It adds an extra touch to the bathroom design and really enlarges the space.”
This article originally published on Apartment Therapy. See it there: Before and After: An $800 Redo Takes This Windowless Bathroom from Dim to Dazzling

