8 No-Heat Techniques for Gorgeous Curls Overnight
No seriously, I woke up like this.
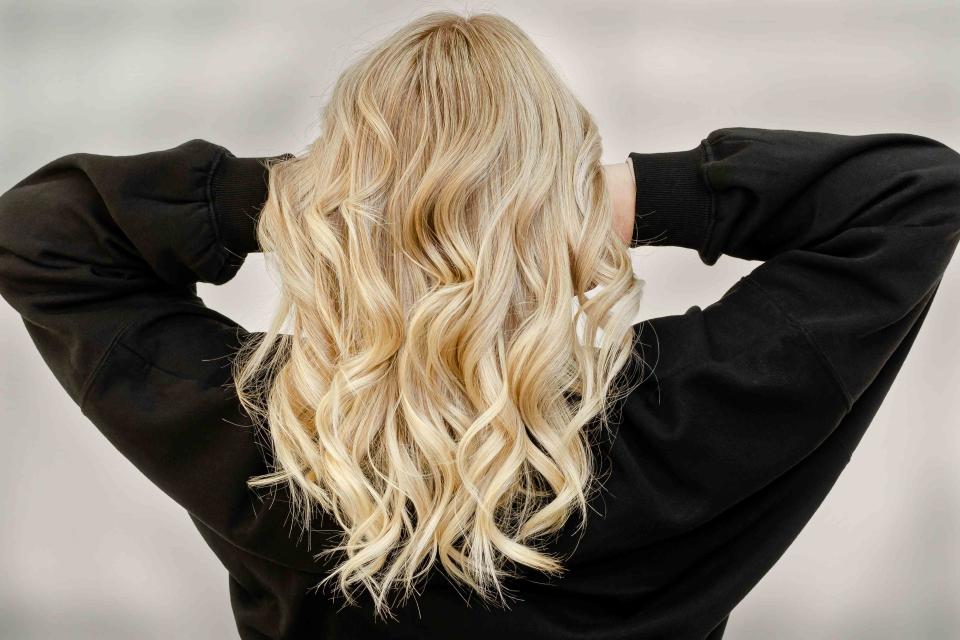
Serhii Tychynskyi / Getty Images
News flash: You don’t need hot tools to nail a curly look. As a wavy-haired gal myself, I’ve spent years testing every no-heat method out there—anything to elevate my natural texture without breaking out the curling iron. And truth be told, some techniques work better than others. While a few left me with odd crease lines and ill-defined curls, others boasted XL volume, and fresh-off-the-beach waves that let me push wash day back a day or two (okay fine, maybe three).
Lucky for you, we’ve already put it in the work and found the eight best no-heat techniques for overnight curls. Read on for bouncy hair by morning!
Hair Plop
Despite recent TikTok fame, plopping is far from new—the method’s been a staple in curly-girl routines for decades, helping natural curls and waves suck up moisture and product as they set. It begins with freshly washed and conditioned hair. Rake through your go-to leave-in conditioner with a wide tooth comb before applying your styling product of choice (curlier hair types may want to opt for a curl cream to achieve maximum hydration). Flip your hair upside down and scrunch at the top, gathering the hair at the crown of your head before securing a microfiber towel or T-shirt over your hair. Then it’s as simple as letting your hair dry in the wrap for around two hours before releasing the wrap and letting hair finish drying. Once completely dry, scrunch a nourishing serum in from mid-lengths to ends to further hydrate and define curls.
Curling Headband
Another TikTok favorite, the heatless curls headband is a bit less DIY than other methods since you need to actually purchase a kit. We like the Kitsch Heatless Hair Curler in Satin ($16), which comes with a satin-covered foam curling rod (imagine a plush mini pool noodle) and two satin scrunchies. To apply, start with damp (not wet!) hair and split hair into two sections. Starting with the front sections, wrap hair around the rod away from the face. Add more hair as you move down the rod until all hair is wrapped. Secure with a scrunchie and keep in overnight (or until your hair is dry). Once removed, you should be left with effortless waves.
Leggings Method
For those hesitant to spend the money, the leggings method is essentially a free version of the curling headband, simply subbing out the foam rod for, you guessed it, a pair of leggings. In this case, instead of wrapping hair around the leggings, braid each side of the hair, using two sections of hair and the leggings as the third. Secure with a scrunchie and leave overnight. It’s important to note that there are a few hiccups with this technique: It’s more difficult to actually set than with a premade kit, and there’s the awkward rear of the leggings to deal with—while it works best resting on the back of the bead, it’s still not necessarily the most comfortable. Still, if you’re looking for an easy, cheap way to get at-home curls, it’s worth trying. And, as you can see, it definitely works.
Braid
The braid is the easiest, most accessible method of the bunch. All you need is a ponytail (though we prefer a silk scrunchie). The number of braids is dependent on your intended curl size—the tighter the curl, the more braids you should add. For reference, a single braid should give a nice beachy wave, but it likely won’t give full-on curls. Once you land on your number, simply braid your hair and remove when hair is dry. That’s it!
Twist and Clip Method
Our personal favorite method is the twist and clip. Part damp hair in two before twisting each side back and connecting the two with a clip. Optionally, you can separate the front sections of hair and twist them back separately, connecting with another clip. And keep in mind: The tighter the twist, the tighter the waves. For this method, we swear by the Crown Affair Clips ($54). While pricey, they’re beautifully handcrafted and feature an added set of smaller hidden teeth inside for reliable hold—we’ve found that other clips tend to fall out with this method. We love the results of this method; think perfect beachy waves without any of the hassle.
Bendy Rods
If you’re looking for ultra-tight curls, bendy rods are the way to go. Using a set like the Vintage Cosmetic Company’s Pink Bendy Hair Curlers ($9), you can get corkscrew curls overnight. Simply twist small section of hair around the rods, fixing them in place close to the scalp by bending the ends of the rods together. If uncomfortable, you can wrap with a scarf or bonnet overnight. Once dry, remove rods and add some curl cream for best results.
Sock Method
While the sock method can yield some varied results, when done right, it gives a beautiful bouncy wave. Split damp hair into top and bottom portions, tying the top section up with a scrunchie. Grab a clean sock and clip it in the center of your bottom section toe-side up. Wrap hair around the sock before wrapping the sock around itself to create a bun-like shape. Flip open the remaining open part of the sock and cover the bun to secure it overnight. Repeat with the top portion. For a visual reference, watch this video. While the curls may come out slightly wonky come morning time, you should be able to twist them into shape (as done here, in the follow-up video).
Robe Curls
Robe curls follow the same general method as the curling headband and leggings curls. Clip the belt of a robe on top of your head so that an even amount of fabric is on either side. Split hair in two and wrap each section around the robe, starting with front pieces and adding more hair each time until all hair is wrapped. Secure with a silk scrunchie and repeat on the other side.
For more Real Simple news, make sure to sign up for our newsletter!
Read the original article on Real Simple.

