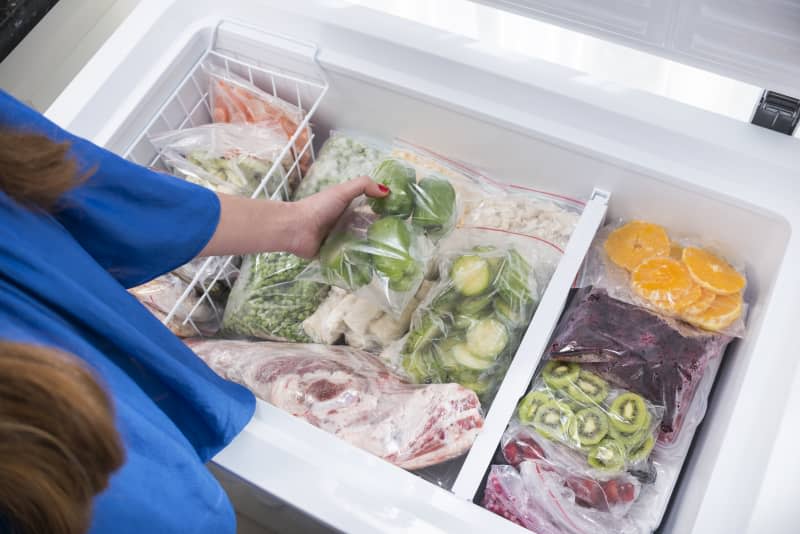
7 Tips to Organize Your Chest Freezer

Chest freezers come in handy when Costco has a sale on prime cuts of meat, or if you have a large family that likes to tear through more meals than a standard fridge can stock. Whatever your reason for a chest freezer, there is one thing people universally struggle with: How to keep it organized.
Since a chest freezer is essentially a deep chest, it can easily become cluttered as you buy more food. This makes it difficult to get to food stored on the bottom and keep track of what you already have in stock. However, with clever organization, these issues can be solved.
Here’s how to organize your chest freezer so it stops looking like a untamed maze of food. Follow these simple steps and you’ll have an easier time keeping track of what you have in stock.
Categorize the items.
Much like how you organize your closet, you need to categorize your food. Take everything out of the chest freezer and divide it into piles: meats, soups, breads, frozen dinners, sauces, and so on. If you have a ton of a particular category, you can create subcategories like “chicken,” “beef,” and “fish.” Not only will this help you keep stock of the items you have, but it will also help you see what kinds of storage bins or racks you need depending on the amount in each category.
Stock up on freezer bins.
Rather than having loose bags cluttering your freezer, invest in freezer bins that are easy to pick up and move around. Measure your freezer to get its dimensions, and then look online for bins that match the depth of the chest. You can’t go wrong with the type of bin you choose — they can be solid plastic, wire farmhouse bins, or old moving boxes. You can also search your house and see if you have any bins currently not in use. For a budget-conscious alternative, see what selection of plastic bins your local dollar store has.
Be sure to choose bins that are proportional to your categories. If you have a large supply of frozen bread or baked goods, choose a bin that’s big enough to keep everything in one place. But if you have a small amount of pre-chopped vegetables, a small bin will do.
Consider decanting the food into plastic bags.
If you have bulky meats, large amounts of frozen veggies, or tubs of frozen soups, consider transferring them from bulkier boxes to freezer bags that can be neatly stacked. This might mean having to separate one single item into a series of smaller bags, but the goal is to make the bags as flat as possible so they’re easier to arrange. If you do this, make sure to clearly label each bag with its serving size (if applicable) and expiration date. Stack the items with the soonest expiration date at the top of the bin so you use them first.
Decide what you use the most.
Whether it’s pre-cut vegetables for cooking or soups for quick lunches, decide what you use the most in your freezer and put those categories to the side. You want to make sure those bins are at the very top of the chest, so you’re not hauling out heavy boxes to get to something you use daily. Instead, you want items you rarely use or have stockpiled for a rainy day at the bottom of the chest and the items you use frequently at the top.
Stack your freezer bins.
Stack your bins in alternating directions so they’re easy to move around. For example, put your least-used and bulkier items on the bottom of the chest. Depending on the size of the freezer, you can fit anywhere from two to five bins there. If those bins were arranged horizontally, layer the next bins vertically. Keep going until you reach the top layer, which should be your most-used items. When you need to get something deeper down into the chest, you can simply remove those bins, and get to the layer you need without rooting around heavy bags and boxes.
Consider vacuum sealing to make more space.
If you have a lot of surplus food but don’t have room for a bigger freezer, make your supply more manageable by vacuum-sealing the food. This will compress any unnecessary space, allowing you to organize more bags in a bin than you usually would be able to fit. To do so, you can either get a vacuum sealer machine that will do the work for you, or you can manually do so with a zip-top freezer bag and a bowl of water.
Arrange your food flat in the bag, press out as much air as you can, and zip the seal closed almost to the end. Holding the bag by the open corner, slowly lower it into the water, smoothing out any big air bubbles that might appear. Keep lowering it until you reach the corner, and then zip it closed. You should be left with an air-tight seal.
Keep a paper inventory on the chest.
Sometimes it’s hard to keep track of what’s in your freezer, no matter how ruthlessly you organize. To ensure you don’t forget about that cut of meat at the very bottom of the chest or use the last soup container without knowing, keep a paper inventory taped to the outside of the appliance. In each line, include the food item, its package or container size, and how many of those packages you have. This will alert you if you’re running low on something (that you can then snap up during a sale!) or remind you you have that one obscure ingredient you completely forgot about. Consider investing in a magnetic pen you can attach to the chest so you can easily tick off your inventory as you grab things.

