7 key iPhone camera functions you should know about

Mastering your iPhone camera is a fantastic start, yet it’s not a surefire path to an outstanding photo. The art of photography encompasses mastering composition, understanding light, choosing interesting subjects, applying creative techniques, and recognising unique photo opportunities where others see nothing.
That's why it's vital to go beyond the technical aspects of using the best iPhone for photography when learning how to take better photos. However, knowing exactly how to use your device is the first step. With that in mind, below are some of the basic key functions and tips on how to better use your iPhone camera, from an expert and founder of the iPhone photography school.
01. Portrait Mode
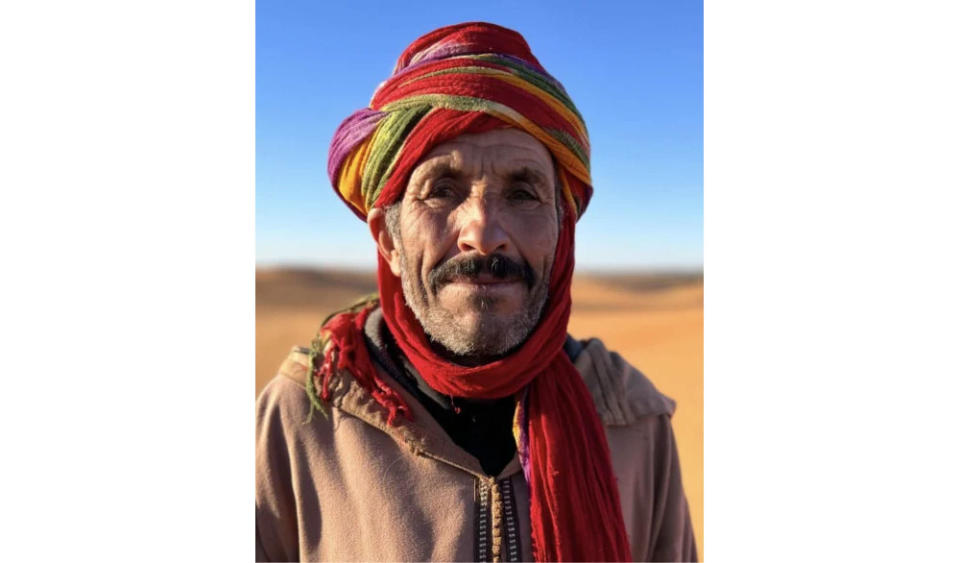
Portrait mode artistically blurs the background while keeping the subject in sharp focus. It’s perfect for taking professional-looking portraits of people (or pets). But you can use it in any situation where you want to emphasise the subject over the background. The great thing about Portrait mode is that you can adjust the strength of the blur… even after you’ve taken the photo! Portrait mode also has a Portrait Lighting feature which lets you apply different studio lighting effects to your photos.
02. Live Photos
Live Photos captures a few seconds of motion and sound before and after you take a picture. When you tap and hold your image, it comes to life as a short video clip. It’s great for capturing moments with subtle movement and sound that add to the memory, like the laughter of a loved one, the rustling of leaves, or the bubbling of a stream. You can also use Live Photos to create beautiful long exposure photos. This blurs any movement in the scene, which looks especially stunning for waterfall shots!
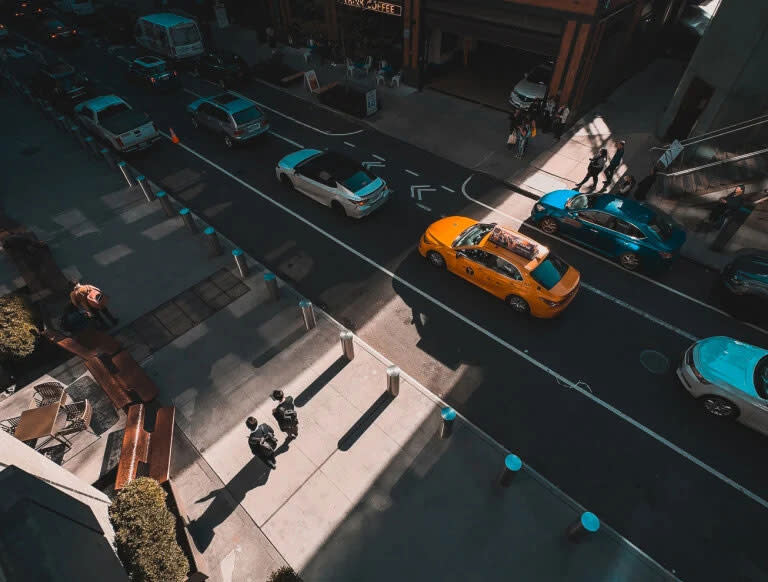
03. Time-Lapse Mode
Time-Lapse mode compresses a sequence of frames taken over an extended period into a short video, giving the effect of time speeding up. Use it to capture changes that are slow and gradual, like a sunset, clouds moving across the sky, or the hustle and bustle of a busy street. For best results, place your iPhone on a tripod or steady surface to keep the camera perfectly still. You can also use this mode to create a dynamic hyper lapse video where the camera is moving through the scene. For example, you could walk through the streets of your city while recording a time-lapse, and the result would be a sped-up video of your journey.
04. Night Mode
Night mode is perfect for capturing high-quality low light photos with stunning detail. Night mode automatically activates in low light environments to brighten photos and reduce noise/grain. Whether it’s a city skyline at night, a dinner party in a dimly lit room, or a night-time landscape, Night Mode helps to maintain clarity and colour in your photos. When using this mode, the camera captures the image over several seconds, so be sure to hold your camera steady. If you don’t like the results you’re getting with Night mode, you can easily switch it off by tapping the Night mode (moon) icon in the Camera app.
05. Focus
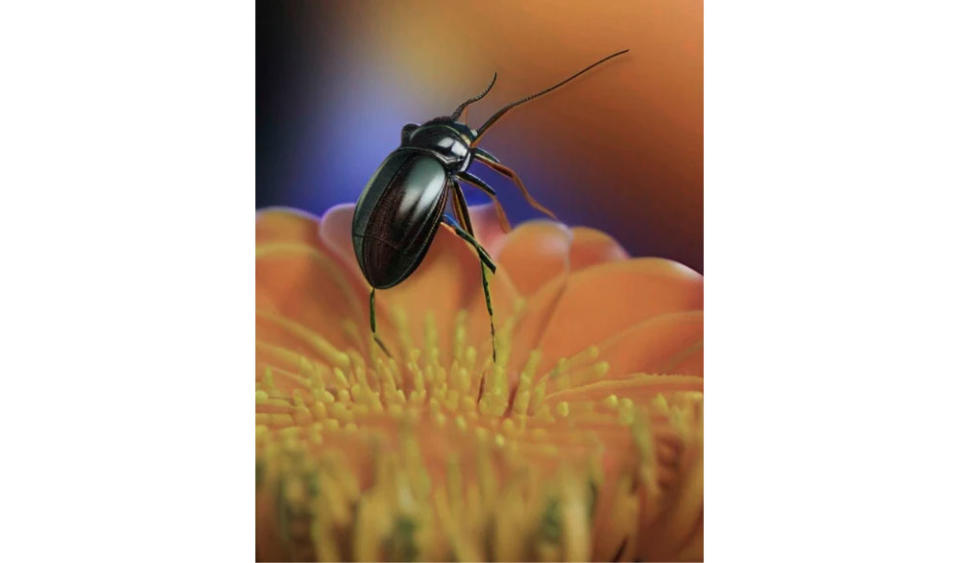
In general, your iPhones autofocus does a great job of getting your subject in sharp focus. But in certain situations, especially when you have a subject close to the lens, you might need to manually set focus where you want it. Luckily, it’s super easy on the iPhone… Simply tap the screen to set the focus point. For example, in a landscape scene, you could tap to set focus on a flower in the foreground, a person in the middle ground, or the mountains in the background. It’s a simple, yet powerful, trick for taking creative control over your shots.
06. Exposure

Exposure refers to the brightness of your image. Your iPhone usually does a good job of capturing perfectly exposed photos. But sometimes it doesn’t get it right, and you may end up with a shot that’s too dark or too bright. Or you might want to take creative control of exposure, for example, to capture dark shadows or silhouettes. To adjust exposure, tap to focus, then swipe up or down on the screen to make the photo brighter or darker.
07. Burst Mode
Burst mode is perfect for capturing fast action shots where timing is crucial. Simply drag the shutter button toward the image preview, and your iPhone will take a series of photos in rapid succession. You can capture hundreds of photos in just a few seconds! Burst mode is ideal for sports photography, capturing fast-moving animals, or any situation where the action is fast and unpredictable. Later, you can review the burst and select the best photo from the sequence, ensuring you never miss that perfect moment.
Want to learn more about iPhone photography? Find out more about the iPhone Photography School, including courses and price information.

