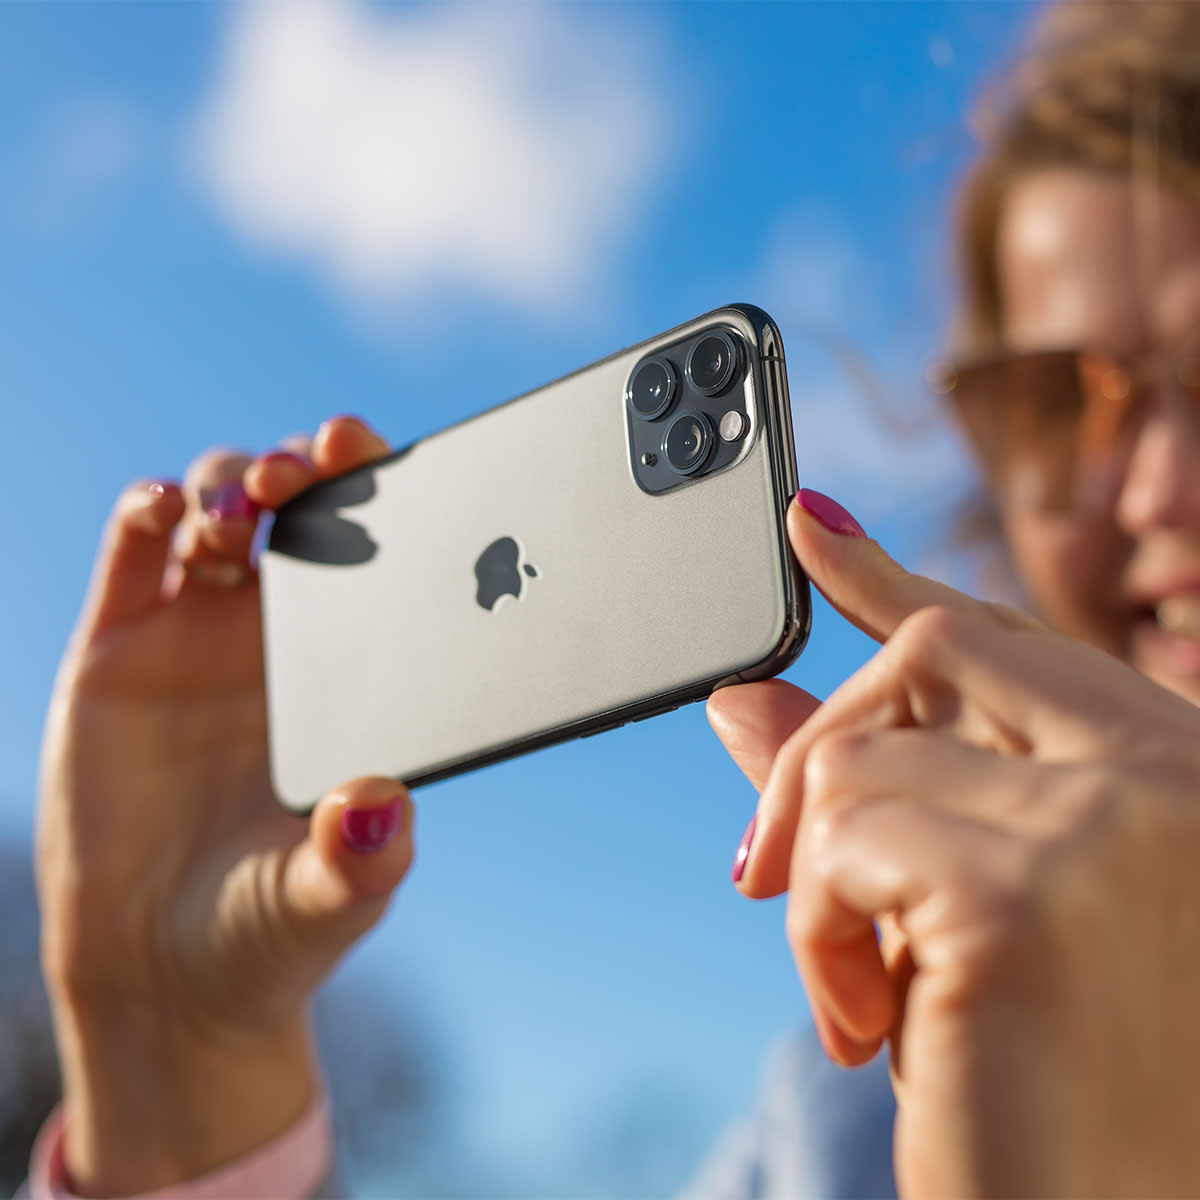
6 Tips To Take Better Photos On Your iPhone, According To Apple Experts
The moment the world realized that an iPhone can do what a common camera can, only better, everything changed. Suddenly people are snapping pretty photos of their lunch, documenting their trips through photo dumps on social media, and not having to rely on partners and family members to take photos of them that (let’s face it) rarely come out as flattering as selfies. But there’s always room for improvement. If you’ve never even thought about HOW you snap a picture on your phone, you may be missing out on opportunities to take better, clearer, more gorgeous photos. No worries: we’ve got some tricks up our sleeves. Apple experts say these six tips will help you take better photos on your iPhone.
Grid Lines Are Your Friends
Those grid lines that pop up when you’re prepping a photo have a purpose — they help you achieve symmetry when you’re taking photos. But many people tend to ignore them and miss out on a way to snap a crisper picture that puts objects in their place. “When trying to line up your shot, make sure to use the grid lines on the camera display,” said Steven Athwal, a UK-based telecommunications specialist, entrepreneur, investor and solutions provider. “These lines can help you align your shot and help you get a more balanced composition.”
Avoid Using Zoom
You’re farther away from your subject than you’d like — but zoom can help, right? Not if your intention is to take a crisp and clear photo, unfortunately. “Try not to use zoom,” Athwal said. “While the iPhone’s digital zoom can be useful in certain situations, it can also result in a lower-quality image. It’s best to zoom in as little as possible and to use the 2x optical zoom instead. You can also crop your image later if you want more of a close-up without sacrificing any details.”
Take Lots & Lots Of Photos
Teens have the right idea — the more photos you take, the more options you have to snag a great shot. “Instead of trying to get that one perfect picture, take lots of photos, or even a video,” Athwal said. “By using burst mode or taking a video you can take many shots of the same scene and then choose the best one of the bunch. For the video, simply take a screenshot of the frame that you like most.”
Make Use Of Backlighting
“You can hunt for possibilities with lighting and take images that most iPhone users will overlook,” said Eleanor Fletcher, the CEO, and founder of The Best Brisbane. “Locate some incredible light, preferably with color and direction. Place something in front of it, or find lovely light behind whatever you wish to picture. The goal is to learn how to use light creatively. Take advantage of shadows and highlights. Photographing everything in flat light from the front of the subject is as uninteresting as photographing from your eye level.”
Portrait Mode Can Help You Add Depth
Portrait Mode is a great technique to create a fascinating composition while drawing the viewer’s attention to the main topic, according to Fletcher. “Use it in natural light mode to blur the backdrop so that other aspects in the photo do not distract the viewer’s attention away from the focus point,” she said.
Lock the Exposure
The iPhone will automatically meter a photo to ensure that the entire frame is appropriately exposed, noted Rashid Khan, the CEO and founder of Dubai’s Best. To display details, Khan reminds us that the HDR mode lightens shadows and reduces dazzling, blown-out highlights.
“If you want an artistically exposed photo with black shadows or bright whites, or if you want to expose something in the shadows or against a bright sky, you’ll have to use spot metering,” Khan said. “Spot metering works in tandem with spot focus. The exposure will be determined by where you tap to focus the iPhone camera. Using the slider with a sun next to the focus box is an easy method to expose the subject you’re focusing on. Drag the sun upwards to lighten the shot and downwards to darken it. Use the exposure compensation in the hidden menu if you want the camera to focus on one area while exposing it to another. Swipe up on the image to expose the hidden icons, then hit the +/- icon. Slide the slider up to +2 stops for lighter and down to -2 stops for darker.”
You’re just six tips away from better-looking, more interesting photos that you can shoot right on your iPhone.

