6 Steps for Cleaning Out the Garage Properly and Thoroughly
Just like your home, your garage needs a little sprucing up for Spring.
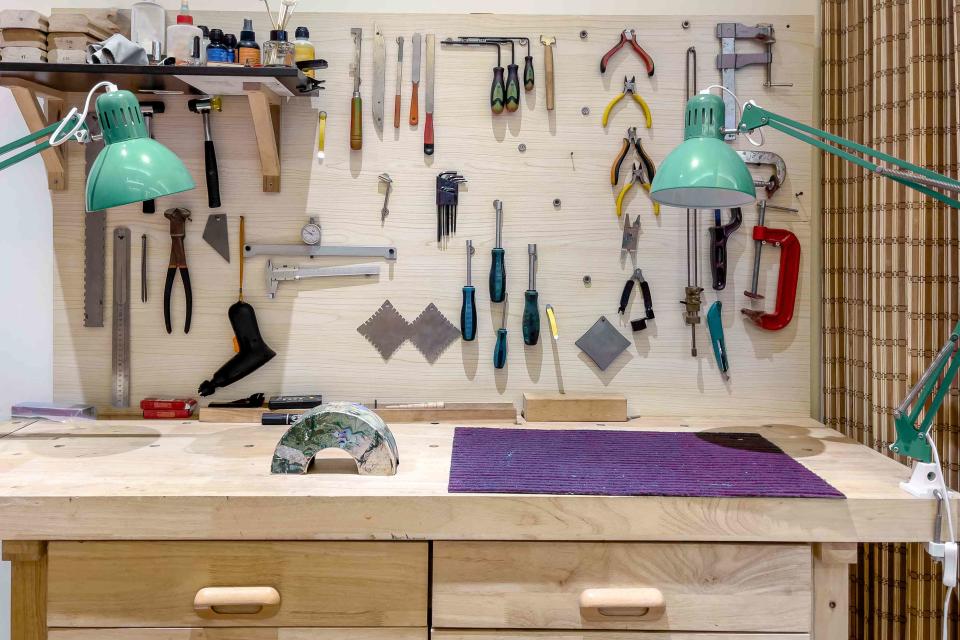
Liyao Xie/Getty Images
A garage is a coveted space by most homeowners to protect their cars from the elements. When you no longer have space to park your car or find a path to the door, it's time to clean out the garage—it can become a serious catchall for all kinds of tools, toys, and junk. Plus, it gets filthy with oil drips, rust, and dust. To restore order, and get things spotless, follow our step-by-step ultimate garage cleaning guide.
Related: 7 Things You Should Never Store in the Garage
Step 1: Empty the Garage
It may feel overwhelming but an empty garage is easier to clean. Pick a day with nice weather and move out the cars. Move all storage boxes, gardening tools, furniture, toys, sports equipment, and junk into the driveway. If there are windows in the garage, remove any window treatments for cleaning.
Step 2: Start from the Top
Use a broom or duster with an extendable handle to remove cobwebs and dust from the ceiling, walls, window frames, shelving, and work surfaces. Be sure to clean rafter beams and light fixtures. If you use a disposable duster, have plenty of refills on hand to capture all of the dust. Once you've finished, use a push broom or shop vac to capture all the dust and debris on the floor.
Step 3: Clean Walls, Windows, and Work Surfaces
Use a solution of warm water and a few drops of dishwashing liquid in a bucket to wash walls, shelves, and work surfaces. Fill a second bucket with plain water to rinse away soapy residue.
Start at the top and use a sponge, microfiber cloth, or a mop to clean the walls. Work in a small area and rinse your cloth frequently. When the space is clean, rinse with clean water and move to the next space. You may need to replace the cleaning and rinsing water often. Use the same method to clean the inside and outside of the garage door, the door leading to your home, shelves, and work surfaces.
Mix a solution of one cup of water and one cup of isopropyl (rubbing alcohol) in a spray bottle to clean windows inside and out. Use a microfiber cloth that won't leave lint for a streak-free shine, and don't forget to clean any windows on the doors.
Step 4: Clean the Floor
Sweep the floor again, if necessary, to get rid of dust and debris then give it a thorough cleaning. If you have an epoxy or rubber tile floor, follow the manufacturer's cleaning guidelines. For an untreated concrete floor, mix a solution of warm water and a cleaner that contains a degreaser (dishwashing liquid works well) following the product label directions.
Starting in a back corner, use a mop to spread the solution on a section of the floor and let it sit for at least 10 minutes to start working. Use a nylon, stiff-bristled scrub mop to clean the floor. Rinse with a mop or garden hose. Repeat the steps until you have cleaned the entire floor. Allow the floor to air dry before moving cars and other items back inside.
Keep It Simple
Use a power washer to make quick work of cleaning an unpainted, concrete garage floor.
If stains remain after cleaning, try these tips to remove tough stains:
Oil: Place a thick layer (at least two inches) of kitty litter or sawdust on the stain. Let it sit for 24 to 48 hours before sweeping or vacuuming away. Scrub the area with an undiluted degreaser and rinse well. Repeat the steps until the stain is gone.
Rust: Apply an oxalic acid-based cleaner (Rust Away, CLR, Bar Keepers Friend) directly onto the stain. Follow the label directions and scrub with a nylon-bristled brush before rinsing well. Never use chlorine bleach on rust stains, because it can permanently set the stains.
Mold and Mildew: In a plastic bucket or spray bottle, mix one part chlorine bleach in two parts water. Apply the solution to the mildewed area and let it work for at least 15 minutes. Rinse well. Wear eye protection and ventilate the space well.
Related: The 12 Best Mops of 2024, Tested and Reviewed
Step 5: Inspect the Garage and Make Repairs
Now that the garage is fresh and clean, do a quick inspection for insect or rodent activity, broken fixtures, and mold. Make repairs, replace light bulbs, add wall storage, and schedule appointments with home repair experts or pest control companies if needed.
Step 6: Declutter and Organize Garage
This last step is probably the most difficult one: It's time to tackle the stuff in the driveway that you had stashed in the garage. Make three piles—keep, donate, toss—and try to touch each item only once.
When you've finished sorting, take some time to organize what's coming back into the garage. If items need to be cleaned, wipe or rinse them off outside in the driveway and be sure they are dry before bringing them back into the garage.
Get rid of cardboard boxes. Use clear plastic storage bins or label opaque ones clearly. Store the bins with similar or seasonal items together. Look for ways to add wall storage for tools and gardening items.
Remember, most garages are not climate-controlled spaces. Temperatures can reach up to 40 degrees Fahrenheit higher than inside a home during summer months and drop to much colder temperatures during the winter. Never store electronics, photographs, delicate fabrics, or temperature-sensitive items in an unconditioned garage!
Enjoy Your Work
Take a moment to appreciate your hard work and your freshly cleaned and organized garage as a more usable space before parking your car back inside.
Related: How to Wash a Car at Home Like a Pro—Inside and Out
For more Real Simple news, make sure to sign up for our newsletter!
Read the original article on Real Simple.

