6 Signs It's Time to Repot Your Plant and How to Do It, Step-by-Step
baranova_ph / Getty Images
Fact checked by Marcus Reeves
Plants are meant to grow, and there are a few clear signs that your houseplant may have outgrown its pot and needs to be repotted.
If you notice that your plant has visible roots coming out of the bottom, or the plant is now much larger than the pot, line up a larger pot and fresh potting soil—it's time to repot.
The actual frequency of repotting depends on the type of plant and how fast it grows. Some plants, including many tropical houseplants, prefer a snug fit in their pots. Several years can go by without the need for repotting them. Other plants grow so fast that they require annual repotting.
This guide walks you through the telltale signs of when plants need to be repotted, how it’s done, and other helpful tips for repotting plants.
6 Signs It’s Time to Repot Your Houseplant
Firn / Getty Images
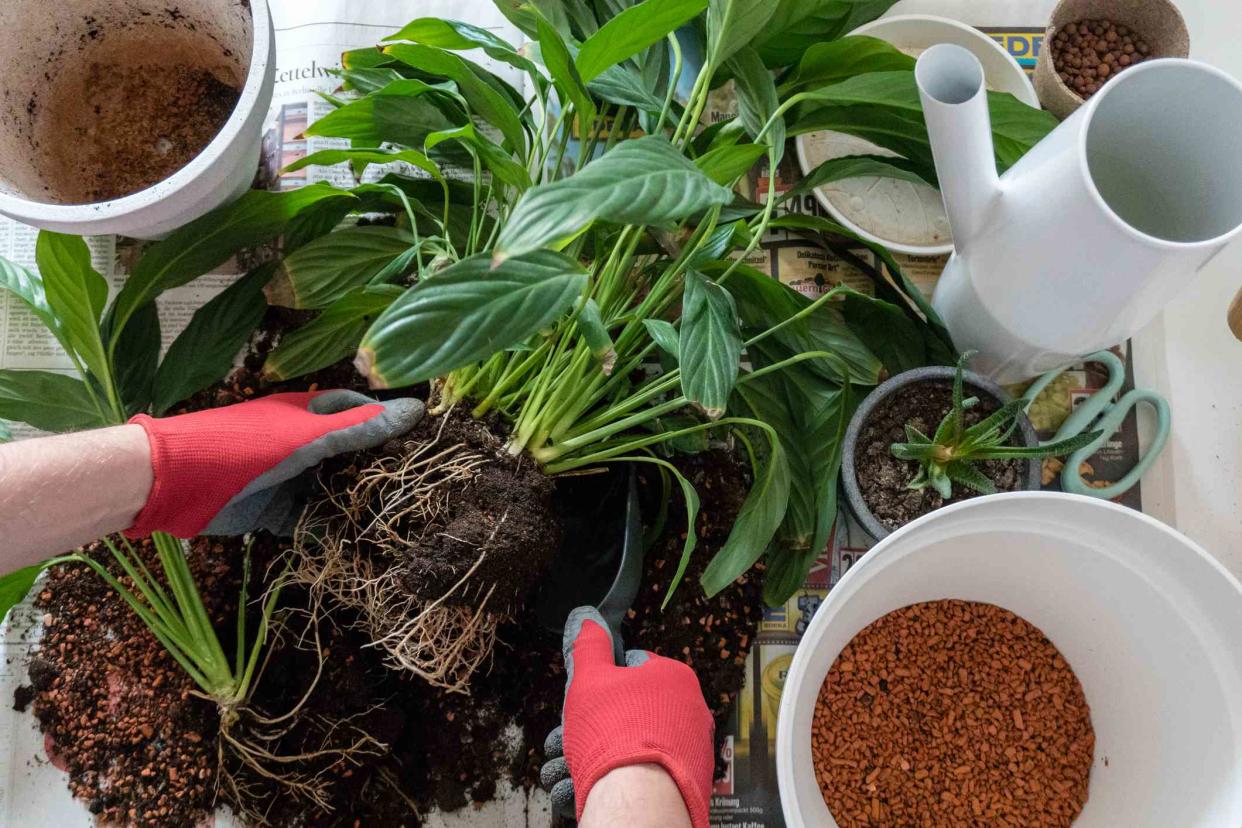
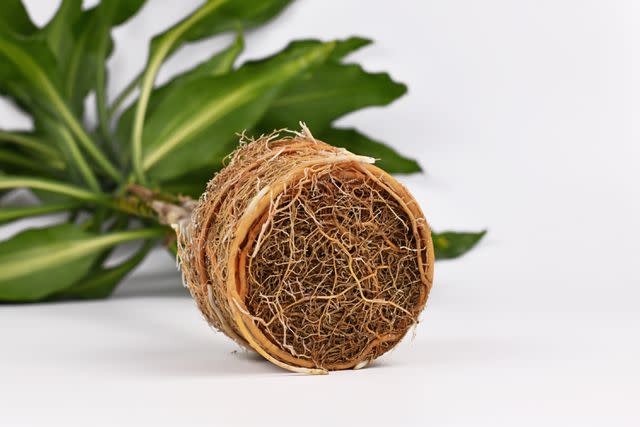
The roots are visibly coming out of the bottom. When you start seeing roots, it’s a sign that they are trying to grow beyond the limits of the pot and have no place to go. The roots are either growing through the drainage holes (lift the pot to check) or begin to appear above the soil line.
Roots are filling the pot. This could indicate that the plant is root-bound, also called pot-bound, without the roots showing.
Soil is not draining. After a generous watering, water should be dripping out of the drainage holes. If it doesn’t, the soil is too compacted for healthy root growth and should be replaced with fresh, loose, and well-draining potting soil.
The plant is dropping leaves. There are numerous causes for a plant losing its leaves. If you have overruled the obvious ones—overwatering, underwatering, and disease—and the plant has been in the pot for a good long time, it is possible that the nutrients in the soil have been depleted or the plant is root-bound.
The plant is too big or too small for the pot. When the plant proportions in the pot look off, it points to insufficient soil and space for the plant roots to continue growing. Plus, a plant that is too big for its pot is more likely to topple over.
The plant stops growing. This sign is the hardest to read, as some plants grow very slowly and all plants go through periods of active growth and then slow down. If a plant stops growing during a time of the year when it is normally developing new growth, it might need repotting to give it a fresh start.
How to Choose the Right Soil and Container
The Spruce / Michele Lee
Selecting the right container size and soil is key for successful repotting.
Containers
The number one rule for containers is to go up one or two sizes at the most. For example, from a 10-inch pot, scale up to a 12-inch pot or, if the plant is a fast, vigorous grower, a 14-inch pot. For smaller plants, it’s better to go up one size only, such as from a 4-inch pot to a 6-inch pot.
Tips
Avoid planting in a pot that is much too big. Not only will the plant focus more on root growth than on new foliage and flowers, but the risk of overwatering is also higher.
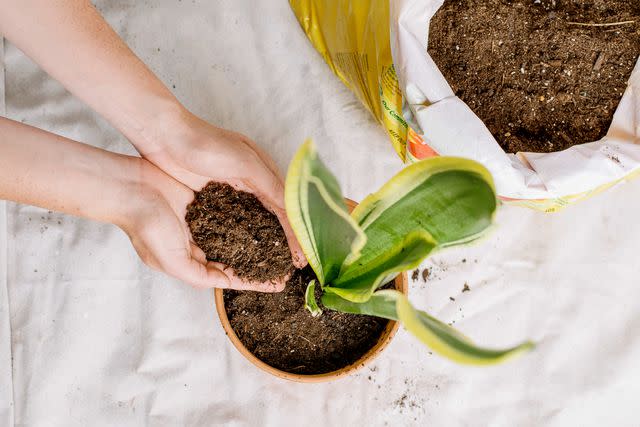
Potting Soil
Use a potting medium that is as close to the one that the plant is currently growing in to avoid transplant shock. If you need to transition to a different type of soil, mix some of the old soil (provided it is not contaminated with pests or soil-borne diseases) into the new soil to minimize the transplant shock.
Take advantage of the different types of potting soil available on the market, such as specialized formulas for cacti and succulents, aroids (philodendron), citrus and palm trees, etc.
How to Repot Plants Step-by-Step
Regina Burganova / Getty Images
Generally, the best time to repot plants is before their active growing season starts, which is usually the spring. This allows them time to adjust to the fresh potting mix.
For most houseplants, this is a great method to repot them.
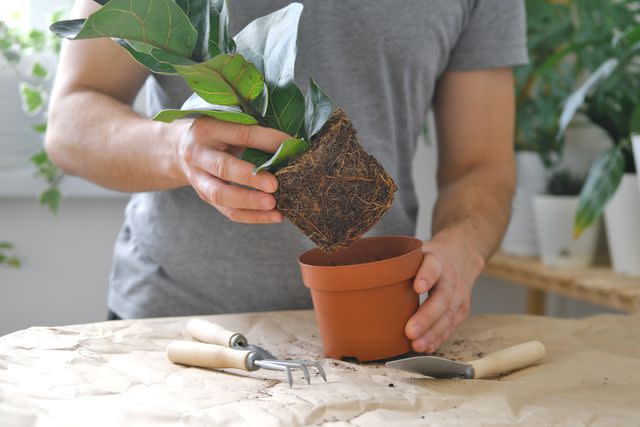
Remove the plant from the pot. After a light watering, let the plant sit for about an hour, then carefully remove the plant from the pot by turning the pot over and gently pulling it up and away from the root ball. Never grab a plant by its stem to yank it out of the pot.
Prepare the root ball. If the roots are growing in a circle or form a dense net, gently untangle them as much as you can without damaging any. Using a finger or fork to dislodge any stuck soil between the roots helps loosen the root ball. Cutting (root-pruning) them is optional.
Place the plant in the new pot. Put fresh potting mix in the pot, just enough so that when the plant is placed in the new pot, the rootball is located slightly below the lip of the new pot. As you are adding more potting mix to the pot to fill it, press it down firmly. When you are done filling the pot, press down the soil around the stem to anchor the plant in place. Don’t overfill the pot to prevent soil overflow when watering.
Water the plant. Water deeply but slowly until water is dripping out of the drainage holes.
Do not fertilize newly repotted plants for six weeks. The roots need their energy to adjust to the new soil and extra nutrients increase the chance of root burn.
Read Next: How to Repot Pothos
Read the original article on The Spruce.

