5 Ways to Make Painting Easier and Less Messy
Brush up on these tips before your next DIY session.

Paint projects can be fun, challenging, and most of all, messy. We all start out with our tarps, tape, and clean clothes feeling like we can conquer the world, but more often than not we end up falling victim to drips and splatters we didn't see coming. Spills may be unavoidable, but there are a few easy hacks you can try out to make the mess less messy. All you'll need is some painter's tape, a rubber band, a Pringles container, and some caulk. Read on to find out how this strange list of stuff can help you paint like a pro.
And, while you're upping your paint game, take a moment to learn how to clean your tools, paint perfect corners, and how to choose a color.
Use Painter's Tape to Defuzz a Roller
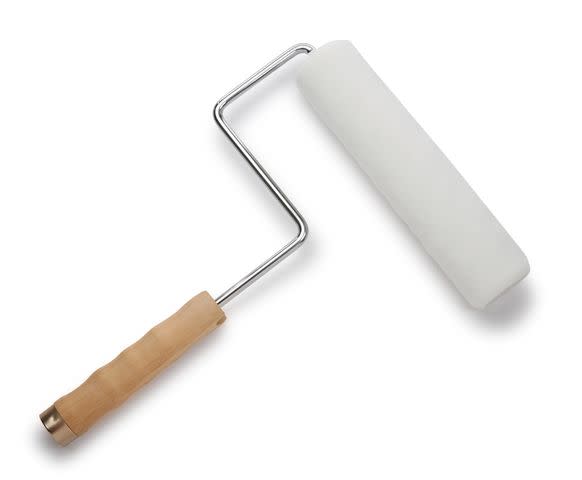
Getty/ skodonnell
If your walls have texture, you want a roller with a high nap—i.e., a fluffy one. The longer fibers (a half to three-quarters of an inch long) will get into all the nooks and crannies, giving you even paint coverage. But beware: This roller can have excess fuzzies that come loose and dry right onto your freshly painted walls. To remove the pieces before you start, tightly wrap the roller in painter’s tape. When you pull it off, the fuzz will come
off with it.
Use Painter’s Tape to Pour Paint
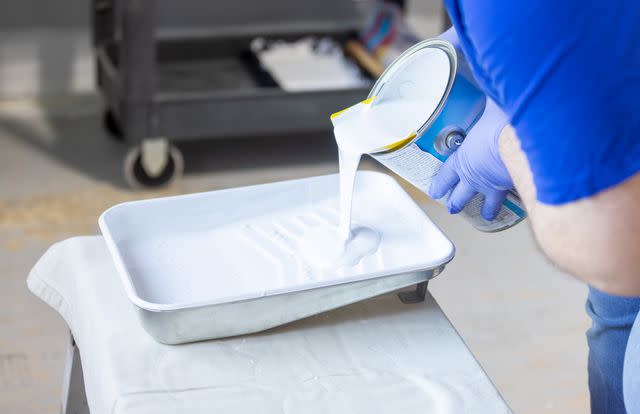
Getty/ Svetlana Popova
More fun with painter’s tape! This time, we’re tackling the nerve-racking task of getting paint from the can to the tray. Instead of dealing with drips, paint pooling in the rim, and a big wad of goopy paper towels, make a spout with the tape. Rip off two eight-inch pieces (for a gallon-size can) and stick them diagonally across the rim in a V shape. Rip a third piece, about four inches long, and place it across the point of the V. The spout creates a neat and steady pour.
Use A Rubber Band to Wipe Your Brush
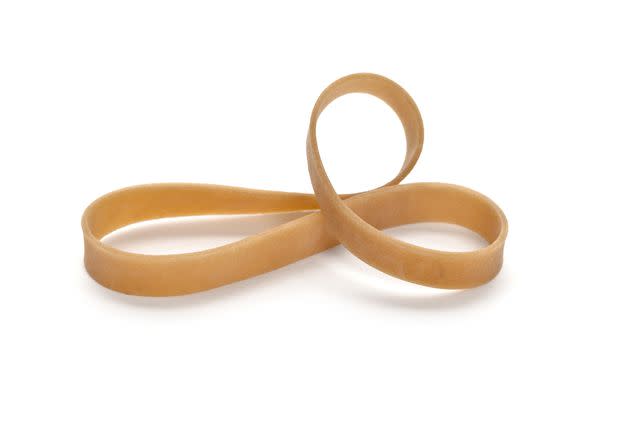
Getty/ Devonyu
For quick touch-ups or jobs requiring a small brush, a stretchy rubber band can be your best friend. Stir the paint and carefully slide the rubber band around the can, extending it across the opening. This way, you can dip your brush into the can and wipe it against the rubber band to remove extra paint. The makeshift blotting station will keep the rim of the can clean so it’s
easy to reseal when you’re done.
Use A Pringles Can to Store Your Roller
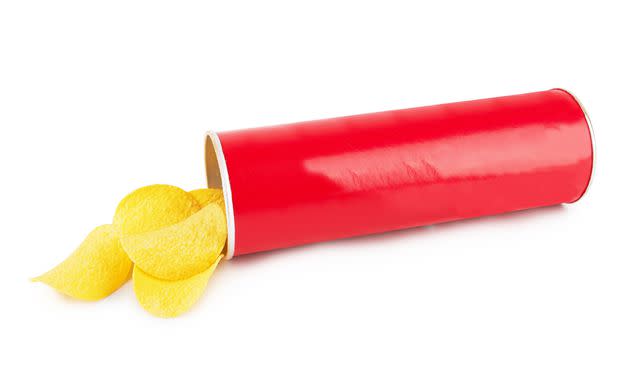
Getty/ pioneer111
Start by eating a stack of potato crisps. (Tough assignment, we know.) Once you have an empty can, rinse it and let it dry. Then use a box cutter to slice an asterisk into the center of the plastic lid. Slide the lid onto the handle of your roller and paint as usual. When you’re between coats, roll any excess paint onto the wall and slip the roller inside the long, narrow chip can to contain the mess. Secure the lid and stash the whole thing in the fridge to help prevent your roller from drying out.
Use Caulk to Get a Crisp Edge

The secret to impossibly neat lines when painting stripes? Caulk! Tape off your design and follow it up with a thin line of clear or white caulk along the side
of the tape you’ll be painting. Smooth out the caulk with your finger to seal the seam and prevent any bleeding. Paint over the caulked area with a brush (not a roller), applying minimal pressure. Pull off the tape while the paint is still wet. Presto, painto: crisp, clean edges!
For more DIY tips and tricks, check out Get It Done, our step-by-step roundup of achievable DIY projects suggested by design influencers, and PIY: Paint It Yourself, our comprehensive guide to completing paint projects at home.
For more Real Simple news, make sure to sign up for our newsletter!
Read the original article on Real Simple.

