5 Ways to Digitize All of Those Beloved Old Photo Albums
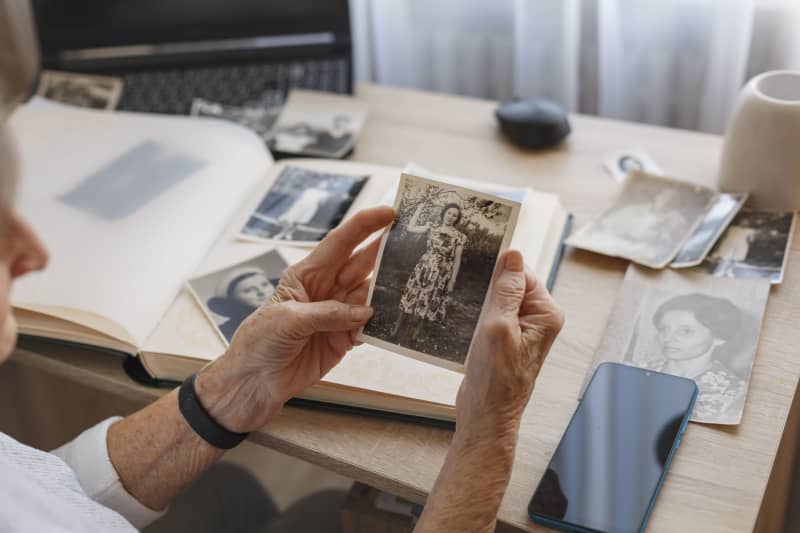
Whether you’re going through old family photo albums or poring over snapshots of your grandparents in their heyday, or you are just tired of storing prints from your disposable camera days in a shoebox, you’ve probably wondered how to digitize photos.
Yes, having albums of print photographs and family photos framed around your house is charming, but there may come a day when you want access to those photos from a device. Maybe your sibling wants a copy of your parents’ wedding portrait or you want to send copies of the photos from your safari to your future grandchildren. Perhaps you’re anxious about losing the only photo that exists of a great-great aunt. In these cases, having the physical copies on hand isn’t enough. You need digital versions.
But converting all those photos can be an intimidating prospect. Here’s how to digitize your photos, from a few steps to set yourself up for success to how to do it in a way that’s cost-effective and easy.
What to Do Before You Start to Digitize Your Photos
Start by Paring Down
No matter how you slice it, digitizing photos is time-consuming. If you’re looking at heaps of photos and possible duplicates (people used to order double prints!), go through the photographs to cull out doubles or photos that aren’t worth keeping.
“Curate your physical photo prints to two piles — keep and trash,” recommends photographer Tal Shpantzer. “Only keep the photographs that still make you happy.”
Next, Organize
Digitizing your photos will go smoothly if you have an idea of what you have on hand. Once the photos have been pared down, organize your photos into categories. Grandparents, vacation photographs, school photos, wedding photos — the categories should be guided by the photos you have. Jot down a quick note on the back of each with the date and who’s in the picture.
Clean Your Photos
If you’re going to take the time to digitize your photos, make sure you don’t end up with lint on the copies. Use a dry, lint-free cloth to gently wipe each photo, removing dust, lint, and debris.
Find a Light Room and a Plain Background
Bright but indirect natural light is ideal for accurately scanning photos. A plain background also helps so it’s easy for your photo scanner or app to read the photo from the background.
Now, let’s get started!
How to Digitize Photos: 5 Ways
Use a Scanner
Using a scanner is the old-school way to digitize your photos, but it’s efficient and effective, and a scanner will run you less than $100. Flatbed scanners won’t take up much room and, if you need to scan a large number of photos and want high-quality results, this could be the way to go.
Use an App on Your Phone to Digitize Photos
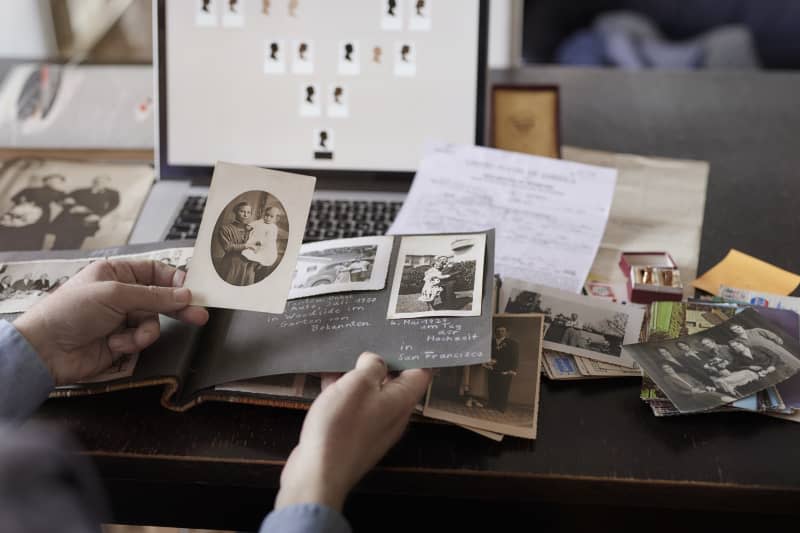
You can use an app like Google PhotoScan to digitize your photos. You’ll take a photo of the photo (whoah, photo-ception), but you’ll do it in a specific, multi-step way that’s prompted by the app. The idea is that you’ll capture the entire image in detail and reduce glare in the process. This isn’t a quick method, but it promises better results than simply taking a picture.
Take Photos with Your Digital Camera
This one may feel low-tech, but your digital camera can probably take a decent quality photo of a photo. The result won’t necessarily be high-resolution, but it’s quick and efficient. Be prepared to make sure you don’t get a glare and know that you may need to adjust the photo’s color in an app like Lightroom.
Send Your Photos to a Professional
For the highest-quality results, it could be worth sending your photos to a professional. It won’t be cheap or quick, but they are going to use the absolute best technology available to scan and digitize your photos. For photos that are particularly sentimental or important, this service could be worth the cost.
Store the Physical Copies in Archival Boxes
After you’re done digitizing the photos, store them in archival boxes. “Archival boxes are good for safekeeping away from dust and sun, which can damage your prints,” says Shpantzer. She suggests using museum-quality archival and acid-free storage boxes.

