The "4 Ps Method" Is the Key to Your Best-Ever Furniture Makeover
Some DIYs are more straightforward than others. There’s a clear right and wrong way to hang a shelf, for example. But other DIYs seem to be a lot more confusing, with a lot of contradictory information that can be hard to sift through.
Painting furniture can be one of those more confusing projects. When DIYer Kelsey Berridge (@eclecticallykelsey) set out to paint secondhand furniture for her home in 2016, she remembers feeling overwhelmed by just how many tutorials were online. “There was so much conflicting information, and there didn’t seem to be a universal method to follow,” she says.
Berridge felt like the best path forward was to create a clear method from the madness. “I realized that there were four general steps to follow, regardless of whether someone was using chalk paint, water-based enamel, or even house paint,” she says. “This helped me break down the process and ensure I ended up with a quality finish.” (You can see her amazing results in her tropics-inspired nightstand redo.)
Berridge’s rules, which she calls “the Four Ps,” go like this: Prep, prime, paint, and protect. “The four Ps are especially helpful for when you’re first starting out,” she says. “It stops any confusion around what you should do.” Here’s how Berridge takes on each step.
Step One: Prep
The prep step will help create a smooth, clean surface for primer and paint to stick to.
You need to remove any dirt, dust, or grime, Berridge says, as well as any hardware prior to painting. “You’ll also want to sand your furniture for a smooth surface,” she says.
Step Two: Prime
It’s wise to ensure that the paint adheres evenly by taking the step to use either a “water-based, oil-based, or a built-in primer,” Berridge says, depending on the type of paint you’re working with or where the furniture will be located in your home.
Generally, water-based primers are best for acrylic or latex paints, while oil-based primers are preferred for enamel paints. Don’t be afraid to ask for help at a store as you shop!
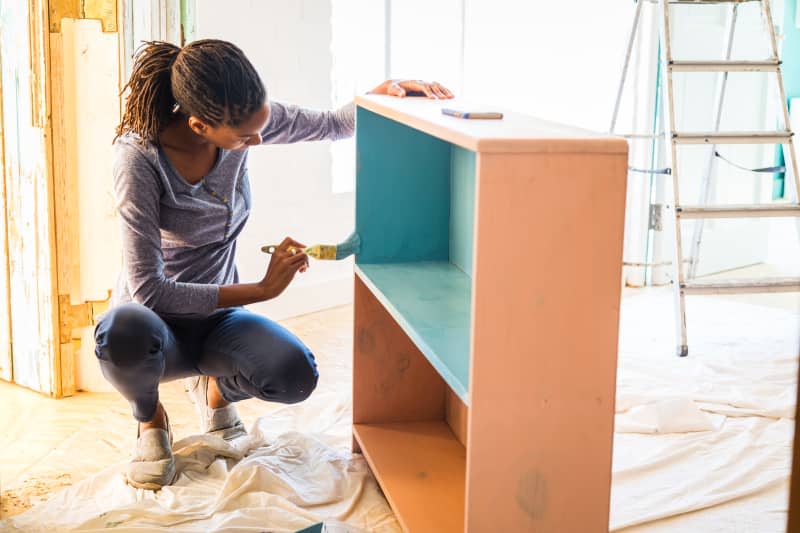
Step Three: Paint
When it comes to the actual work of painting, take your time. Use a brush suited to your project (another detail a shop associate can assist with) and apply your coats in the same direction for consistency. Let each coat dry completely before applying another, and make sure all of your work is done in a well-ventilated space.
Step Four: Protect
The last step is meant to guard your furniture from the nicks and bumps of everyday life. Berridge says this should be wax, oil, or clear varnish. The idea is that by creating a protective layer over the paint, you’ll be able to prevent nicks and chips down the line.
No matter if you fall in love with a vintage desk spotted at an estate sale, pick up a pair of nightstands from a thrift store, or just want to give your old stuff a fresh look, just follow the four Ps for guaranteed success.

