4 methods for adding fonts in Adobe Creative Cloud
It used to be easy. Your fonts were in a folder somewhere and used activation software (the word 'suitcase' meant something quite different to graphic designers than it did to holidaymakers) to activate and deactivate for use fonts with a click.
If you use the Creative Cloud apps today (InDesign, Illustrator, Photoshop and countless others) working with fonts is very different. There are several methods to access and activate fonts, but which is best, and what's actually happening on your system (and beyond) when you use them?
We've spoken to Adobe and we're here to demystify Adobe Creative Cloud's font management so you can spend less time figuring out software and more time designing. If you want a quick lesson in using fonts in Photoshop, then we have a separate how to add fonts in Photoshop guide.
1. Use the Creative Cloud app
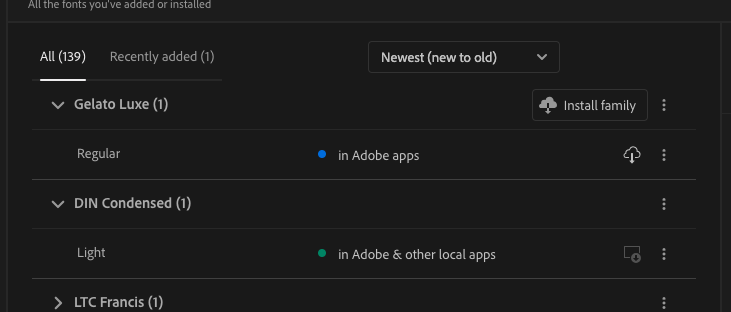
01. Find your fonts

(Image: © Drew Turney/Adobe)
Go to the top right of the Creative Cloud app dashboard and there's a stylised 'f' right next to 'help and resources' that takes you to your installed fonts.
02. View existing fonts
(Image: © Drew Turney/Adobe)
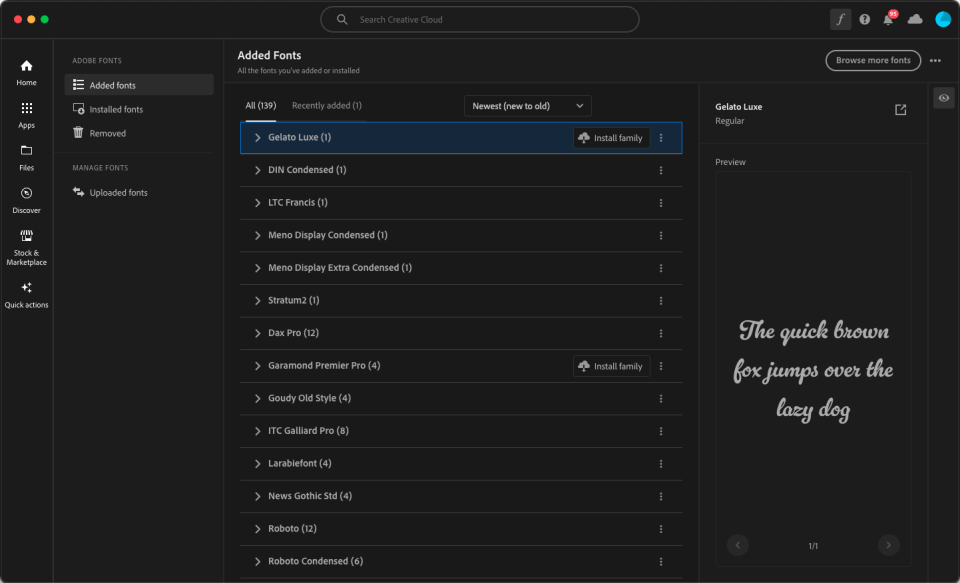
Just like the applications are still installed locally on your system, many of the fonts you want to use will be too. Those in the main list 'Added Fonts' are the ones in your Creative Cloud account right now.
That includes fonts that have come from the Adobe collection and added to your account (see 2 – The Adobe Font portal) and ones you've uploaded from your system.
03. Add more fonts
(Image: © Drew Turney/Adobe)
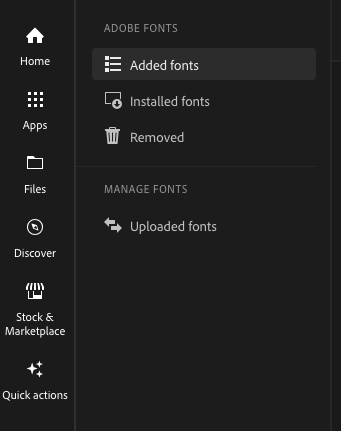
To add more fonts from your desktop, click 'Uploaded fonts' in the left hand column. This takes you to the upload screen.
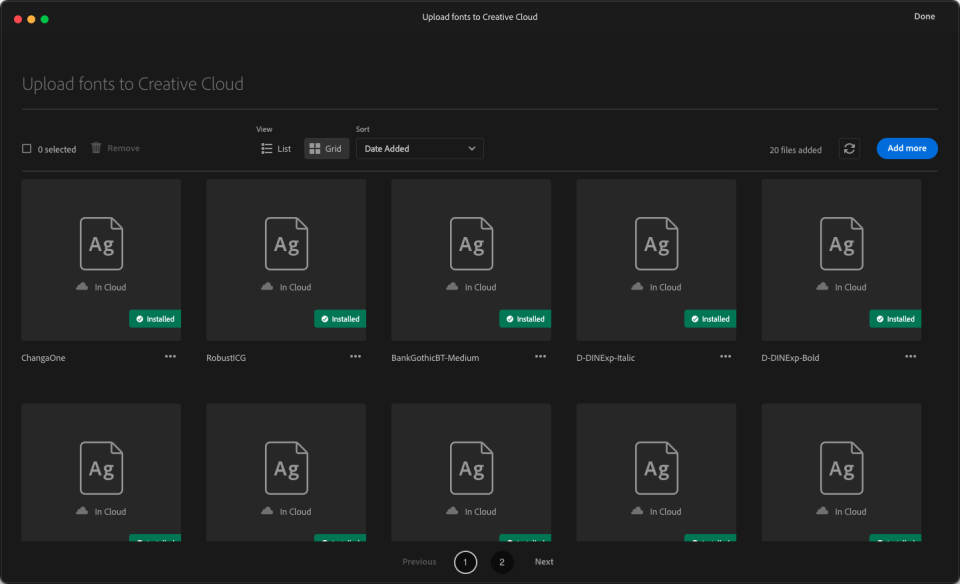
To add your fonts, click the blue 'Add more' button and you'll get an upload area in your browser.
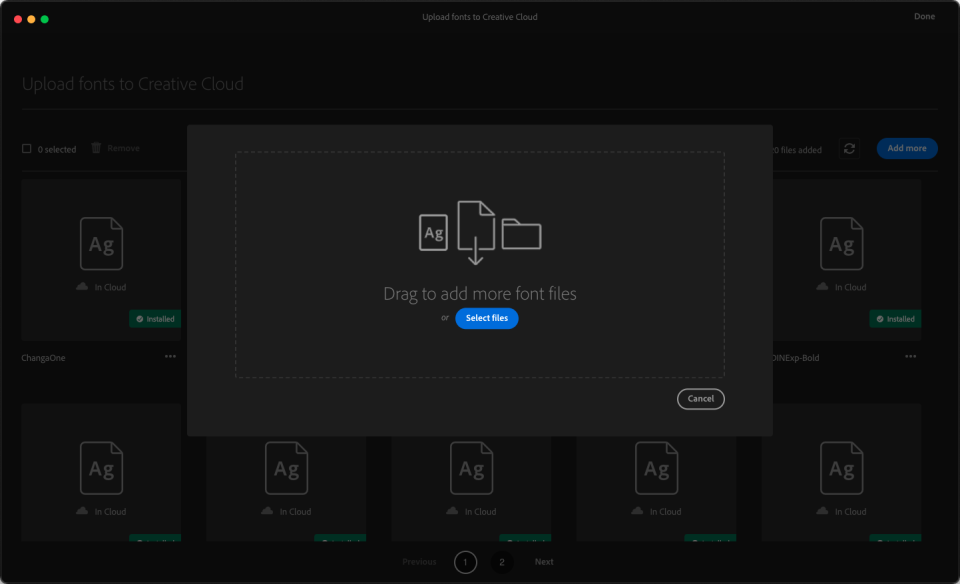
Creative Cloud will process them, test them and add them to your account.
From there, every time you use fonts in your applications, it's referring to Creative Cloud data, not the your local font files you uploaded – delete them from your local machine or server and they'll still be visible in the Creative Cloud app and available in projects.
2. Use the Adobe Font portal
How to search for a font
A lot of longtime layout and print designers not only love fonts, we knew them, nerding out while watching movie titles or billboard ads and telling long suffering friends and family they were in Eurostile, News Gothic, Palatino, etc.
With the rise of Creative Cloud and the end of Type 1 support, that's all over. The modern equivalents of a lot of those old classics from the desktop publishing era – if they exist at all – don't have anything like the same names anymore.
That means the Adobe fonts portal is more about pinning down the style of font you want rather than searching by name.
01. Search via name

(Image: © Author)
The search field gives you results by name, designer, foundry and keywords, but none of them are remotely helpful if you know in your mind what the font you want looks like but don't have a name for it.
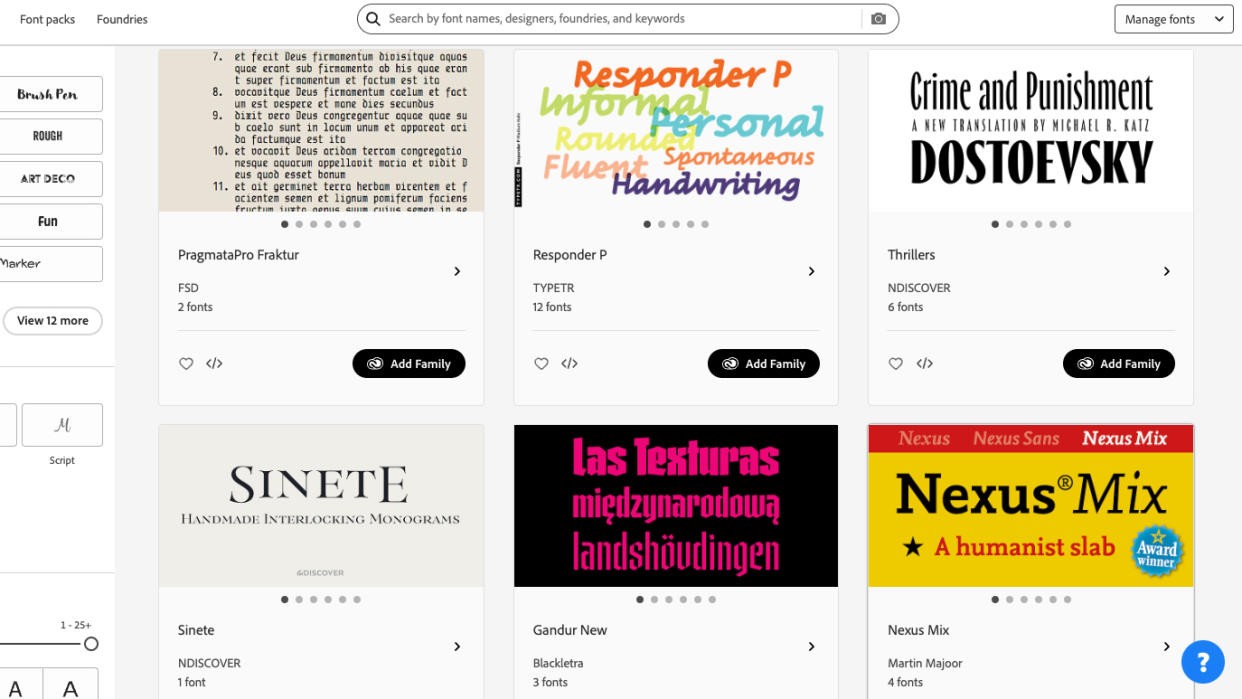
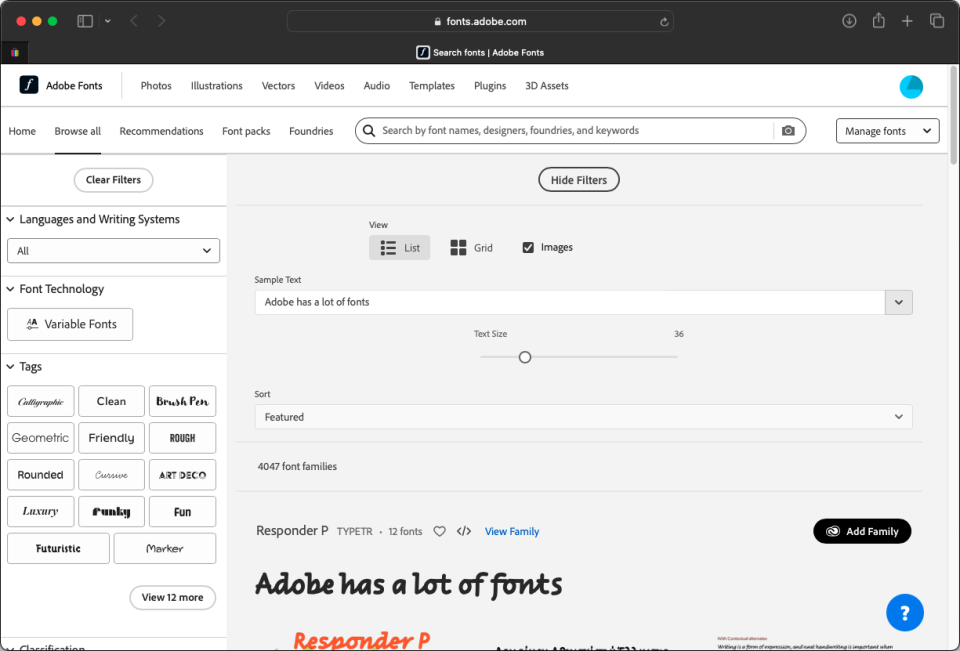
02. Search by filters and tags
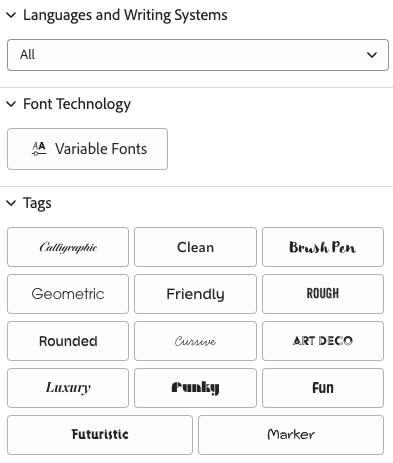
(Image: © Drew Turney/Adobe)
The real action is in the filters and tags in the left hand column. There are plenty of them to select, but they don't necessarily play nice together. 'Clean' and 'serif' seemed a sensible combination to search for together, but it gave us no results.
Being a web page and not an application, it can also take a little long to respond to clicks, which can get frustrating.
03. Use the font identification function
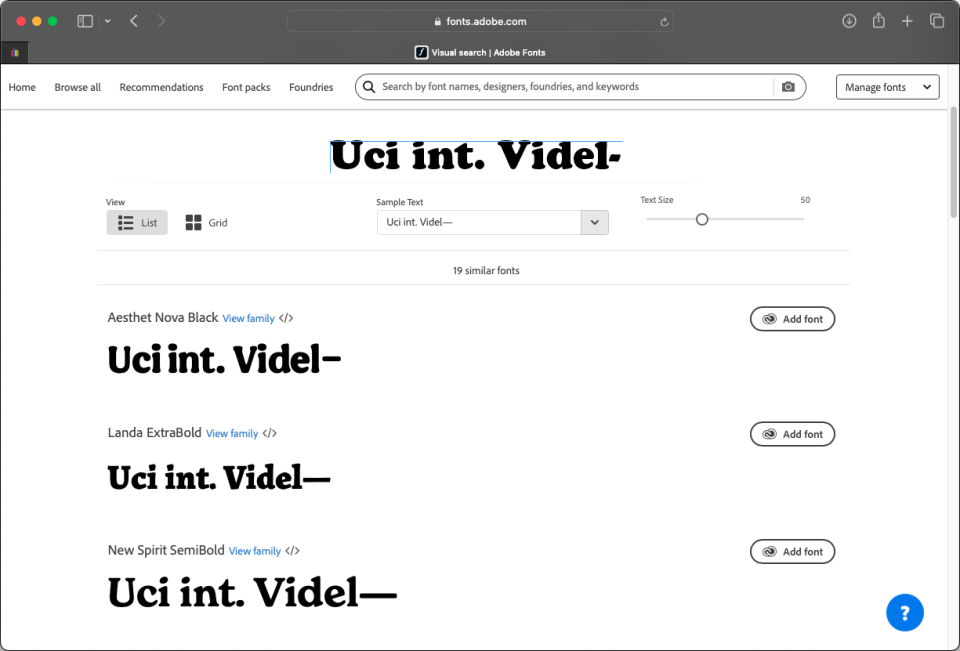
(Image: © Drew Turney/Adobe)
There's a font identification function you access by clicking the camera icon at the end of the search bar.
But a few tests weren't very promising. An example of Cooper Black, a very popular cartoon-style font, failed to even produce a similar design even though it's still an Adobe font available. Whereas whatthefont.com picked it immediately.
All of which means Adobe's font identification function either isn't very good or possibly reveals a deeper truth about the current Adobe library. Aside from some outliers that can't be explained like Cooper Black, maybe they haven't only retired old names but old fonts and there simply aren't any around like the old ones any more.
The Adobe fonts ecosystem is pretty clever about encouraging you to find fonts based on characteristics rather than names, but that also makes it a little more geared to projects where the fonts are already set. Starting a new project and finding the right font for it it can leave you feeling a little rudderless.
How to add a font
01. Add a font
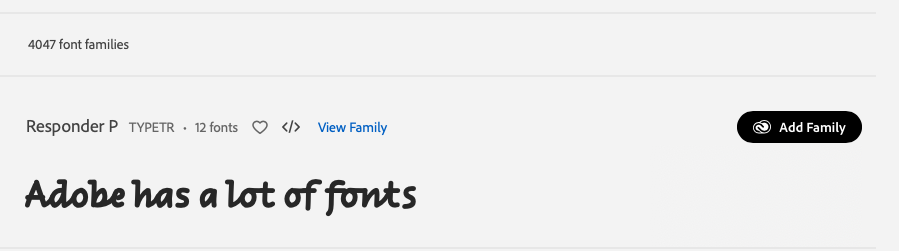
(Image: © Drew Turney/Adobe)
After searching (see 'Searching the collection', below) and finding the best candidate, you can click to add a single font or the whole family (by clicking 'Add family' at the far right). That activates the font for use throughout all your Creative Cloud apps.
It has to be said that using Adobe's font portal can get a bit unwieldy – every time you click 'Browse more fonts' in the Creative Cloud app it opens a new browser window of the fonts portal URL.
That means going back and forth between your design, the Creative Cloud app and the fonts portal several times means you can end up with windows or tabs open everywhere and quickly lose where you are. If the Creative Cloud app took you back to the browser window you already had open instead of a new one, it would be much easier.
3. Use Adobe applications
Add fonts in InDesign
01. Use the character palette
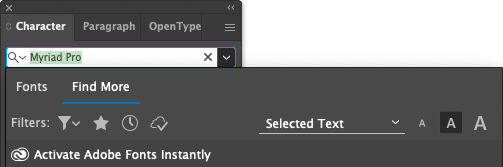
(Image: © Drew Turney/Adobe)
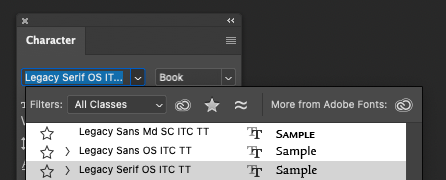
You can also find, select and activate fonts from within Adobe applications. In Indesign, just click 'find more' in the character palette.
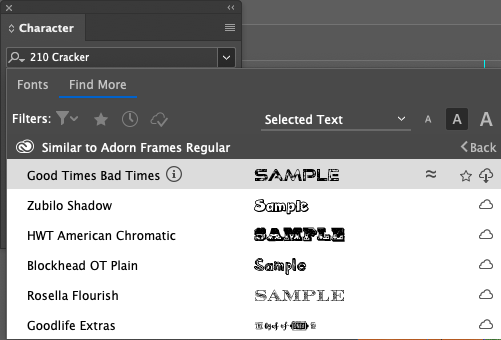
02. Get similar fonts
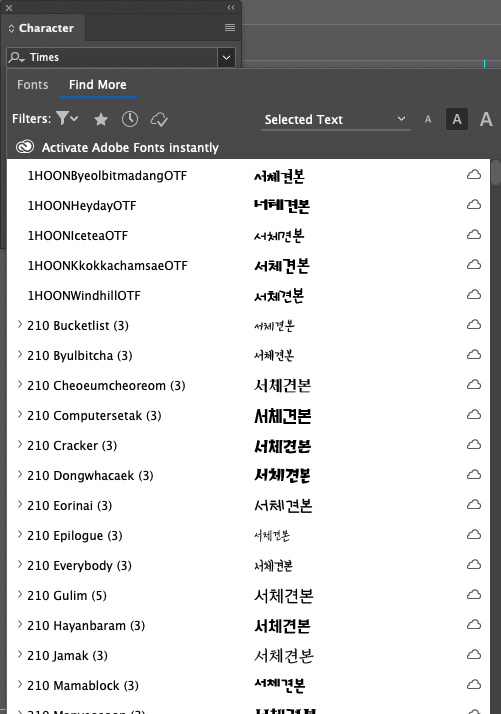
(Image: © Drew Turney/Adobe)
It gives you an alphabetical list of every font available in the Adobe family (yes, all 25,000 of them). Mouse over one and you can select an icon to show similar fonts.
03. Activate within the palette

(Image: © Drew Turney/Adobe)
You can also activate it from right within the palette.
04. Search with filters
(Image: © Drew Turney/Adobe)
You also have access to some of the same filters we've seen in the font portal URL.
Add fonts in Photoshop
Photoshop's character palette has a link 'More from Adobe fonts' that sends you back to the font portal URL but the only available filters show the Adobe fonts you already have activated and similar fonts.
Add fonts in Illustrator
Illustrator has the same character palette as InDesign, with the same filters and a 'Find More' link that shows the entire family, but it has no direct link to select more fonts – you have to go back to the font portal URL manually.
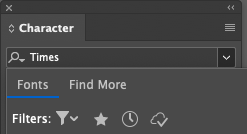
When we asked Adobe why each application's character palette did it differently, the answer was simply that individual product teams focus on specific goals separately and standardising the palettes just hasn't happened - yet.
4. Use the legacy method
If you never needed font activation software because you weren't turning fonts on and off all day, a core function of both the Mac and Windows OS is a data store that makes fonts available across your system (usually a 'Fonts' folder in your library or user files somewhere). Adding font files to the folder and restarting so your OS can see them as it boots up then makes them available across the board.
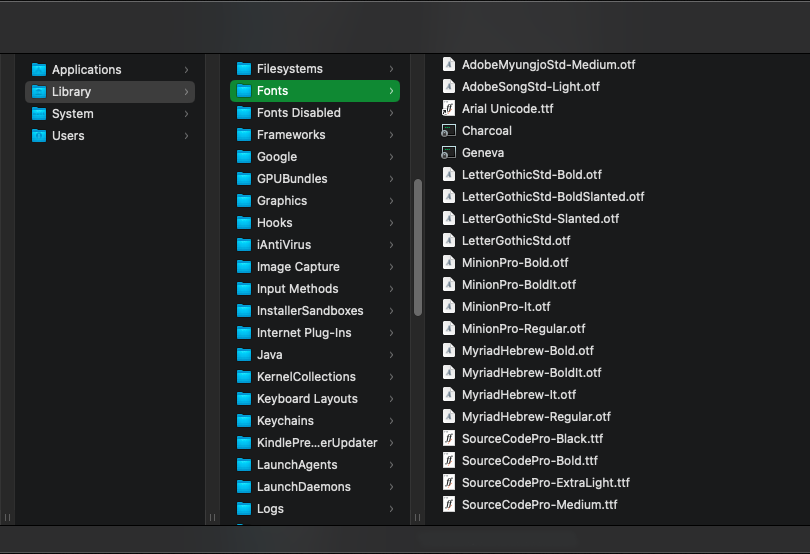
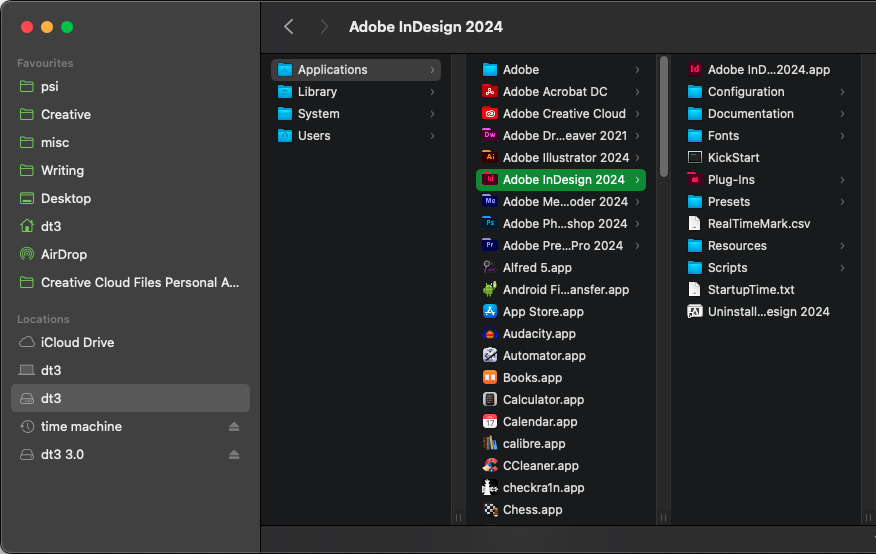
Something that's lesser known is that InDesign has the same thing, a Fonts folder into which you can place any font you want active (after restarting the application). We stumbled across this long-forgotten font activation method during the research for this story;
TL;DR? It's not recommended over the long term. It activates fonts with a minimum of fuss, but if you decide you need them in other applications they're not going to available – and neither Photoshop nor Illustrator has its own font folder like InDesign.
What's more, after we added fonts to InDesign 2023, Creative Cloud didn't remove it when it updated to the current version (2024/19.2). The fix was to add the fonts in question to our Creative Cloud account using the official methods described above, then manually drag the InDesign 2023 folder to the trash to uninstall it.
5. The demise of Type 1 fonts
But one of the biggest changes that's made Creative Cloud more important is the end of Type 1 font support in January 2023.
If you've been in print design long enough you'll remember Type 1 fonts well. Introduced in 1984, they contained a printer font and a bitmap version of the screen font, they had eight character filenames (a holdover from their origins under DOS and weren't cross platform.
But as Adobe rightly said in the blog post announcing the end of support, we were moving from a printed to an online world, and 'Most browsers and mobile OSes do not support Type 1 fonts'.
How to use Type 1 fonts
All of which leaves you a bit stuck if you've got 1,000 fonts from the old days. What can you do to keep using them?
Firstly, if you don't have the relevant licenses you shouldn't be using them at all. Assuming you do, there are some workarounds.
If they're embedded in documents like PDFs, Type 1 fonts will still work fine when sent to a preflight process or print device.
If not, contact the foundry and ask for a comparable modern format like OpenType (OTF), which is based on the older TrueType format and works across browsers, OSs and has more creative firepower than Type 1 ever did.
But you might need patience and luck tracking them down. As we saw (see 'Searching the collection'), a lot of Type 1 fonts don't have modern equivalents, and comparable OTF fonts might be merely close, not dead on.
Utilities to convert Type 1 to modern formats abound online, but again, you need to make sure your license allows for it.
Even then, there's a technical reason Type 1 fonts have had their day. Today fonts have scalable vector graphic (SVG) properties, embedded colour properties and much more. As our Adobe spokesperson said, 'Font technology has evolved way beyond the limitations of just the characters'.
6. Is Adobe good at handling fonts?
Whatever the method you use to activate fonts, they work with your system quite differently from the way it handled them in the pre-Creative Cloud era.
If you don't have the original font files locally but they're still available you might assume your applications are referencing font data over the internet from where they live in your Creative Cloud account.
In fact, the Creative Cloud app downloads the font data to a hidden folder on your system, InDesign, etc referencing the data from there.
It not only relieves you of the burden of having to manage local font files every time you work on a project, they're not accessible (and thus you can't share them with open up a whole new licensing can of worms).
There's also a difference in how fonts are made available for applications. If you upload a font or font family individually the Creative Cloud app they're available for us throughout your system across whichever text-based applications access local font data (many have their own libraries of standard fonts instead).
If you add an individual font using through the fonts URL it will enable it only for use with Adobe's applications. If you want it made available for any other application on your system you have to click 'Install family', either in the Creative Cloud application fonts list or in the fonts URL.
Although Adobe haven't said as much, it also makes the field more equitable for font designers and foundries because we're not sharing thousands of fonts with colleagues, printers or prepress providers willy nilly without any idea of who holds the licenses.
There are plenty of advantages to Creative Cloud's way of handling fonts over other older methods like manually adding fonts to system folders or using font management software. For starters, they're activated automatically whenever you open a project – even if you get the files from somewhere else and you've never used that font before.
It's a new era of font usage and management, and even though there seems a lot of complexity compared to the old ways, you'll find your favourite methods among those outlined above (even a combination of them that works for you) and be back in the groove in no time.
With thanks to Rufus Deuchler, Director, Worldwide Creative Cloud Evangelism & Community Advocacy at Adobe, who provided valuable advice for this story.

