3DMakerPro Moose 3D Scanner review: compact device, great results
3DMakerPro has named their latest 3D scanner the Moose, following their tradition of naming their scanners after animals. The Moose is a portable and lightweight scanning solution that's perfect for entry-level users and hobbyists. Although it has slightly lower single-frame accuracy and resolution compared to the Seal scanner, it's still an excellent choice for those who are looking for an easy-to-use scanner.
Setting up the Moose is a breeze, and everything you need to get started is included in the package. The JMStudio software is available for download on both PC and Mac from the 3DMakerPro website. Thanks to its AI tracking algorithms, the Moose prevents frame loss during the scan, ensuring highly accurate results with excellent resolution.
If you're interested in exploring 3D scanners with greater accuracy and higher resolution, we've got you covered! Check out our guide to the best 3D scanners.
3DMakerpro Moose 3D Scanner review: Key specs
3DMakerpro Moose 3D Scanner review: Who is it for?
3D scanners are becoming increasingly common, with a swathe of new additions to the market in recent years. The Moose is specifically targeted at those who need a portable solution that is small and lightweight. It isn't the best option for those who reverse engineer important replacement parts due to the slightly lower single-frame accuracy and resolution.
Object sizes of between 15-1500mm will be captured with ease, which is perfect for small and medium object workflows. Larger objects can be captured, but they'll need to be made up of a collection of smaller scans that are merged together in post.
The Moose is ideal for anyone doing 3D printing, creating miniatures, or a hobbyist with an interest in 3D scanning.
3DMakerpro Moose 3D Scanner review: Unboxing
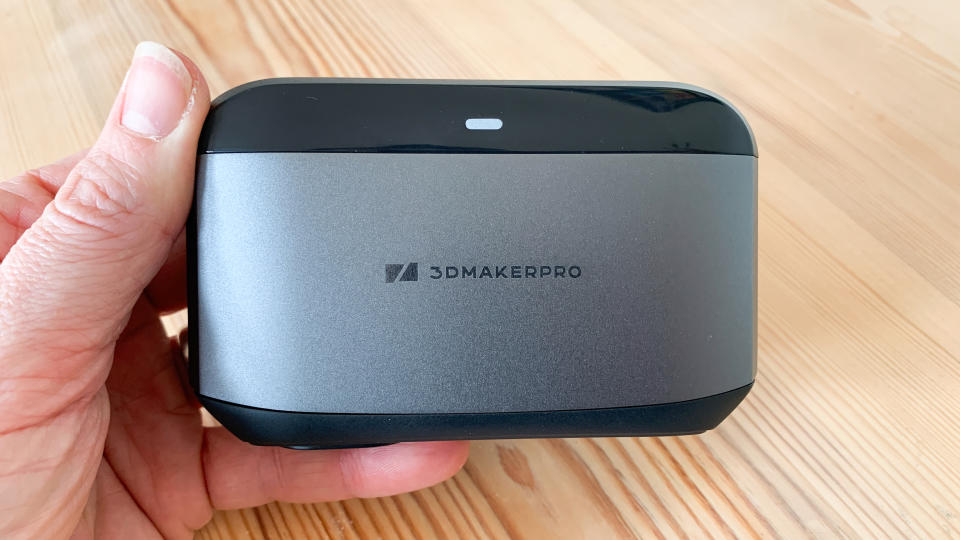
The Moose 3D scanner follows in the footsteps of the Revopoint INSPIRE and the 3DMakerpro Seal; a new super compact form factor that is as lightweight as it is small. The Moose is identical in size to the Seal, apart from its 10mm extra width, something that makes no difference to how it feels in the hand.
The official measurements are 120 x 60 x 35mm and 280g which, again, puts it at the lighter end of all 3D scanner alternatives. This is very much another in a new line of scanners that are designed for portability and ease of use.
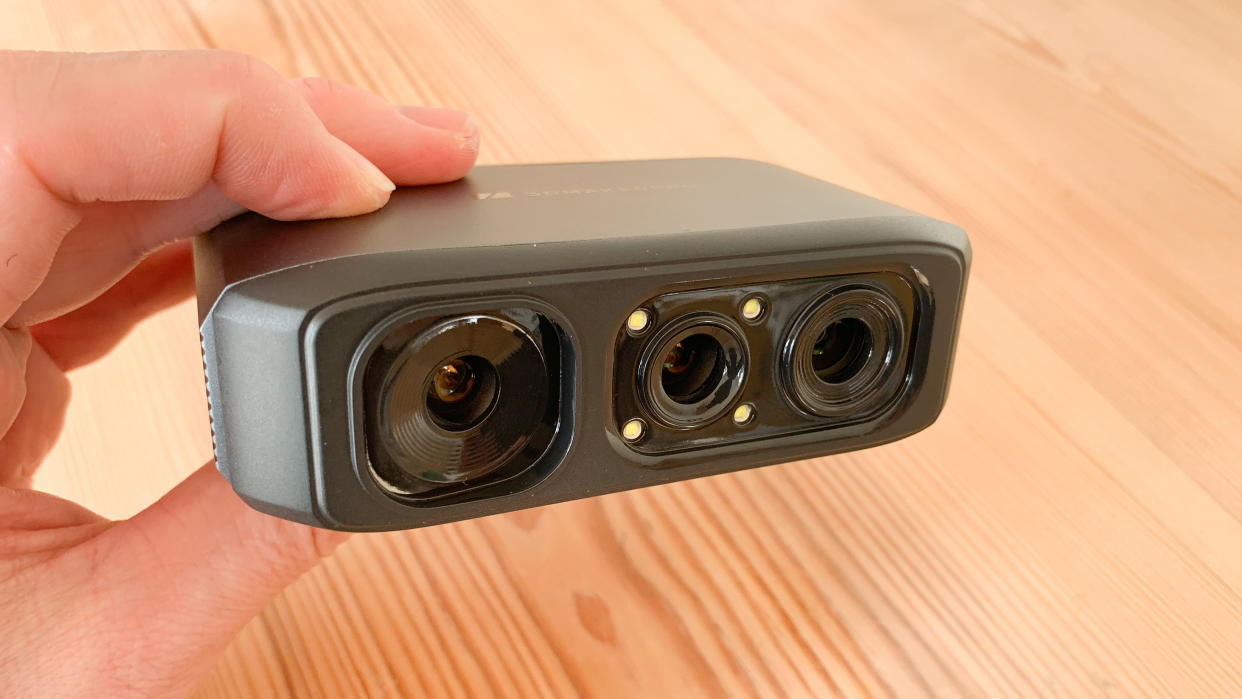
The scanner is predominantly of metal construction, with the front and rear faces engineered from thick plastic. The quality of the materials means you won't have any problems with damage from either light knocks or dropping it onto the floor from a tripod height.
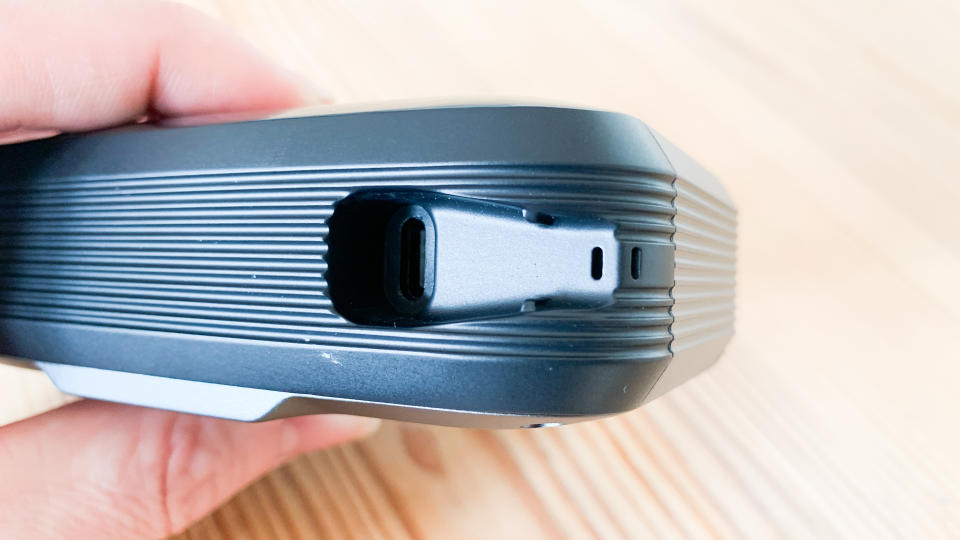
The USB-C power connector has its own recessed port, which beautifully keeps the cable itself out of the way and benefits from protection to ensure it won't be knocked out.
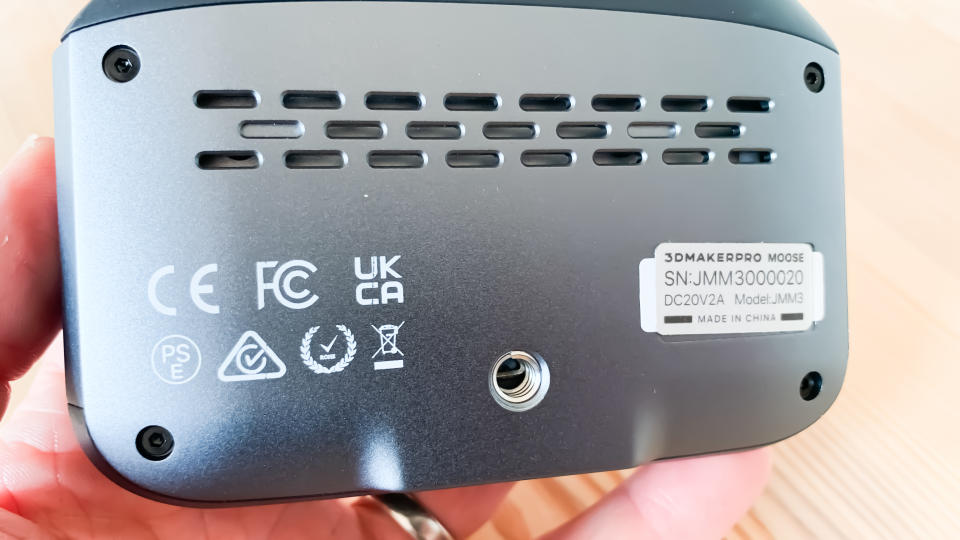
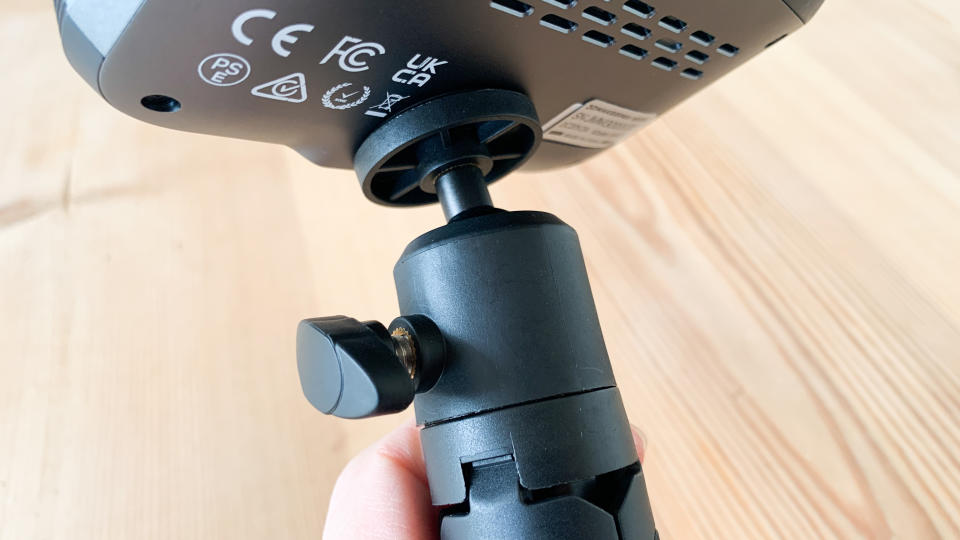
The bottom panel includes a standard 1/4 inch tripod thread, which can be attached to any compatible mount or the tripod that is included in the box. This is the standard 3DMakerpro version that is constructed from carbon fibre and is small enough for travel purposes.
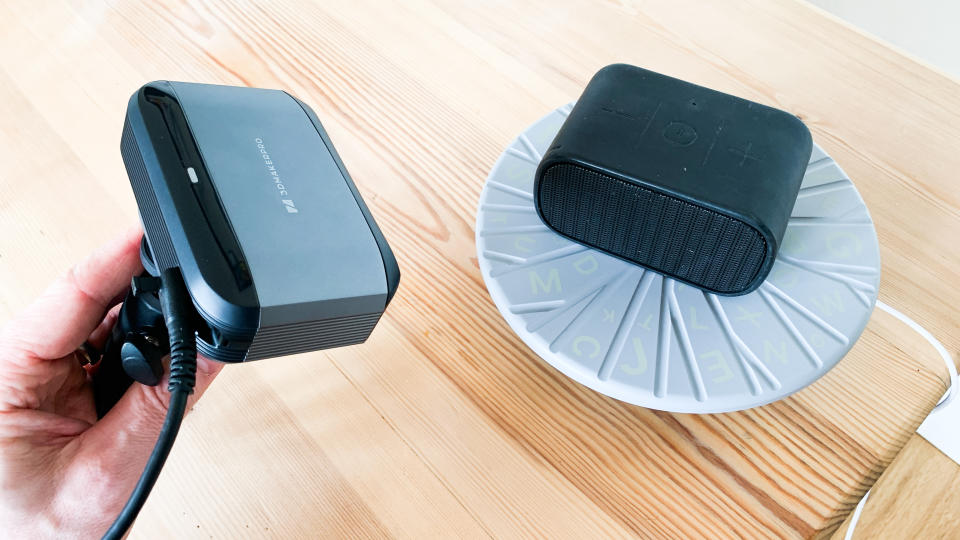
The USB-powered turntable is pretty rudimentary, but it benefits from an additional top plate that can be clipped on top. This doubles the usable diameter.
3DMakerpro Moose 3D Scanner review: Using the scanner
The Moose 3D scanner connects to the computer using a simple single cable that is split into two parts; the data part and the power part. I love these types of neat solutions as they cut down on the number of cables that are required. The fact that this cable tucks neatly into a recessed part of the scanner is especially nice.
With the scanner connected to both a power source and the computer, it was then just a case of downloading the JMStudio software and calibrating the scanner. This is easily carried out by following the simple on-screen steps. As is the case for all 3DMakerpro scanners, there's no need for any test procedures to help the scanner orient itself. This simple setup is perfect for beginners and those new to this company's range of scanners.
3DMakerpro scanners require JMStudio software, which is free and available on PC and Mac computers. Any users who have used their scanners before will be able to adopt an identical workflow for scanning and editing. Any new user will find the software remarkably easy to use. Choosing either 'Easy Scan' or 'Table Scan' will get the process going.
Being so lightweight and small, the scanner was remarkably easy to use. I had no problems moving around the objects I was scanning, and the Moose did a fantastic job of capturing the object accurately. If it ever lost its bearings, then it was just a simple case of moving the scanner back to a part of the model it had previously scanned and waiting for it to catch up.
Overall, the scanner produced great results with very little effort. I attempted some scans without much consideration of the speed at which I was moving the scanner, and it still managed to capture the model well.
3DMakerpro Moose 3D Scanner review: Accuracy
The terminology surrounding the accuracy of 3D scanners is often a little confusing. Rather than one single accuracy setting, there are two main specifications that should be taken into consideration. These are the single-frame accuracy and resolution. The first defines how close each measurement is to its true value, and the second determines how sharp or clear each detail is. If both of these are low, then the resulting scanned mesh will be both accurate and highly detailed.
The single-frame accuracy for the Moose is 0.03 mm, and the resolution is 0.07mm. Considering many handheld scanners are now able to provide accuracy and resolution up to 0.02mm or even 0.01mm, the Moose is not designed for absolute accuracy but is fine for miniatures or hobbyists.
The capture rate of 10 frames per second means users will need to move around objects with care and consideration.
3DMakerpro Moose 3D Scanner review: Textures
Equipped with a 24-bit colour camera, the Moose produces a high level of accurate colour replication. I generally opt for an alternative, higher resolution texture workflow, but I was pleasantly surprised by the on-board results. The benefit of this is that one solution that covers both scanning and textures makes for the most streamlined workflow. Texture data is automatically applied to the model, so there are no alignment issues that can often be an issue with a separate workflow.
Should I buy the 3DMakerPro Moose 3D Scanner?
The Moose 3D scanner is perfectly pitched towards entry-level professionals and serious hobbyists. It is selling for $699, which puts it at the same price as the Seal scanner. At a similar size and with better single-frame accuracy and resolution, I would expect most people to opt for the Seal. The only notable benefit of the Moose over the Seal is the introduction of AI-powered visual tracking that helps overcome issues that might be caused by poor scanning techniques.

