I 3D printed a hexagon shelf for my game room and I love it
I've come a pretty long way with my 3D printer, now 3 months into using the beginner-friendly Anycubic Kobra 2, and with a much better understanding now of how it all works than I had during my first 3 weeks with a 3D printer initially.
There are still a few areas of 3D printing that I have yet to experiment with, such as creating lithophanes or a HueForge print. But for the most part, I've managed to troubleshoot a fair amount of issues using YouTube. Even the best 3D printers will run into some trouble, for example, I learned that you can use hairspray as a quick fix to help with bed adhesion (a very frustrating problem) and that stringing can be minimised through tweaking your retraction settings in your slicer.
I feel like I’m slowly getting more confident on my 3D printing journey, thanks to online research, and by asking for help in community groups. So I thought I would share my latest 3D make – a cluster of hexagon shelves – in case it inspires any of you to enhance your creative spaces in a fun way like this.
This model is not my design, and was created by Ryan Millar via Printables. It's super easy to print and put together, without any support needed, and it has great customisation options too including a non-shelf hexagon model to break up the design however you like. I highly recommend this as a project for your home or office, but it might take a few days to complete depending on how many shelves you need. Just follow these four simple steps to get started.
1. Prep the file
Once you download this file, depending on whether you use the provided GCode or 3MF files, you'll need to open it within your slicer software to ensure it's the correct size for the area where you want to place it. It's a good idea to measure your wall and compare this with the model dimensions to check that everything matches up.
If you decide to use the GCode file, you should be able to just get started in printing the file straight from your printer, without any tweaks. But keep in mind that you're essentially printing blind without using the best 3D modelling software, or even the most basic slicer to actually see a render of the model that you're working with.
2. Start printing
Once you're confident that the model is good to go and correctly sized for your print bed (and wall), then the next step is to think about which filament you want to print with. I have an FDM Anycubic printer so my filament of choice is often PLA. I opted for the Anycubic white PLA+1.75mm filament from Amazon, and originally planned to interchange this with the Anycubic black PLA filament for a unique look, but decided against it eventually to just keep things simple and white.
Consider using more than one colour for the shelves if you're looking to get creative, or if you want to keep things classy and collected then one colour might be all you need. You can also get Wood coloured PLA filament, if you prefer a more rustic and chic look, so that's an option too.
The print should take about 2.5 hours for one shelf, so this project may take some time to put together in the long haul if you're hoping for a larger display. The bigger the shelves, the more time it'll take to print if you've scaled the model up. I printed five of these shelves, at around the same size as the original STL file, and it took a full day of running the printer to get them all done.
One good thing about this model is that it needs virtually no cleanup once printed, without any supports to break off and requiring only a minor trim around the brim if you use one, to make the edges look much neater. You can also sand it down if you want to, but it's not really necessary.
3. Grab a glue gun (or nails)
Most of the users on Printables who shared their makes of this model seem to have put the shelves on the wall by using smaller nails, but I didn't have any lying around that were tiny enough to fit the holes on either side of the hexagon shelf, so I opted for a glue gun instead to make things easier.
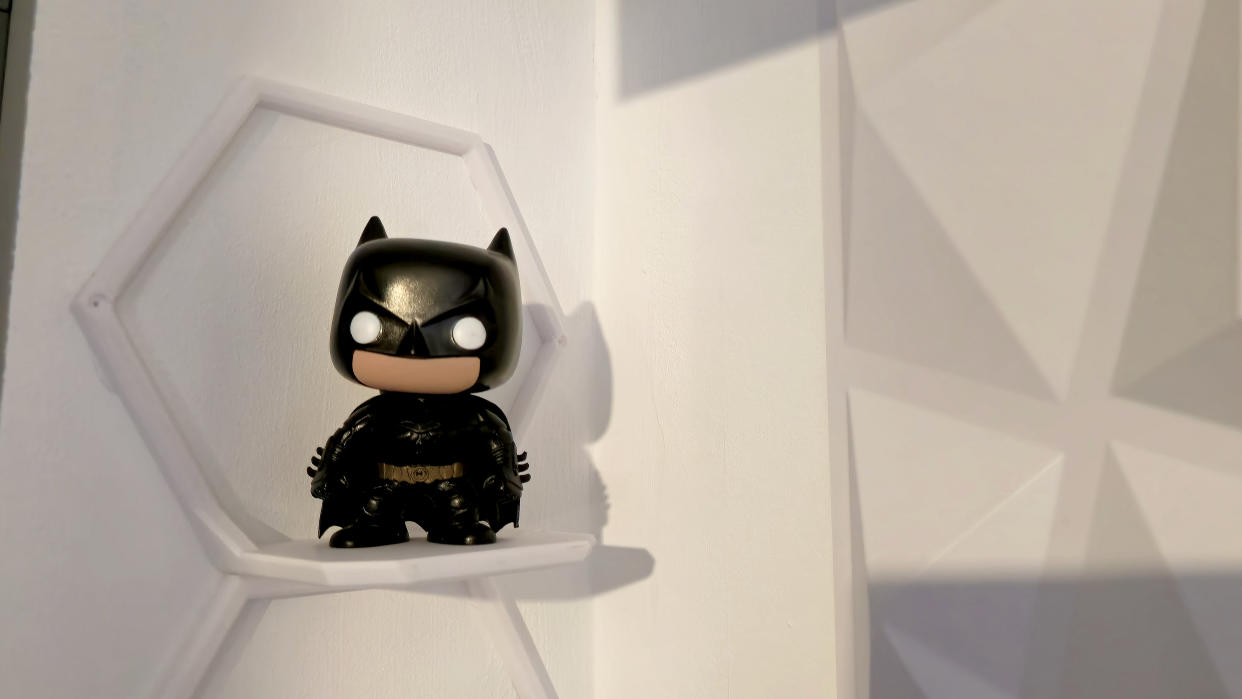
If you're hoping to take the lazy approach like me and use a glue gun, keep in mind that the shelves won't be as secure as when nailing into the wall, so be careful how much weight you put on them. I already knew that I only wanted to display lightweight action figures and Funko Pops on my shelves, so a glue gun did the job nicely (although I did burn my finger).
4. Stick it on the wall
This is the fun part! Chances are that you've planned ahead, maybe even sketched out a design, and have a general idea of where you want to put your shelves on display and in which order. You can really get creative with this, and have some cascading shelves that slope downwards, a full honeycomb cluster, or a singular row of shelves. I wish I had a little more space to play with in my gaming room, so I could design a unique pattern with these shelves.
Overall, this is a really fun and super easy way to add some character into your creative spaces, and it was much more rewarding and cheaper than going to IKEA.

