$330 Later, a “No Personality” Hallway Gets Old-School Charm

ABOUT THIS BEFORE & AFTER
HOME TYPE: House
PROJECT TYPE: Hallway
STYLE: Eclectic, Vintage
SKILL LEVEL: DIY
RENTAL FRIENDLY: No
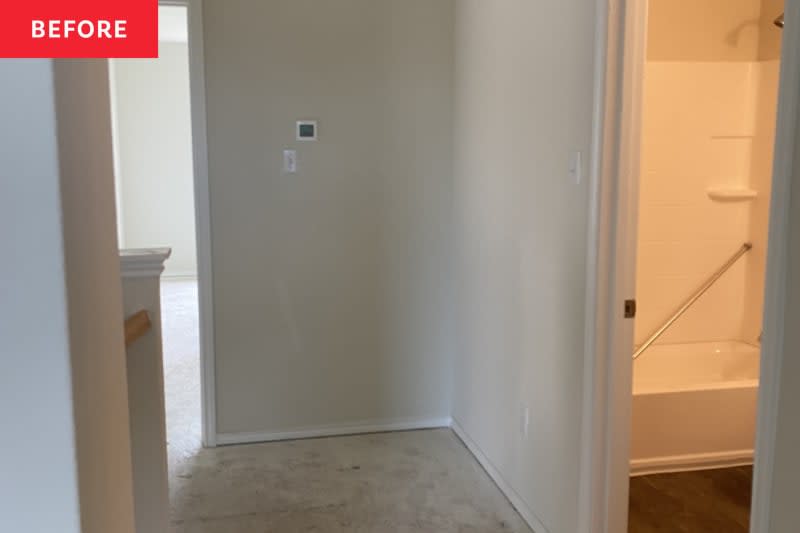
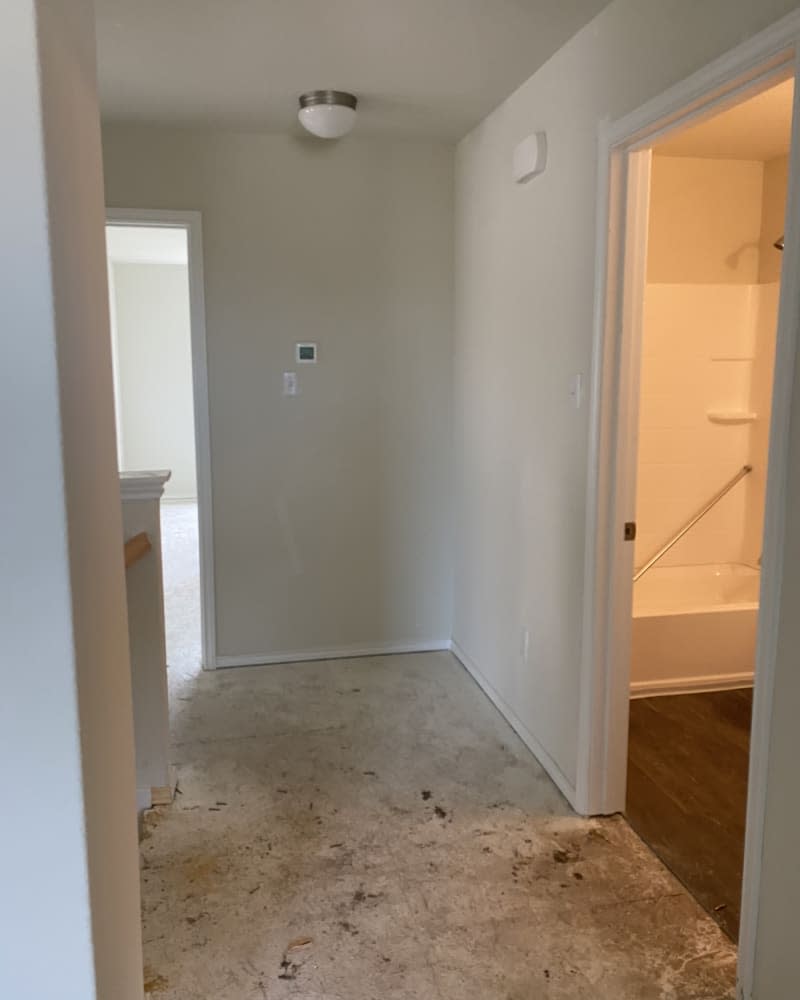
Every little home improvement project counts — even in often-overlooked spots like the hallway. In the home of DIY couple Amber and Nate (@magical_manor), the goal of the 130-square-foot hallway redo was to add “some character without spending too much” because of other home projects going on in their home.
The hallway before was “plain builder-grade hallway with no personality,” Amber says. “It’s an area we walk through several times a day, so I wanted it to feel more alive.”
The project started with paint.
“As most of our projects go, I had a day off and randomly decided to slap some paint on the walls while Nate was at work,” Amber says. “Transforming the space with mainly paint was the most important goal.”
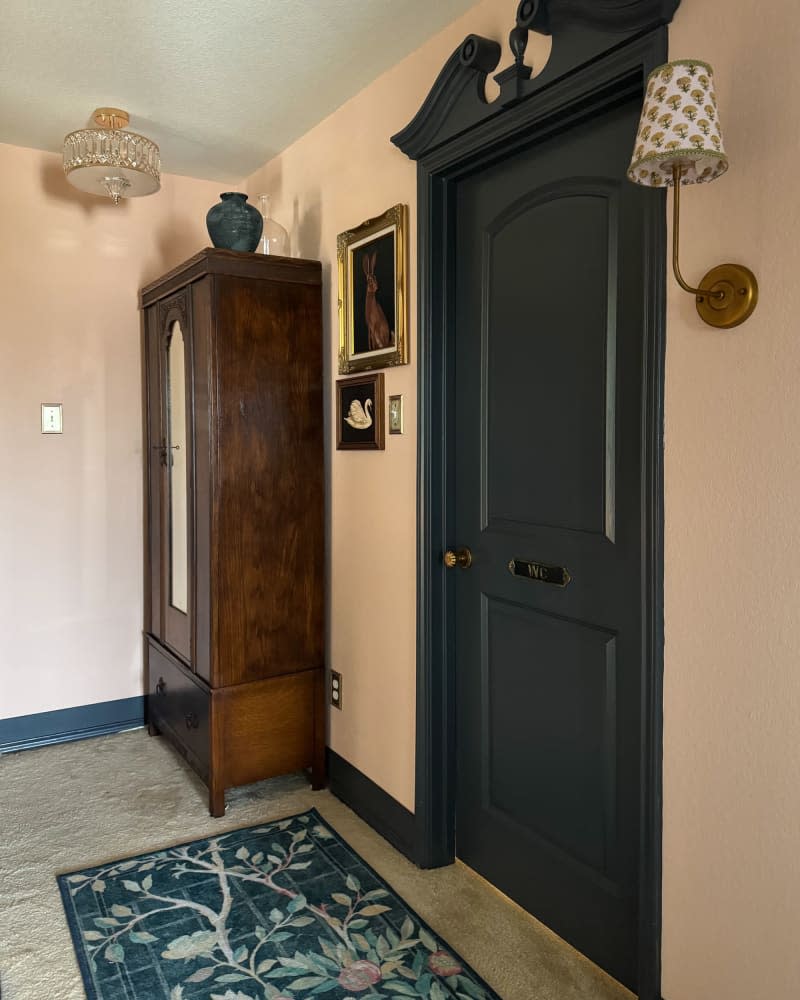
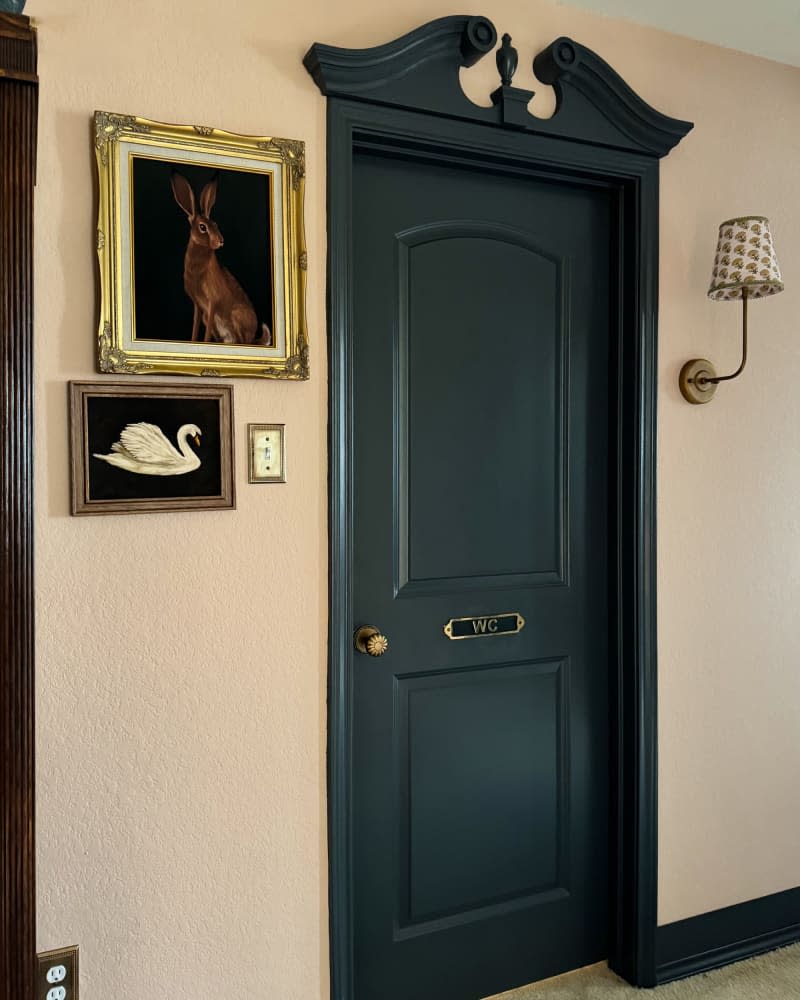
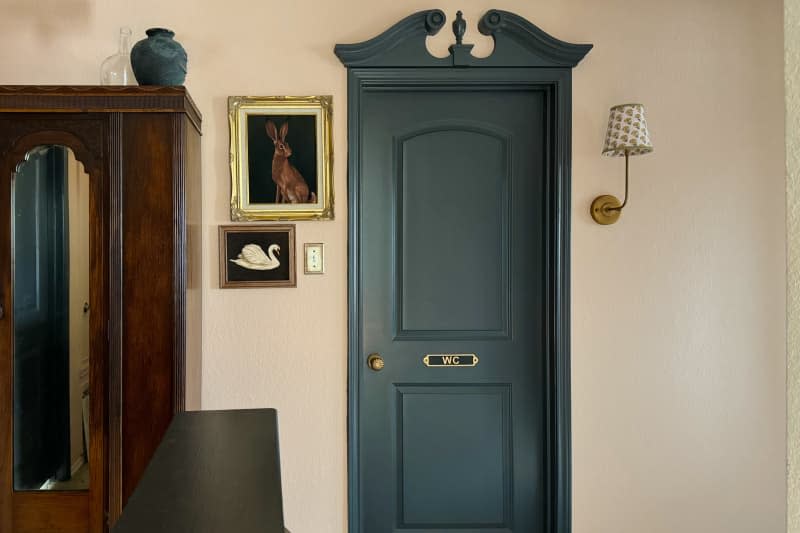
The walls are painted in a somewhat neutral pink, Farrow & Ball’s Setting Plaster, and the doors and trim are a nearly black teal (Benjamin Moore’s Racoon Fur).
The DIYer added architectural details.
After painting, Amber decided to add some extra interest. “The paint ended up costing the most at around $200, and the custom pediment I ordered to go above the door was another $130,” Amber says. The custom pediment, from Architectural Depot, makes the door look especially grand.
The real wallet heroes of the redo, though, are the MDF boards that Amber was able to pull from previous project leftovers. They’re attached to the top of the existing baseboards to give them some extra height (and cost $0!).
Much of the decor was DIYed or thrifted.
Amber and Nate completed the space with furniture, sconces, and framed artwork. The sconces are an upgraded Amazon product; Amber added antiquing wax to the battery-operated sconces to create an unlacquered brass look, and she spray-glued a new fabric to their plain white shades using Gorilla Spray Adhesive.
“I also typically download images from Etsy or Picryl and print them out … I’ve found this is a much easier and cheaper way to acquire art,” she says. Amber’s last budget-friendly tip is that she and Nate often source their furniture from Facebook Marketplace. “The antique armoire in the hallway was bought there for a steal,” she says.
Her favorite part of the redo? All that newly added personality. “I love that now when you look up the stairs, you see a landing and door that matches the character we’ve injected into the downstairs,” Amber says.
Inspired? Submit your own project here.

