30+ Makeup Organizing Hacks That’ll Make You Feel So. Much. Better.
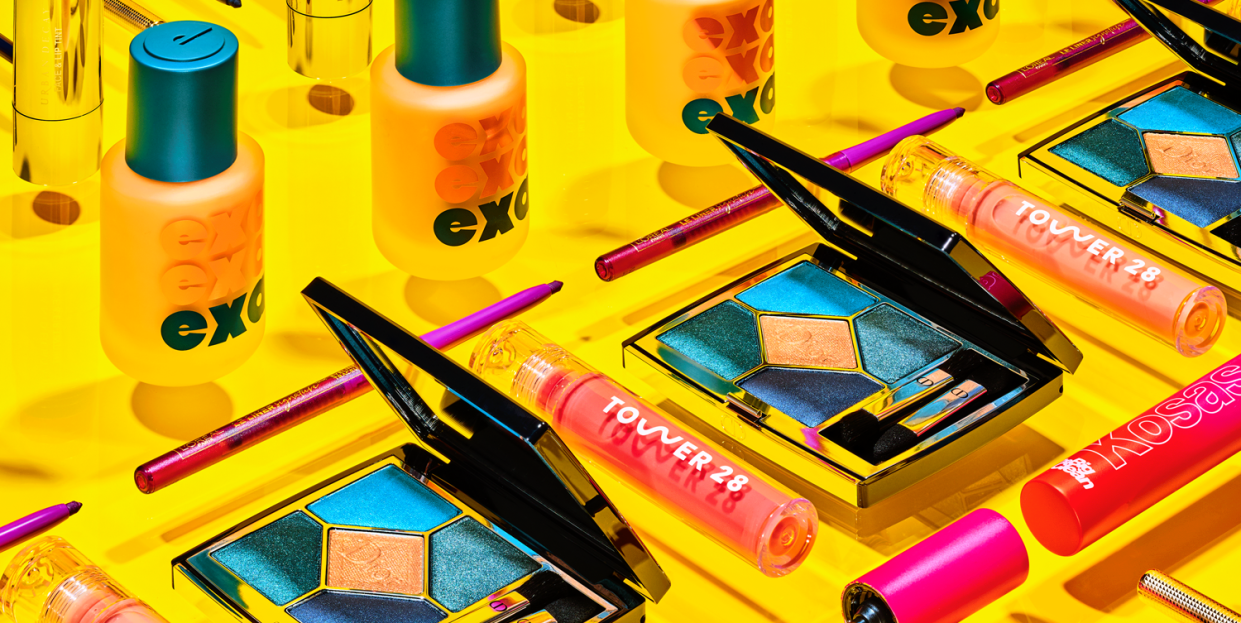
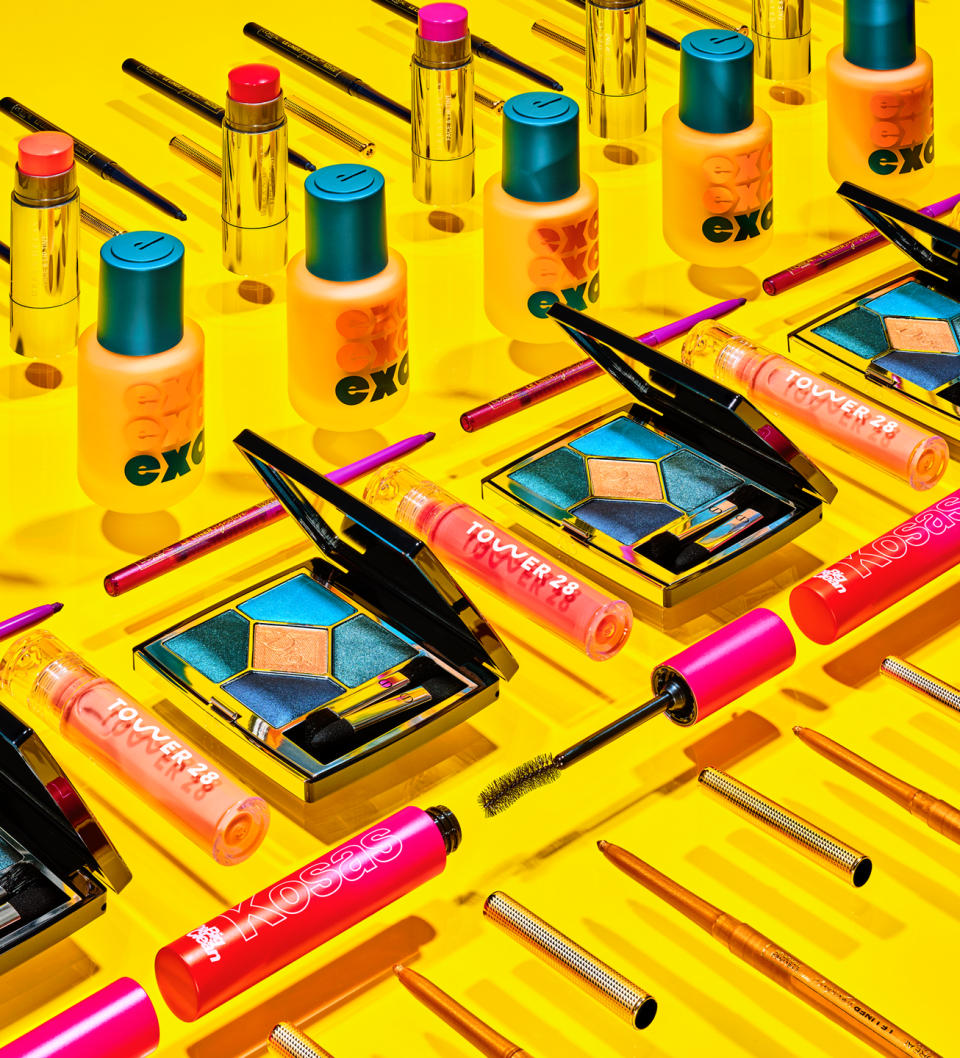
Honestly, is there anything better (besides happy hour or, like, world peace) than getting your makeup collection in perfect order? Didn’t think so—especially after you’ve spent the majority of the past year sitting at home staring at how messy it is. And also because this: “Organizing is directly linked to mental health,” says home stylist and KonMari decluttering expert Kristyn Ivey. “It’s a true form of self-care.” So here, our gift to you: a whole story of tips to accompany you on your journey to solve all of the world’s problems achieve some zen.

STEP 1: Do an official purge
Start by checking expiration dates
“Once they pass, active ingredients and preservatives start to become less effective,” says cosmetic chemist Ron Robinson. Translation: Your stuff won’t work as well and you’re putting yourself at risk for irritation or infection. If you don’t see a date on something, order history is your friend. But in general, “anything that goes near your eyes should be tossed after 3 to 6 months and anything that goes on your lips after 12,” Robinson says. Liquid and cream face products (like foundation and blush) will last a year after they’ve been opened, and powder formulas can be stretched to 18 months. (Pro tip: If it isn’t marked with an expiration date, write down the month and year you open it on a piece of tape and stick it on the product for fast reference later.)
Toss anything that looks or smells weird
Even if an expiration date hasn’t passed, exposure to dirty fingers, improper storage, or leaving a cap off for too long can make your products pretty germy. If the color looks off, the texture has changed, or you get a whiff of anything strange, throw that shit out ASAP.
And yes, tools need to be tossed sometimes too: “A sign your brushes may need to be replaced is if their shape doesn’t bounce back post-wash,” says Marc Reagan, director of global artistry, education, and events at Hourglass Cosmetics.
Get rid of products you’ll legit never use
That glitter lipstick you got on sale circa 2017? The 20-shade palette you *had* to have but never got around to figuring out how to use? Don’t hate me, but it’s time to say your goodbyes. Also, while we’re at it, the whole “But what if I need it one day?!” mentality is honestly just a one-way ticket to clutter city and it is Officially Time to be real with yourself about it. ::gets off soapbox::
Anyway, you don't need to dump everything in the trash: Donate unused and unexpired or lightly used makeup to non-profit programs like Share Your Beauty and Project Beauty Share, or head to GlamBot.com to sell your makeup to secondhand buyers.
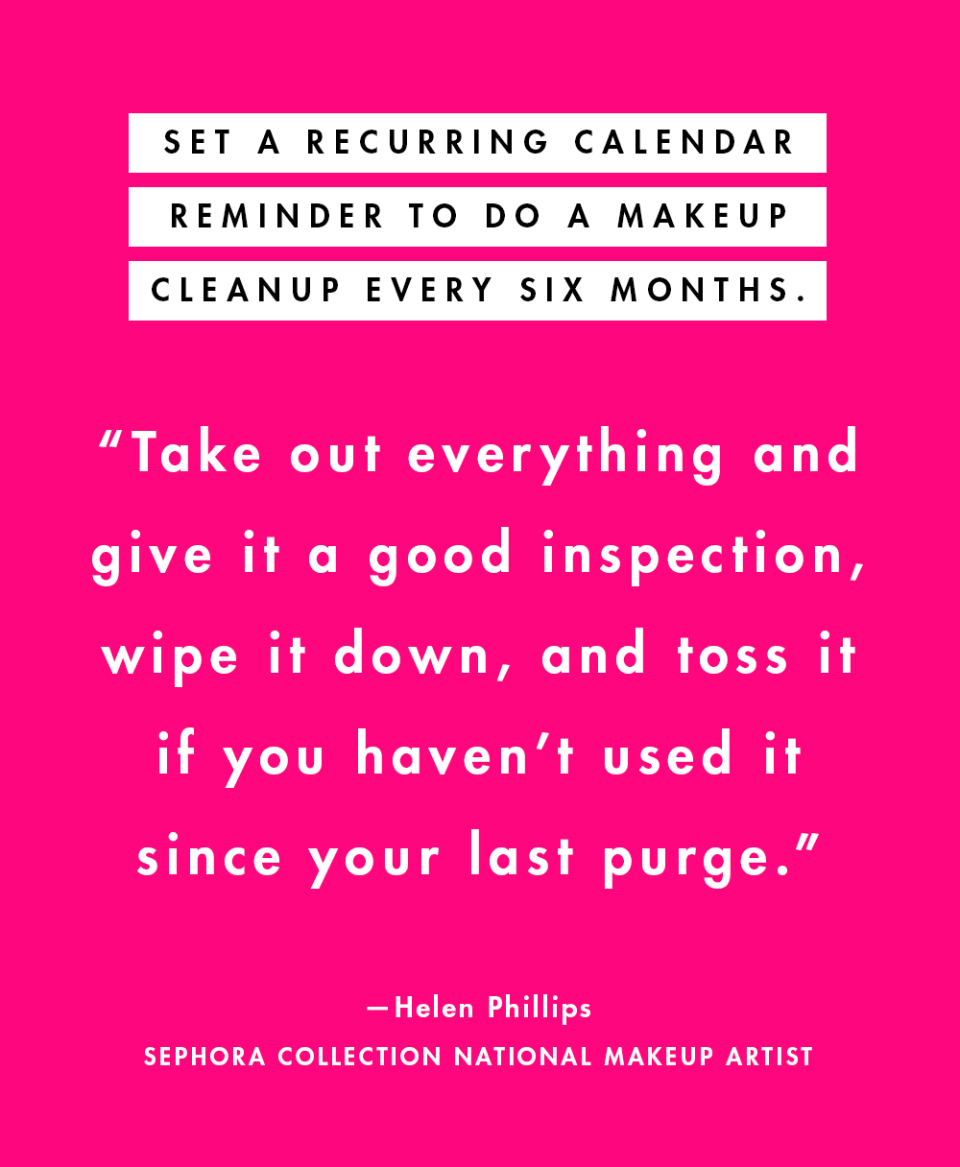
STEP 2: Sanitize anything that's left

Your disinfecting skills are at an all-time high rn, but have you given your makeup the same love as your door handles? If not, pls allow us to share this fun albeit disgusting fact: As many as 90 percent of products in the average makeup bag are contaminated with bacteria like staph and E. coli. Sooo yeah. It’s time to start cleaning...
...your tools
Officially, makeup brushes and sponges should be washed after every use. Unofficially, no one has time for that. “Between uses, give your tools a quick spritz with 70 percent rubbing alcohol. The drugstore stuff is fine—just pour it into a little spray bottle first,” says Phillips. Then, once a month, deep- clean your brushes with warm water and a makeup brush cleanser (try E.L.F. Cosmetics Brush Shampoo) or gentle shampoo (regular soap can break down brush hairs) and lay them flat to dry. If you’re team sponges, which are more prone to bacterial growth, you’ll want to give those babies a good wash every two weeks with a solid brush cleanser (like Sephora Collection Solid Brush and Sponge Cleaner), says Phillips, and let them dry fully before using them again.

...your products
Let’s start with eye stuff, because pink eye. Pencils and crayons should be sharpened at least once a week to reveal a ~fresh~ tip before use and should be lightly misted with the same alcohol spray you use on your tools.
Annoyingly, you can’t really clean lipsticks, cream concealers, highlighters, or twist-up stick products without making a mess, so if you feel like yours have been contaminated (e.g., you dropped on the floor or got bullied into sharing with a roommate), use a paring knife to slice off the very top layer. Outer packaging should also be wiped down every few weeks with a disinfectant wipe.

STEP 3: Get yourself a system
If you want to be a streamlined minimalist:
Upgrade from your current ziplock bag situation and treat yourself to Truffle’s chic Clarity Jumbo Jetset Case which feels fancy bc it’s leather but is super convenient bc it has clear insets that let you see everything inside. (P.S. Béis makes a similar style that's on the less expensive side.)
Keep your everyday makeup in one of the two compartments and any extras (like your Beautyblender, tweezers, lash curler, Q-tips, and that one random lipstick you just couldn’t part with) in the other.
If you’re more of a non-hoarding hoarder:
First, whatever you do, don’t waste $$ on those big opaque plastic bins or drawers. They’re black holes for your stuff to die in. The name of your game: clear acrylic makeup organizers that leave everything inside them on display, which keeps you accountable in the organization department. The Container Store has tons of options (the Luxe Acrylic Makeup Storage Kit is a makeup-artist fave), which makes it easy to customize your setup. Start with a few stackable drawers that are tall enough to fit things like foundations and oils standing up (storing on their sides = a recipe for spills and leaks) and then some that are wide enough to house palettes, pots, and compacts.
Also super useful: tiered lipstick trays and tube canisters to store anything long and skinny, like pencils, crayons, sticks, mascaras, and brushes. To keep everything functional for when you’re getting ready, group your products together based on how/where/when they’re used, *not* how they look, says Ivey. That means eye products with eye products—not lip pencils with brow pencils.
3 v important makeup storage rules
If you’re all about that influencer life:
So you’ve got a haul that rivals that of a small Sephora. (1) Love that for you and (2) time to buy a bookshelf—specifically one with five tiers—to display your goods (Amazon and Wayfair have a bunch of cool styles in the $100 to $300 price range). Keep the cute stuff, like your limited-edition palettes and pretty brushes, on decorative trays at eye level (it’s art, thank you), which is also where ’grammable non-makeup items like bud vases and candles should live.
Keep the less cute stuff (ahem, your nub-status pencils) hidden but still accessible on the lower shelves in printed fabric boxes, colorful plastic cylinders, or wicker baskets based on your vibe. Bonus idea: Use reusable silicone baggies or rubber bands to group like-colored products together so you’re not digging through a million differ- ent things when you’re looking for that one particular shade.
The tippy-top shelf is where you’re going to store your on-deck stuff (what you haven’t used yet but fully intend to) and out-of-season items. As you need to replace empties or switch things up based on the time of year, bring them down to a lower shelf that’s in arm’s reach. This goes for dupes too. “You don’t need 50 black eyeliners clogging up your space,” says Phillips. “Keep the ones you use handy and the others labeled clearly and stashed away.”

You Might Also Like

