3 Golden Rules for a Flawless IKEA HEMNES Hack (Every Time!)
It’s hard to talk about IKEA without also talking about IKEA hacks. Yes, the Swedish retailer’s offerings are already pretty good as is — both stylish and affordable — but with a little bit of DIY magic, they become even better.
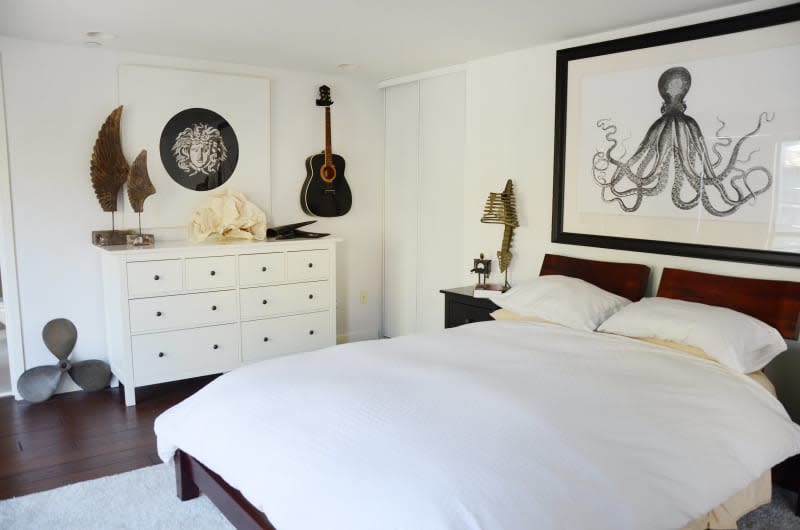
When it comes to hacking, some products are more popular than others. The BILLY bookcase, for instance, is a powerhouse for creating custom built-in shelving. But another favorite among hackers is the HEMNES collection, which offers bookcases, dressers, nightstands, shoe storage, beds, and more.
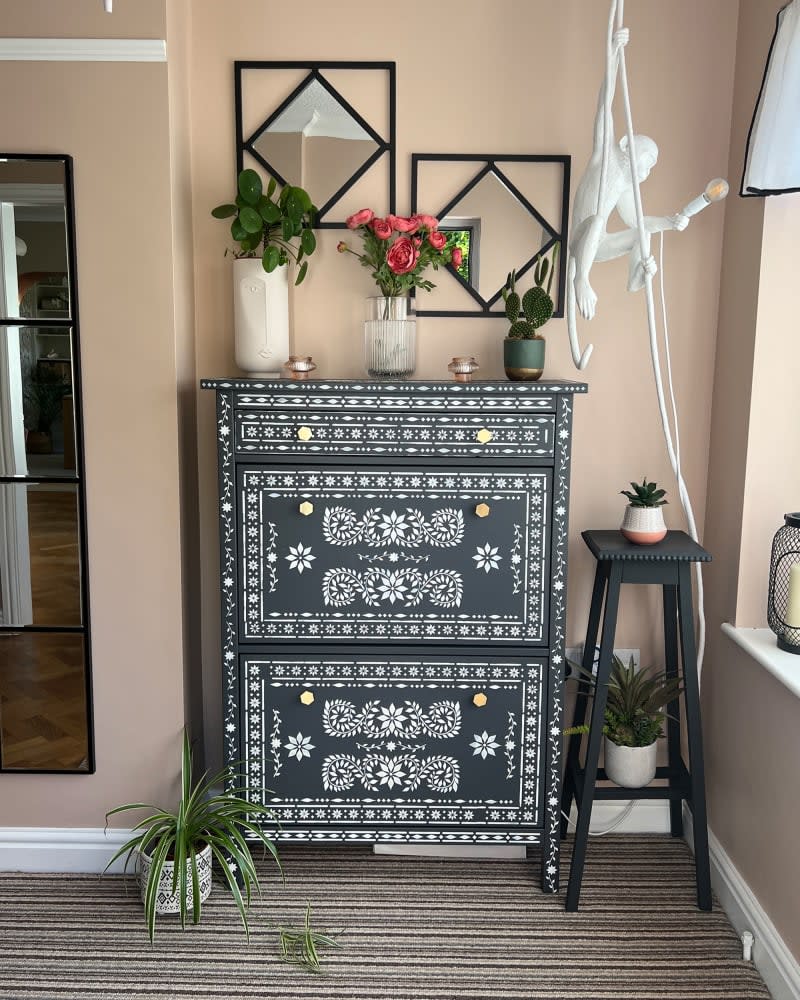
“The possibilities are endless with IKEA furniture,” says Imani Keal, interior decorator and content creator of Imani at Home. “The HEMNES collection can be upgraded to a nice entryway table, a modern bathroom vanity, and built-in bookshelves.”
Ready to try your hand at hacking your HEMNES? Keal and Erika Wasilewski of Peony and Honey are here to share their three golden rules for flawless IKEA HEMNES hacks.
Rule 1: Don’t lose steam during assembly.
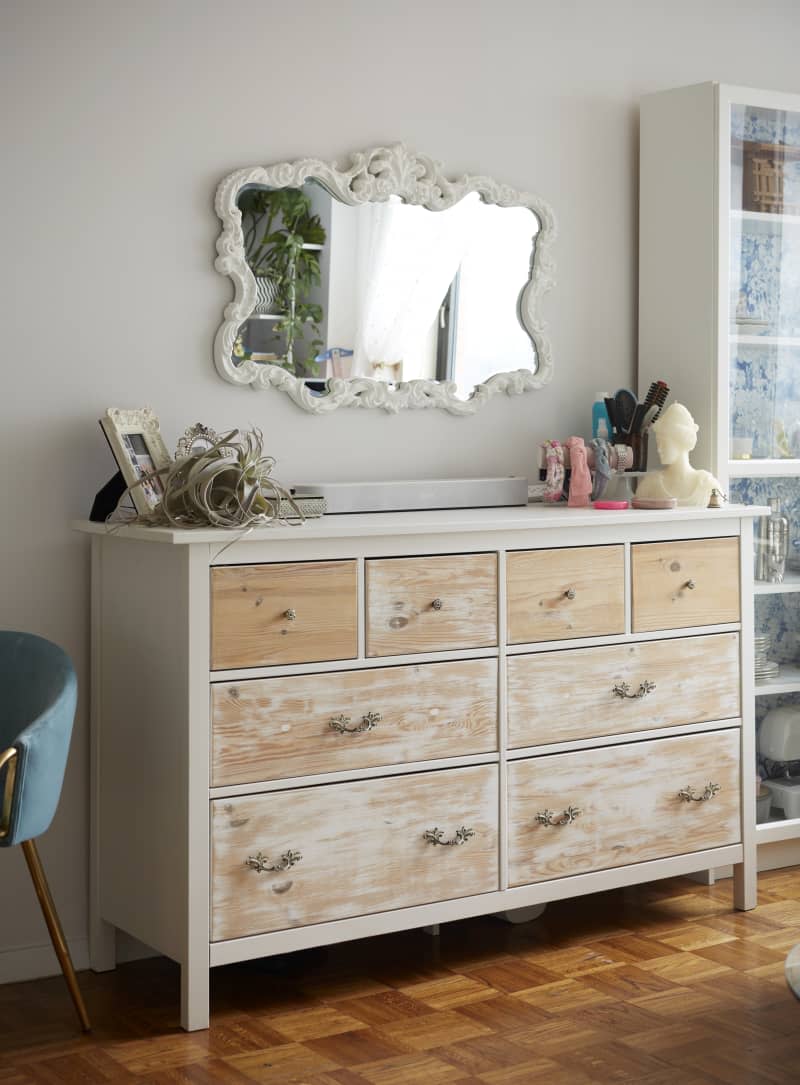
Wasilewski has likely completed three HEMNES hacks over the years, and gravitates toward them when she wants to transform a basic piece that’s punctuated by clean lines.
While you might be tempted to cut corners during the initial assembly phase — forgetting to screw in a nail here, or not lining up a shelf to a “T” there — she says that you’ll likely regret that casual approach as your DIY project unfolds. Her advice? Don’t cut corners in the beginning, since uneven lines on such a simple furnishing will only become more apparent with further embellishments.
“Assembling the dresser properly is super important,” Wasilewski notes. “You want to make sure you have perfect lines and no gaps anywhere, so when you go to add trim or any other details, you have a uniform base.”
Rule 2: … But if you’re painting it, do that first.
Yes, there is a caveat to the first rule of assembly. If your design plans include painting the furniture piece in a shade of your choosing, then apply the paint before you build.
“Getting smooth coverage into the edges is much easier when the seams aren’t bunching up in the corners,” Keal says. “A dense foam roller is a must!”
On the subject of painting, Wasilewski recommends covering every inch in an enamel-based primer prior to the first coat. Since most IKEA furniture comes with a sheen finish, this step ensures that your paint will properly adhere to the pieces. “Otherwise your paint will scratch off easily,” she says. (Find more tips for painting IKEA furniture here.)
Rule 3: Wood glue is your friend.
“In my humble opinion, all IKEA builds would benefit from using a little bit of wood glue in the connecting joints,” Keal says. “It makes everything extra sturdy.” Let it dry completely before moving on to your next steps — as with any DIY, patience is key.
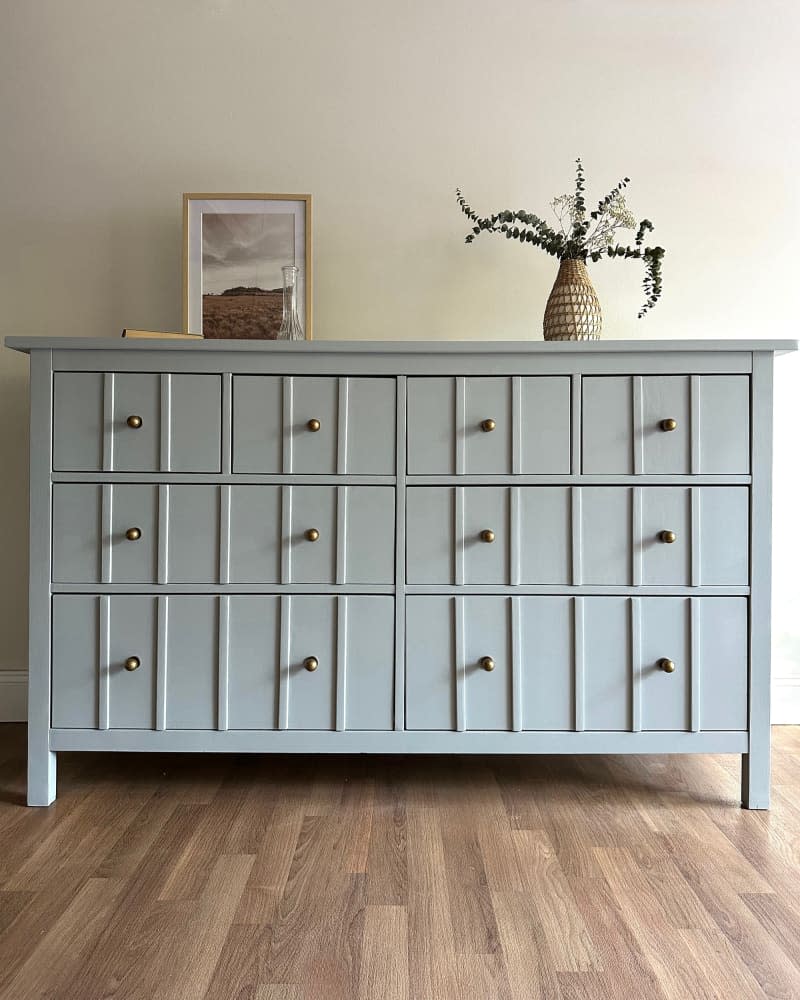
While there’s no shame in simply painting a HEMNES dresser, adding new hardware, and calling it a day, DIYers who want to do bigger transformations will need a few simple tools in their arsenal. “Generally, you’ll want to use a miter saw for adding molding, a jigsaw to add curves, and a brad nailer to attach your trim and details,” Wasilewski says.
Practice your curves on scrap pieces to get a feel for your jigsaw beforehand, and trace out your design with pencil to ensure that your lines match up with the ones in your mind as much as possible.

