16 Biggest Mistakes You're Making With Homemade Cookies, According To Pastry Experts
There's no cozier feeling than tossing a tray of cookie dough in the oven for a sweet, midday pick-me-up or a special occasion. Cookies don't require the same amount of effort and time as a perfectly decorated cake with layers upon layers of frosting and decorations, but they still will warrant some attention to ensure that the batch comes out properly baked and delicious. And if you make careless mistakes, you might come out with cookies that are far from the sweet, soft treats that you intended to bake.
As experienced bakers ourselves, we admit that we've had our fair share of cookie woes -- including the time we lined a pan with wax paper instead of parchment. To help ensure our subsequent batches are the best they can be, we sought the advice of pastry chef Ann Kirk from Los Angeles' Little Dom's and professional caterer Meg Walker. The pair shared some of the biggest mistakes bakers make with these treats, along with ways to circumvent disaster and ensure that every tray of cookies comes out perfect.
Read more: 25 Chocolate Brands, Ranked Worst To Best
Improperly Measuring Your Ingredients
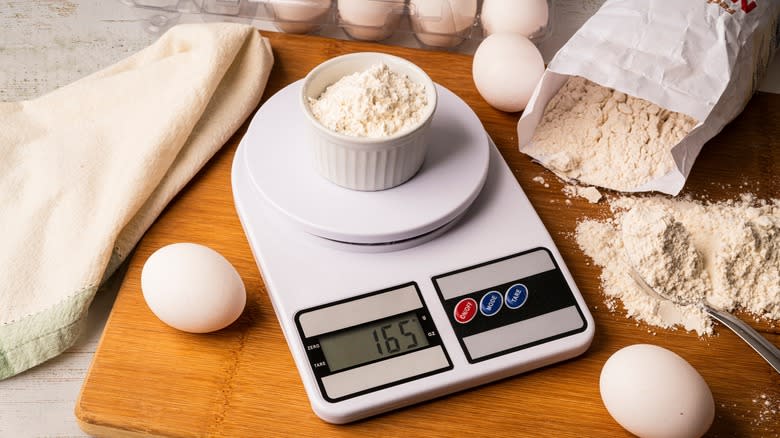
You can never be too precise when it comes to baking. The right ratio of ingredients in a cookie recipe is critical to making a sweet that is perfectly balanced in flavor and bakes well. If you accidentally misread "teaspoon" for "tablespoon" in your recipe or pack too much flour into a cup, you'll risk offsetting the precarious balance of ingredients in your batch. Besides forgetting an ingredient (or two) entirely, inaccurate measuring may also be ruining your cookies. Dry ingredients are prone to mismeasurement because many novice bakers reach for measuring cups and spoons -- which aren't standardized in weight.
Instead, pastry chef Ann Kirk recommends using a calibrated kitchen scale to ensure ingredients (like that pesky cup of flour) are precisely measured, thus reducing the risk of hiccups in the recipe down the road. You should also try using a recipe that calls for ingredients in grams or ounces rather than cups or spoons, since it is more likely a quality recipe that has been well-tested and is replicable in your home kitchen.
Using Warm Butter
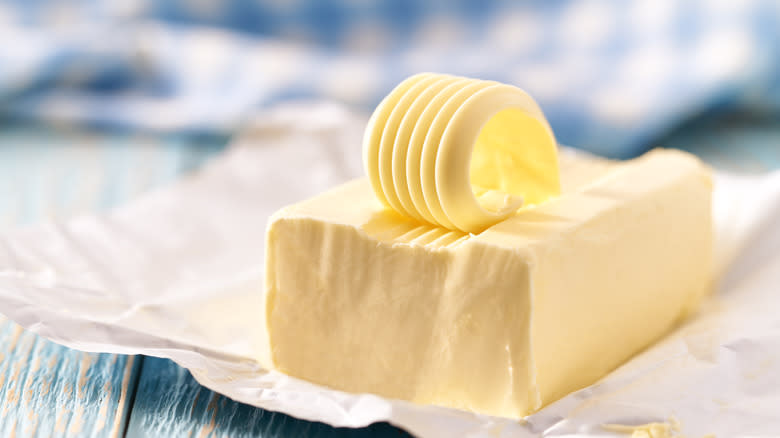
We hate the ambiguous phrase "softened butter." Does it mean that you can slice through it with a knife? Or is it merely butter that's been sitting on the counter for more than 30 seconds?
When baking cookies, "softened butter" often refers to butter that's cold enough to slice -- but not melted. You should consider using cold, non-melted butter when baking cookies because it will prevent the water interspersed in the fat from leaking into the flour, which could potentially lead to overactivated gluten and bread-like cookies. Pastry chef Ann Kirk tells us, "When softened butter is creamed with sugar, it creates tiny air bubbles that help leaven the cookie during baking, which makes for a lighter textured cookie."
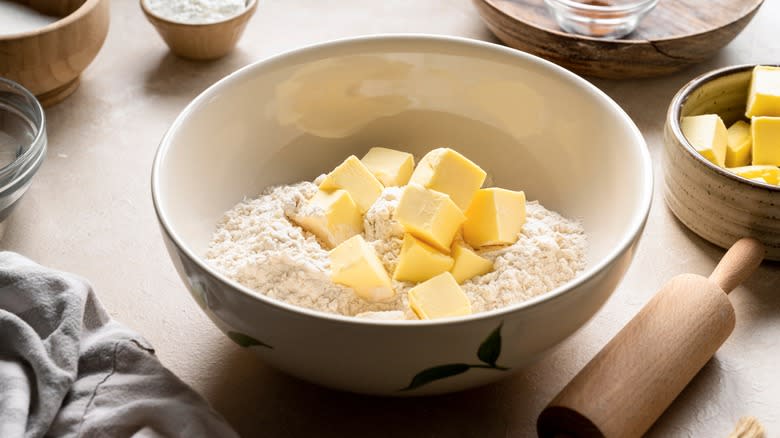
But if the butter is too cold, it won't hold air, leading to stodgy cookies. Not to mention, scraping cold butter off a stand mixer's paddle attachment is a pain. Luckily, there are many ways to ensure your butter is ready to bake. The night before baking cookies, celebrity chef Ina Garten pulls her butter out of the fridge and leaves it on the counter so that it will soften up to room temperature. If you don't have the foresight for this hack, you can also dice up a stick of butter into small pieces so that it has more exposure to the air and warms to room temperature faster.
Opting For Cheap Vanilla

The recommendation to use quality ingredients is overplayed. No one is going to be able to taste if you swapped your cheap Domino's sugar for the most expensive granulated sugar at the co-op, and we doubt anyone could detect premium organic white flour from a generic brand. But quality vanilla is one ingredient you don't want to forego in your recipe.
You shouldn't use artificial vanilla when baking cookies because it lacks the complex notes of an authentic, pure vanilla extract. The synthetic chemicals in artificial vanilla extract give off the same odor as the real stuff, but it's much less potent. And if you smell a difference, you're guaranteed to taste a difference. Although vanilla has a reputation for being quite costly, there are some brands that offer reasonably priced versions of the real thing. One of our favorite vanilla extra brands is McCormick -- which is available in most grocery stores.
Adding Too Much Butter
Butter is wonderful, tasty, and decadent. But too much of a good thing can have disastrous consequences on your cookie recipe. Adding too much butter to your cookies is easy to do, especially after you've creamed your ingredients together and consider that "a little more can't hurt." Of course, the amount of butter you use will depend on your cookies. For example, a shortbread will need a higher proportion of butter than a sugar or chocolate chip cookie.
There are many ways to tell that you were a little too generous with your fats. If your cookies come out of the oven a little too crispy — especially around the edges — or you notice a buttery sheen on your fingers after you grab one off the cooling rack, it may be an indication that your ingredient ratios are off. Another very obvious sign is that your cookies spread — a lot. You'll see that they come out like little bricks that have been pressed with a steam roller.
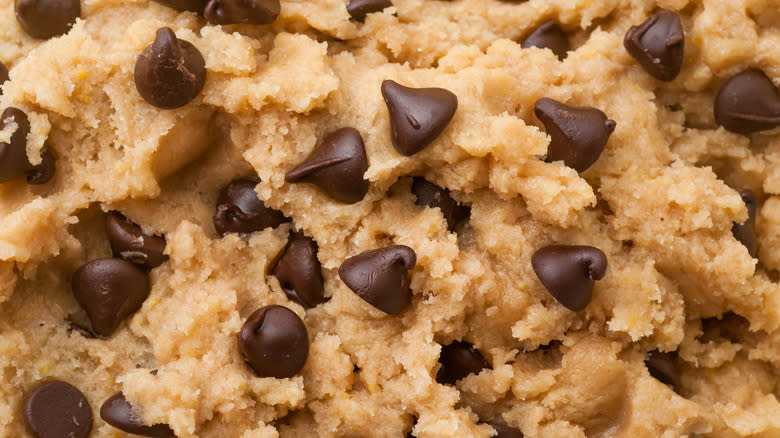
Using Chocolate Chips
Wait, is there something wrong with the classic chocolate chip cookie? Of course not. But while there's not necessarily anything wrong with these treats, there are some ways that you can just make them ... better. The first comes with swapping those chips out for bar chocolate.
Chocolate chips are loaded with stabilizers that allow them to keep their shape after they're baked in the oven. It makes for a great Instagram shot, but it leaves you with bits of grainy chocolate that aren't as pleasurable to eat. Bar chocolate, like the kind you'd find in the baking aisle, is high in cocoa butter, which makes for a better melt and the ooey-gooey chocolate pull that we would argue is more photo-worthy. Pastry chef Ann Kirk also notes, "The beauty of the bar is variety. There are so many great chocolates to choose from in bar form, from different percentages to different origins, you can really refine your cookie batches to your particular cravings."
We're not asking anyone to change the name of this classic to "baking bar chocolate cookies" (it just doesn't roll off the tongue), but there is something to be said about the creamy texture of a bar. You can also shave or break off the chocolate into small pieces so it easily intersperses in your cookie and gives you more chocolate in every bite.
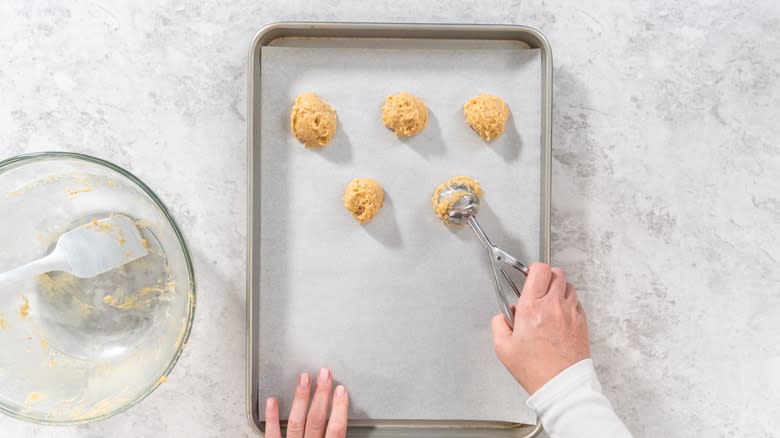
Scooping Cookie Batter With Your Hands
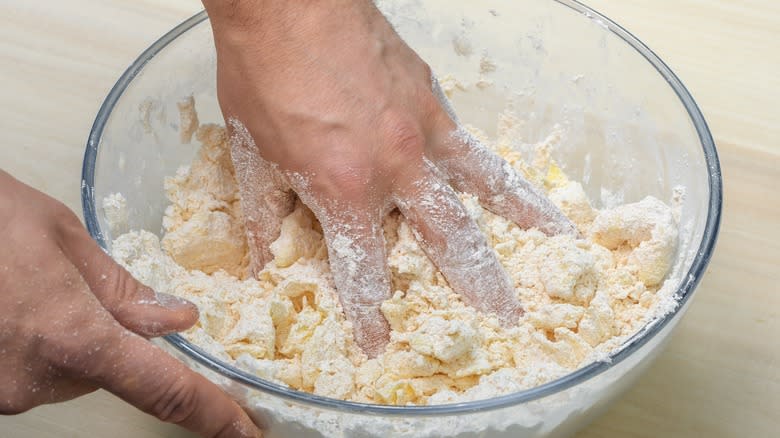
Fans of the show "Arrested Development" will understand this when we say, "No touching!" -- when it comes to cookie dough, that is. It is understandably tempting to stick your hands into the batter and try to wrangle a single ball for your baking tray. But the second your hands make contact with that dough, you risk warming up the butter to the point of no return. Not to mention, do you really know where your hands have been?
The better solution to your mixing dilemma is to use a spatula to combine your ingredients together. When you're ready to scoop, portion out your batter with a cookie scoop instead. This will help ensure your cookies are evenly sized so that they bake at the same rate, as well as limit the amount of contact your cold butter has with your warm hands. Otherwise, you risk your cookies spreading across the baking sheet and becoming more like cookie brittle.
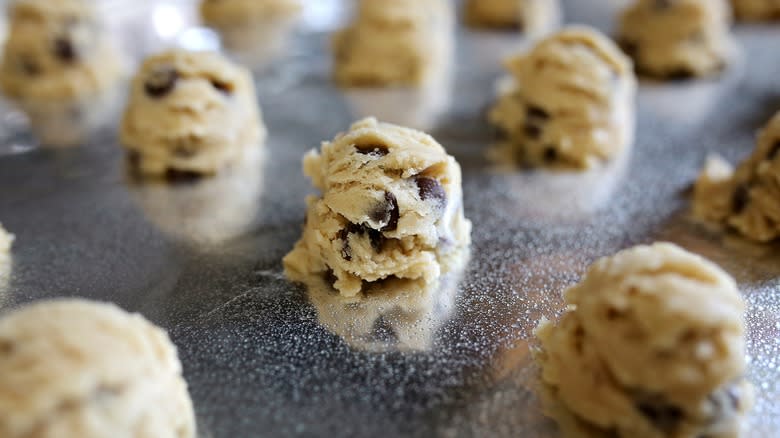
Neglecting To Rest Your Dough
Cookie dough seems like a relatively simple recipe to whip up, bake, and enjoy. But the secret of baking these delicious treats is to allow your cookie dough to rest and for the flavors to meld for a little bit before you portion it out and pop it in the oven. The conditions of your fridge cause the moisture in the cookie dough to evaporate, which in turn concentrates the flavor of the sugar, chocolate, and other ingredients in the batter. If you're using a special flavoring agent like espresso powder, herbs, or spices, you'll likely be able to detect them more after the dough has finished ripening.
Another benefit of leaving your dough in the fridge is that it causes the butter to re-solidify, which is especially important if you're working in a hot kitchen. This slows the rate of spreading and will help your cookies keep their shape, which pastry chef Ann Kirk notes is important for cut-out cookies like gingerbread.
To reap the maximum benefit of this essential step, professional caterer Meg Walker says, "My process starts off with making the dough, then shaping the cookies, chilling them for 30 minutes, then baking."
Crowding Your Baking Sheet
We'll admit it: Washing multiple baking sheets can be a pain in the neck. So naturally, we understand why you would want to consolidate your cookies onto a singular sheet by cramming them close to one another. But this could have disastrous consequences for the consistency of your cookies.
But you shouldn't put cookies too close together on a baking sheet because they will inevitably expand and spread with the heat. Plus, airflow is critical to getting the perfect bake, and having a packed-like-sardines tray will limit the ability of each cookie to get perfectly crispy on the edges. It's generally recommended that you give your standard-sized cookies about 2 inches of space on each side. You can bake in smaller batches to ensure that your cookies achieve the perfect color and consistency -- but it just might take some extra time than going all at once.
Improperly Calibrating Your Bake Time Based On Your Pan
If you're anything like us, you have a pan for seemingly everything in the kitchen. This includes cookie sheets -- which are thin and may have a rim on only one side — and baking sheets (or sheet pans) -- which have a rim around the entire edge.
You need to read the recipe to know if you should be using a baking or cookie sheet. If the recipe is intended to be made on a thinner metal pan (with better airflow), then you may risk undercooking your cookies if you opt for the baking sheet instead. In this case, when using a baking sheet, you'll want to add an extra minute to your baking time to ensure that your cookies get to the proper consistency. On the other hand, if you only have a cookie sheet and a baking sheet recipe, you'll want to keep an eye out for the color of your cookies to prevent burning them.
Baking Too Many Batches At Once
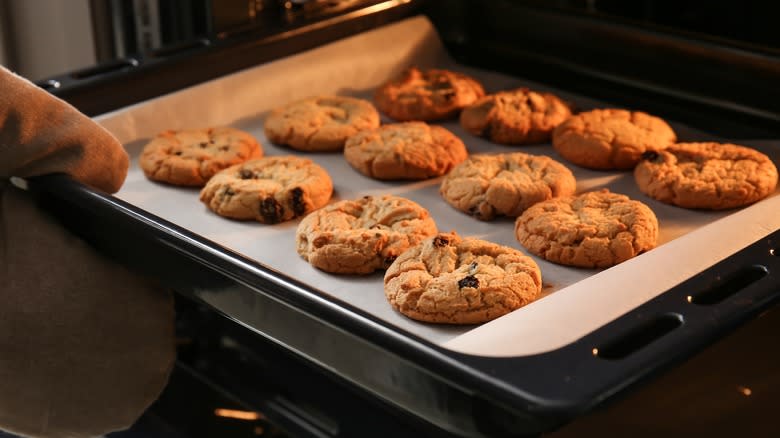
If you're baking for a special occasion, you probably know the feeling of having several trays of food in your oven at once. But it pays to bake cookies one batch at a time, rather than overloading your oven with every baking tray in your collection.
The reason for this is simple. When there's only one tray in your oven, all of the heat goes straight to it and heats the tray perfectly. Otherwise, the warmth is absorbed by all of the different pans, which can prolong your baking time. Plus, this cooking strategy can cause issues with the hot spots in your oven. The cookies closest to the heating units and the metal walls of your oven will cook faster, which could mean that some of your cookies come out burnt while others come out pale.
If you're baking two sheets of cookies at once, you should always leave room in between and switch them about halfway through the cooking time. This will compensate for the hot spots and ensure your treats come out perfectly (and evenly) baked.
Relying Solely On The Suggested Bake Time
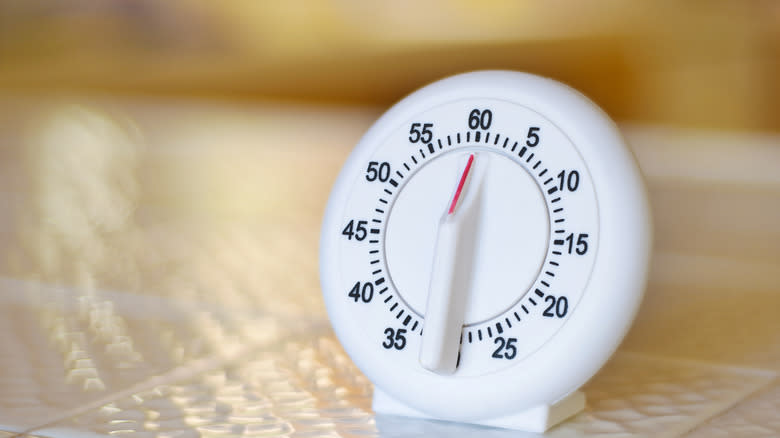
The intended baking time listed on the recipe is generally regarded as a reliable indicator of how long to leave your cookies in the oven. But following the recipe time when baking cookies may not be a good idea because it's not calibrated to your exact oven. For example, if your oven runs 25 F above what you thought was 350 F, your cookies may come out burnt. Other factors, like the placement of the tray, the type of oven you're using, and even the weather, can cause variations between the recipe and what you bake, as well as variations between batches.
The best way to know if your cookies are done baking is to check your oven regularly. The ideal color and consistency of your cookie will depend on the type you're making. For example, a chocolate chip cookie should still be molten and slightly brown, while a biscotti should be dry and pale.
But, as a professional caterer Meg Walker notes, you can easily adapt the baking temperatures and ingredients in your recipe to bake your ideal cookie. So if you like a crisper cookie, leave it in the oven for a little bit longer than the recipe intended -- just don't let it burn.
Reusing A Hot Baking Sheet

You should always use more than one baking sheet with cookies because it will prevent the carryover cooking from the prior batch. The second your buttery cookies touch the hot pan, the greater the risk that they will scorch and burn on the bottom of your pan. The best way to ensure that you are getting the optimal bake on your cookies is to use a totally separate sheet for each batch.
However, there are ways to bring your single baking sheet down to temperature without having to wave it around frantically in the air -- which is both silly to do and to watch. Instead of flapping it around, you could rinse the warm (rather than hot) sheet under cool water and towel dry it. This will prevent the hot pan from warping and ensure that your next few batches start on a blank, cool slate.
Baking Your Cookies On Foil
Don't you dare touch that roll of aluminum foil when it comes to baking cookies. This is one of the easiest mistakes that any novice baker can make with any baked treat, especially a thin, delicate one like a cookie. The bottom of your cookies will come into direct contact with the metal foil, which heightens the risk of burning the bottoms while the inside stays raw. The other type of liner you should avoid using, besides foil, is wax paper. Not only can it potentially catch fire in your oven, but it will also leave a residue on your cookies and make them inedible.
The better liner for your pans is parchment paper. It's thin enough to prevent your cookies from sticking to your baking tray but won't absorb as much extra heat. You can also use a silicone liner, which can be washed and reused.
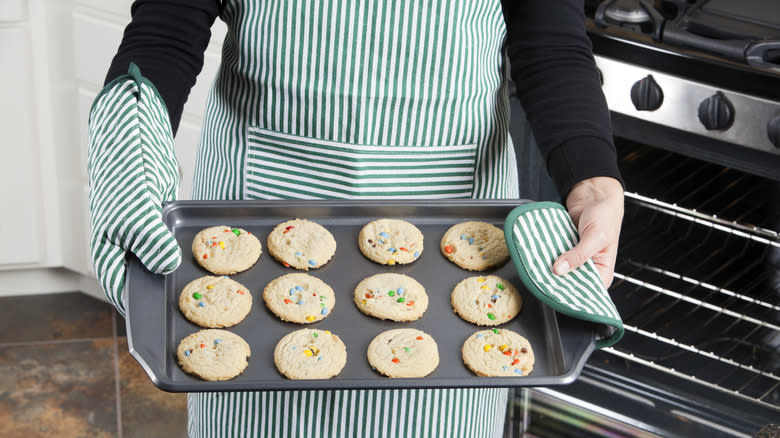
Leaving Your Cookies On A Hot Sheet Pan

Carryover cooking is a real thing, and it might be one of the reasons why your cookies are burnt on the bottom — even if you are sure that you followed the recipe's timing exactly. The metal baking or cookie sheet can hold a lot of heat, even after you've turned the dial on your appliance off. You'll want to give your cookies enough time on the sheet to solidify (which might be only for a few minutes), and then immediately transfer them to a cooling rack. This raised surface will allow the air to scoot underneath your cookies, effectively cooling the bottom and preventing overcooking.
If you have to cool your cookies on a baking sheet, you will need to decrease the baking time. Then, you can leave your cookies on your pan and transfer them to a cooling rack at your leisure.
Storing Your Cookies In A Jar
You've gone through the hard work of baking your cookies, so you shouldn't let a small, silly storage decision ruin your entire batch. You'll want to skip the jar if you want your cookies to stay fresh longer. Your standard cookie jar likely isn't air-tight, which means that moisture can easily evaporate from your cookies and cause them to turn from delightfully crisp to painfully hard and stale.
The better storage solution is to tuck your treats into a zipper bag and remove as much air as possible. We're also fans of freezing cookies after they bake and cool because it keeps them perfectly fresh. If you're storing the cookies in a large container that you can't make air-tight, you can try adding a slice of bread, and the cookies will absorb the residual moisture from it. Most cookies can be eaten within two to three weeks if they're stored at room temperature.
Freezing Iced Cookies
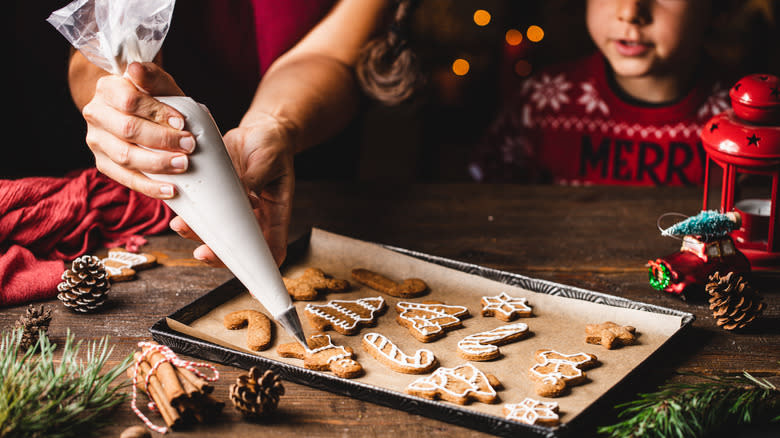
In general, cookies are baked goods that freeze really well. Your standard chocolate chip cookies, oatmeal raisin, and sugar cookies can be eaten within six months of freezing, so long as they are kept in an air-tight container to prevent them from absorbing unsavory odors or getting freezer burned. But decorated, iced cookies are ones that you shouldn't freeze.
It's not just your delicately piped gingerbread cookies or elaborate sugar cookie creations that shouldn't be frozen. Sandwich cookies and powdered sugar-coated varieties, like snowball cookies, should also not spend time in your freezer. However, you can batch-bake in advance and properly freeze your cookies -- sans frosting. When you're ready to decorate (or eat), thaw your cookies at room temperature and prepare your icing fresh. Your treats will taste just as delicious as the day you baked them, and you won't have to worry about cracked icing or skewed designs.
Read the original article on Tasting Table

