13 Mistakes Everyone Makes With Smash Burgers
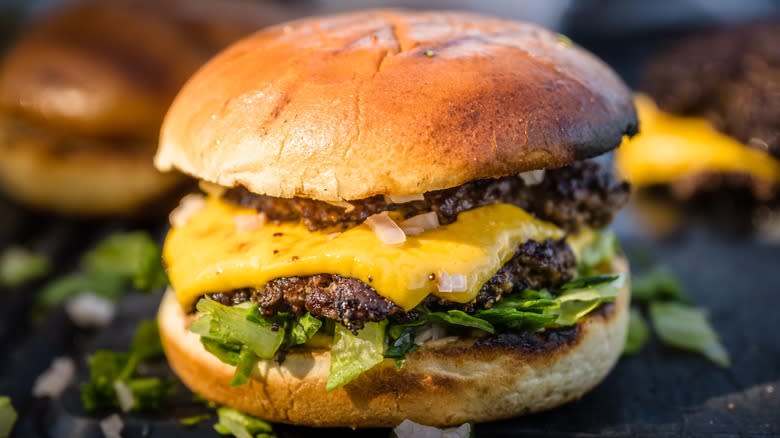
Longer days are a sign that burger season is approaching. It's time to pull out the apron, brandish your spatula, and prepare for a summer of perfect grill marks. This year, rather than the usual juicy, meaty patty, impress loved ones with a crispy, savory smash burger. It's a growing trend that's been satisfying growing appetites. Many already say that smash burgers are better than regular ones, and there is a good reason why. One bite into a thin, crunchy, and umami-rich patty will transport you to flavor town, where you'll petition to become a permanent citizen.
Along with an amazing taste, smash burgers are also an affordable alternative to the average burger spot, which nowadays can cost upwards of 16 dollars. If getting more umami for your bucks sounds exciting, then smash burgers are a delicious detour. But, before you start smashing away, there are some things to consider. Burgers aren't as easy to smash as they appear and often leave beginners scratching their heads. Thankfully, we've teamed with chef Aaron Lopez, the resident grill master at smash-burger-hotspot Love Hour in Los Angeles. Here are some common mistakes everyone makes with smash burgers.
Read more: Tips You Need When Cooking With Ground Beef
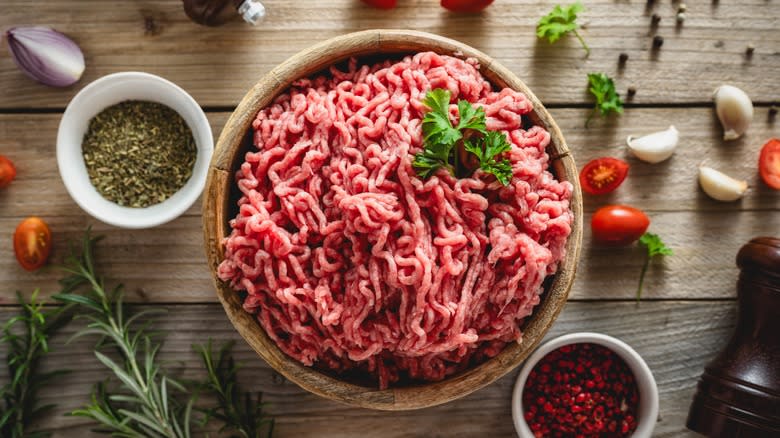
You Chose The Wrong Chuck
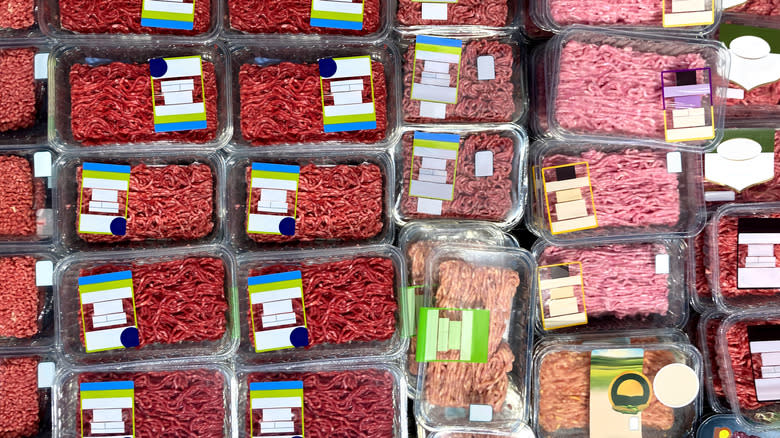
For a quality experience, always go with good-quality beef. Anything else, according to chef Aaron, is a "cardinal sin." Budget-friendly can get the job done, but when it comes to smash burgers, premium is worth the splurge. The meat-to-fat ratio sweet spot for the ultimate smash burgers is 80/20. Fatty ground beef is preferred because it can withstand high temperatures and bursts with flavor. A 70/30 ratio delivers smashed satisfaction, too. The popular consensus is to use 20 percent and above, but lean beef can also work. "Lean beef is great for getting a great crust on your smash burger. Just be aware, the less fat in your grind, the dryer your patty will be," chef Aaron clarified. That crust is formed when high heat comes into contact with food, which causes a chemical reaction between carbohydrates and proteins called the Maillard Reaction, or browning effect. It's the source of the crunch and the irresistible toasted aroma and taste we all love so much.
Views are mixed when it comes to pre-formed patties. While using them does not commit any cardinal sins, chef Aaron highlighted how important it is to not over-blend your beef. "Pre-formed patties are usually worked to death already and you want your meat balls packed pretty loose." Professional standards aside, if you don't have access to a quality deli or are planning for a large gathering, pre-formed patties made with good quality meat will do just fine.
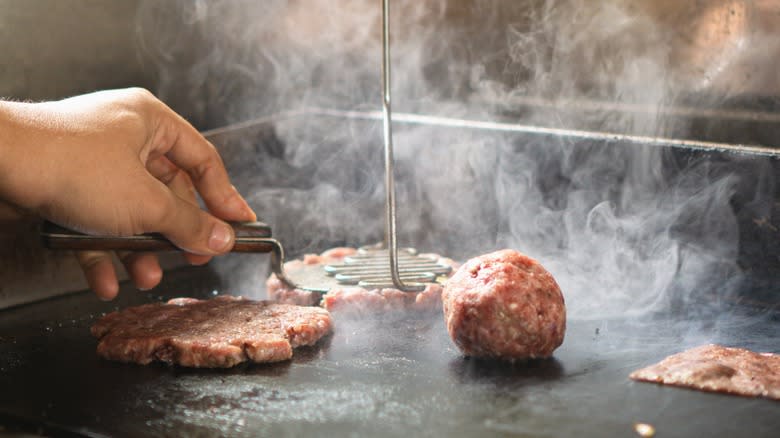
Forming Beef Into Patties Rather Than Balls
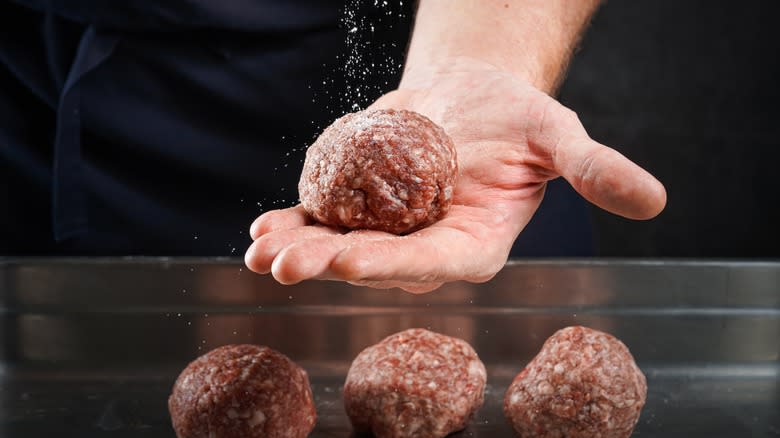
Forming ground meat into flat patties can seem like a logical first step if you're new to making smash burgers. Unfortunately, many of the methods used for traditional burgers don't translate to the smashed variety. The process is simple but counterintuitive. Smashing is certainly involved, but there is a method to the meat-ness. Unlike traditional burger blends, which can be formed tightly into compact patties and often contain extra ingredients, smash burgers are usually made of ground meat only with a little seasoning and sometimes onions. There is also a misconception over what shape patties should be. While there is no fixed rule of thumb, a ball shape is preferred to a flat patty because it provides a better and more even surface area when smashed.
Whether making the regular or smashed style, it's better to leave your beef a little loose. Looser patties with imperfections are more ideal for grilling than perfectly formed ones. "This goes back to overworking your meat," says chef Aaron. "You ideally want to handle your beef as little as possible to preserve your fat from beginning to melt." Burgers in general have a better chance of developing crust when there are loose pockets left in the patties.
Cooking On An Unclean Griddle
Cleaning your cookware doesn't just apply to making smash burgers but to cooking in general. Granted, there are exceptions to the rule, like reusing grease for flavoring, but in general, always clean before cooking. Aside from being unsanitary, it can impact your burgers in other undesirable ways. Chef Aaron exclaims, "This is just gross. Don't be that guy (or girl), make sure your equipment is clean, always! You can also get those gross black marks (burned grease) on your burger and that will severely affect the taste negatively."
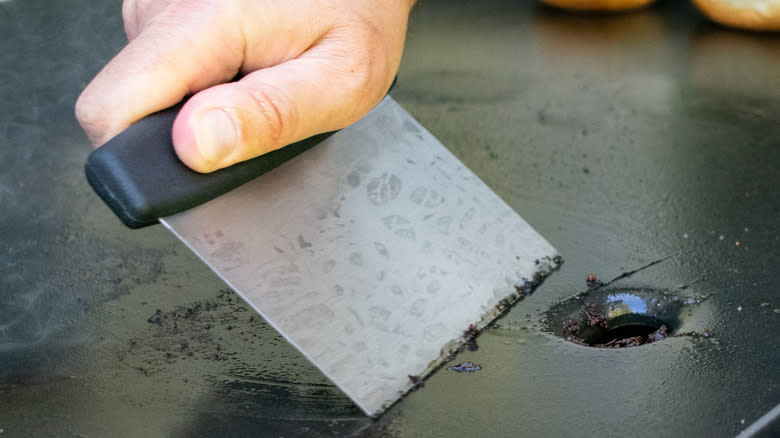
Griddles are best for making smash burgers, but any cookware with a spacious flat surface can work. You can use cast iron, carbon steel, or stainless steel — cast iron is ideal because it heats up fast, retains heat well, and cooks patties evenly. If you're using the grill, place a cast iron skillet or griddle onto the grate for smash burgers. If you're a griddle-owning burger master, it's best to use cleaning tools made specific to the surface material to avoid damaging it and to scrub straight after cooking before food dries and sticks.
To clean stuck-on food bits, start by scraping your griddle while it's still hot then rinse it off with water. A bench scraper is useful for this. You can remove remnants by using a spatula to move a folded paper towel around the surface. Cleaning a skillet is mainly the same, but we suggest following the cleaning instructions suggested by your cookware's manufacturer.
Using Beef That's Too Cold
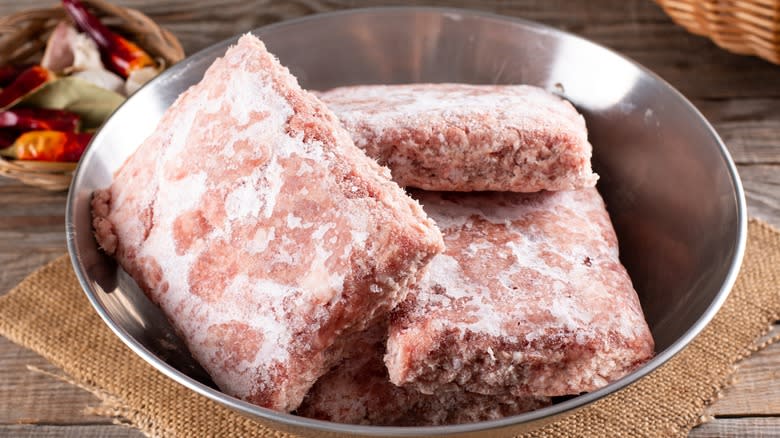
A mistake commonly made when cooking burgers is not allowing frozen ground meat to thaw completely. When stored in freezing temperatures, the water content in meat hardens and expands, creating ice crystal pockets that alter the muscle structure. Thawing causes the ice to melt, thereby loosening the original structure and tenderizing the meat. "This is actually a pro tip. Bringing your meat to room temperature is always the key to properly cooked steaks and burgers," chef Aaron says.
Cooking smash burgers is all about even heat distribution. Patties are pressed against high temperatures and only take a few minutes to cook. You should avoid cooking ground beef from frozen because you can lose the meat's natural juices. Properly thawing it allows those juices to redistribute within the meat. Extra moisture from melting while cooking can also impede the crucial browning and crusting process of the Maillard Reaction. Also, if you try forming ground meat before it reaches room temperature, the interior may still be frozen and you'll find it more challenging to properly shape and smash.
Not Seasoning Burger Meat Properly
To season raw meat balls or to season while cooking, that is the question. Better yet, which method will reward you with the tastiest results? Today, chef Aaron helps us settle that great smash burger debate. "This is a very common problem. Some people like to season the raw meat balls or even season the actual plancha (or cooking plate), but the salt or seasoning will just burn or create an unnecessary layer between the beef and the flat cooking surface," he explains.
Burnt seasoning will infiltrate the burger meat and negatively impact the taste. It can get stuck on your cookware's surface too, which will ruin how it looks and make cleaning it more challenging. chef Aaron continues, "Only season THE BEEF immediately after you smash it. You'll get the best results this way, in my opinion." If you season right after smashing, it won't burn and you will have a greater chance of infusing the patty with mouthwatering savoriness.
Including A Binder In Your Burger Mix
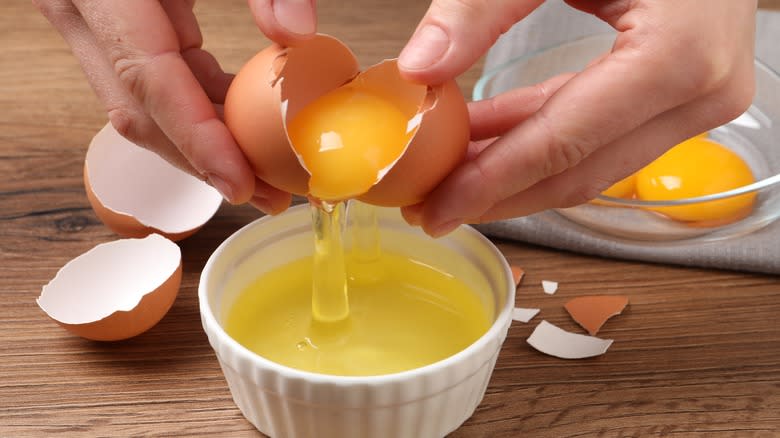
Regular patties are great for experimenting with different ingredients and doneness, but smashed burgers are all about simplicity. Binders like egg yolk and breadcrumbs are commonly added to burger mixes to help hold blends together. Along with binding, they're great for boosting taste and texture. Egg yolk may elevate Gordon Ramsay's burger patties, but adding it to smashed burger blends is a bad idea. The fat in ground beef already acts as a binder as it melts, sealing in meat juices and providing extra flavor.
Though not traditionally used, breadcrumbs are equally problematic. The coarse and grainy texture will prevent your patty from sticking, thereby messing up the charring process. Breadcrumbs are popularly used to make meatloaf and meatballs light and tender, which is the opposite texture that you want your smash burgers to have. "It's a burger, not meatloaf! No eggs or breadcrumbs EVER!" asserts chef Aaron.
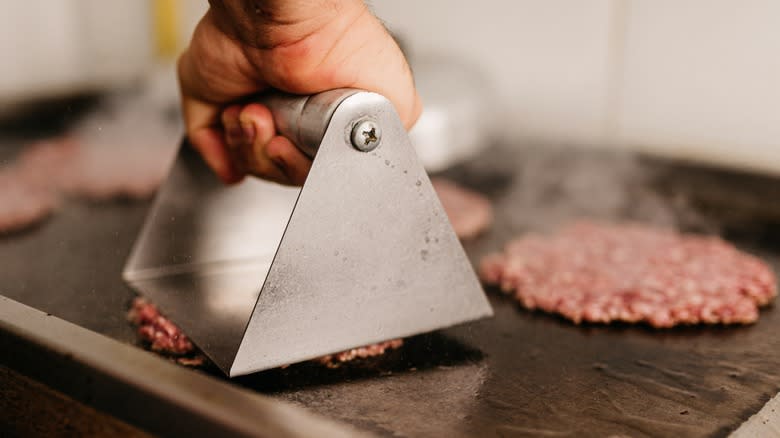
You Use A Spatula Instead Of A Press
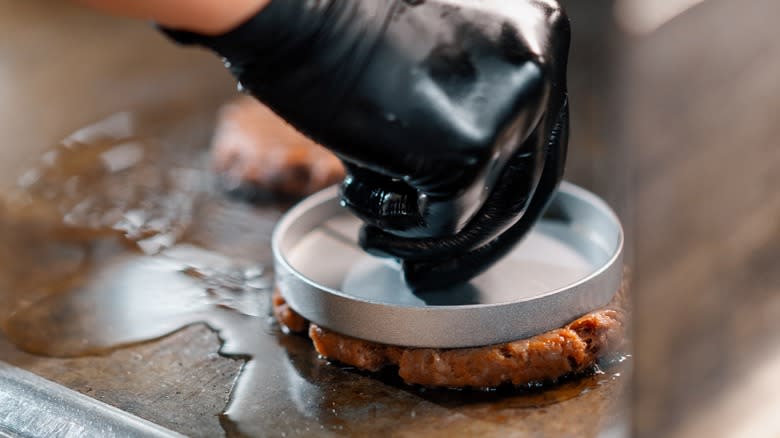
A spatula is flat, spacious, and seemingly ideal for making smash burgers. Although it seems logical to use and technically can get the job done, there's a trick to properly smashing burgers. A burger press is a tool made specifically for smashing. Don't confuse it with a tool that presses patties before cooking. You'll be doing the smash as soon as the meat hits the griddle or pan. Unlike spatulas, burger presses for smash burgers come in various sizes and offer suitable surface space. The space ensures that patties are pressed evenly and will be uniformly thick, whereas spatulas usually have a smaller surface that only partially covers the patty. Burger presses are also equipped with a handle made to withstand pressure. There are manual presses, electric ones, and ones made with built-in grills. Materials range from cast iron and stainless steel to non-stick.
The manual ones are most budget-friendly, whereas some electric presses can cost hundreds. That said, if you don't have a burger press on hand, a spatula is more than effective. "I actually started my smash burger journey with a regular pancake-turning spatula so this isn't that crazy, just a little more complicated to get right," chef Aaron clarifies. We recommend forming the meat balls relative to the size of the spatula you will use. You can also place a large can on top for additional weight, just be sure to apply even pressure to the full surface area.
Over-Smashing Your Patties
You're bound to break a sweat when smashing burgers. Fortunately, you'll have plenty of crispy crunchy patties to enjoy after mastering the art of pressing smash burgers. There are a few things to consider before rolling up your sleeves, though — for one, the amount of ground meat to use. We get it, the more meat the merrier. But rather than loading your buns with oversized patties, you can stretch meat and money further by measuring the portions relative to the bun size.
You only need 2 to 3 ounces of ground meat when making standard-sized smash burgers. Two ounces will fit standard buns perfectly, while a 3 to 4-ounce patty will begin hanging over the edge. The typical measurement for double patty burgers is 2 ounces unless you have an insatiable appetite. You can use a ⅓ measuring cup or an ice cream scoop to size each patty. Four-ounce patties work better for jumbo-sized buns.
Whichever you crave, you'll also have to decide how thick you want them. Smash burger patties are generally no more than a ⅓ to ¼ inch thick, just enough to leave some moisture in the middle of the meat. The most important thing to remember is to not over-smash it. Doing so will squeeze the meat juice out and overcook the patty. "Unless you like meat paper that's non-juicy and pure crusty, take it easy on the smash!" chef Aaron warns.
Smashing Patties Without Parchment Paper
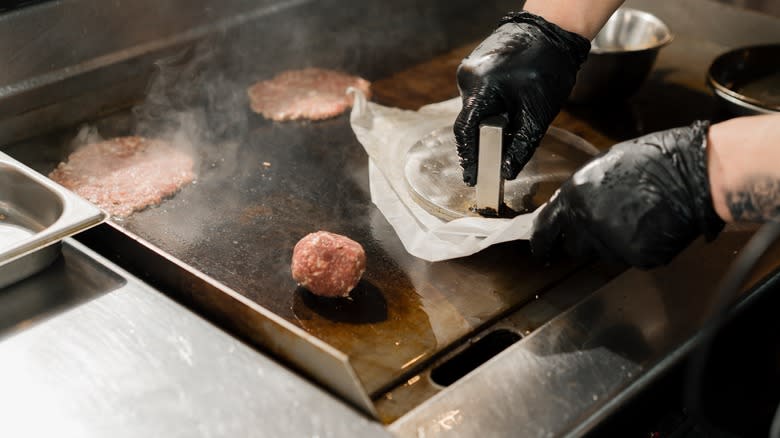
People have discovered all sorts of innovative techniques in the pursuit of mastering smash burgers. If your problem is that the burger sticks to your smashing device, you can kiss all of your burger-sticking fears goodbye with the parchment paper trick. This one is a quick and easy addition to your regular routine that will make you rethink how you approach pressing. It's especially recommended for beginners. "Your beef should stick completely to your plancha or pan and not to your smashing utensil," chef Aaron adds.
Though this list is intended to help you avoid mistakes, messing up a patty or two is unavoidable as a beginner. Knowing how much pressure to apply and when to flip it takes some getting used to. Parchment paper can be used as a non-stick buffer between the burger and the press. It provides the same crave-worthy char, without the stuck-on bits. You can also apply more pressure with parchment paper, which cooks patties more uniformly. That said, although parchment paper simplifies the process, according to chef Aaron, it isn't a requirement. "I don't like using parchment because I think it's unnecessary and wasteful, but it will ensure your utensils stay clean, which isn't so bad."
Cooking It At The Wrong Temperature
Everyone understands how important temperature is to cooking. High heat is the secret to successfully making smash burgers. The ensuing smoke can be intimidating, but is a normal part of cooking your patties evenly, and necessary to secure a crispy and moist consistency. "Smash burgers are all about the temperature! Plancha not hot enough, you get no crust. Plancha too hot, and you burn the exterior while the interior cooks unevenly," chef Aaron explains simply.
Unsurprisingly, having the griddle or pan at the wrong temperature is one of the most common mistakes people make when cooking smash burgers. Likely inspired by how traditional burgers are made, people either aim too high or too low. While crunchiness is ideal, too much heat will turn char into charcoal. That's especially true of leaner ground meats. "365-395 [Fahrenheit] is a good range depending on what you are cooking on," chef Aaron specifies. That falls in line with the general consensus, which says that the cooking surface should be around 400 degrees Fahrenheit before you begin. If you're worried about setting off smoke alarms, make sure to crack open a window. Or, better still, set up a griddle or cast iron pan on your grill outdoors.
You Flip The Patties Too Early
Timing is very important when making smash burgers. There's nothing worse than trying to flip a burger, only to find it glued to a hot surface. One quick distraction can result in an overcooked patty. That's why getting your flip-timing down is key to developing a crispy crunchy consistency. If you flip the burger too soon, it will fall apart. Whereas if you wait too long, you'll be biting into a burnt burger-flavored chip. Cooking times vary depending on the thickness of the patty and the temperature of the cooking surface. Searing fortifies the patty structure, which allows the Maillard Reaction to do what it's best at. Take it from chef Aaron, who asserts, "You gotta develop the crust! Nobody likes a gray smash burger. CARDINAL SMASH BURGER SIN!!!"
Smash burgers only need around two minutes to cook on the first side. You'll know it's time to flip them when meat juices begin to pool on the surface. Crispy edges are another indicator of flip-readiness. All in all, cooking a single patty on both sides should take only a few minutes. Though one might say that smash burgers are inherently burned, there is a thin line between toasted tastiness and inedible char. The irony about them is that they have a well-done consistency, but must be cooked almost as quickly as a traditional rare burger. "Show some restraint and keep some of that beautiful fat in your burger!" chef Aaron beacons.
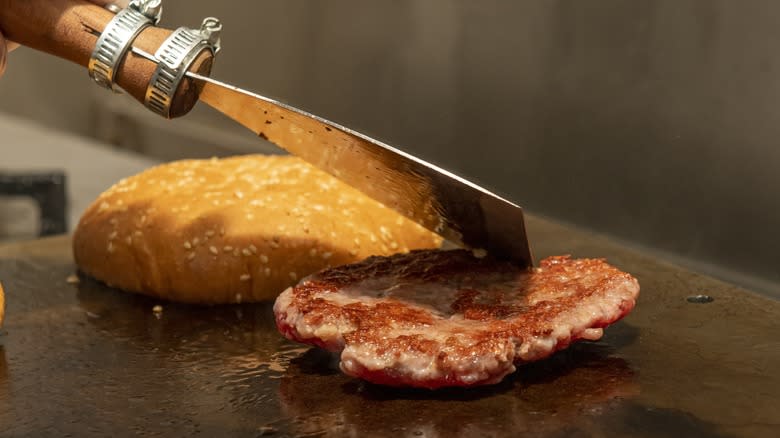
Not Using Stuck-On Crust From The Griddle
The surprising difference between a good smash burger and a great one boils down to crusty bits. You do smash burgers a disservice when you forget to add stuck-on crust from the cooking surface. Those tiny crunchy morsels are bursting with umami from that good old Maillard Reaction. "This is the whole reason a smash burger exists, that crust! Make sure your scraping spatula is clean and sharp to get every single bit of crust off that flat top!" chef Aaron exclaims.
Your smash burgers should stick to the pan; the sound of sizzle is your best friend. If your patty doesn't stick to the surface, you need to apply more elbow grease to the press at the beginning when you first push it down. Then make sure to get each and every crisp that remains when you scrape it up. Sprinkling them atop your burger bun is like using the Maillard Reaction as a seasoning blend.
Forgetting To Toast Your Buns
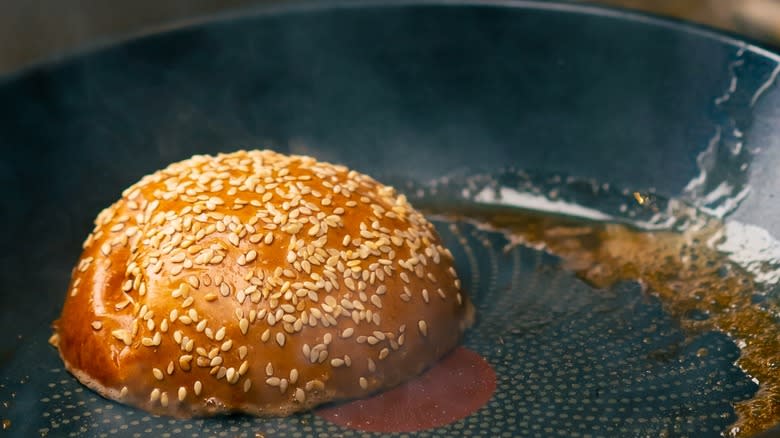
There are benefits to toasting hamburger buns that elevate the experience. For one, toasting hardens the exterior, while the interior remains chewy. Placing piping-hot patties on a regular untoasted bun can cause the bread to over-soften. There are exceptions to the rule depending on the type of bread, but in general, toasted buns are essential to perfecting smash burgers. Similar to reusing stuck-on bits for flavor, you can infuse the buns with rendered fat that remains on the cooking surface.
Chef Aaron underscores the necessity of bun toasting, "If time permits, this is the gold standard! Toast your buns in some of that leftover rendered fat that's still sizzling on your flat top after smashing your beef. Maximum flavor!" The best part is that it only takes a few seconds. If you've already cleaned your cooking surface, start by adding a thin layer of olive oil or melted butter to either side of each bun. Place them cut-side down when ready and toast for 30 to 60 seconds. A fancy way to toast them is by brushing them with flavored olive oil or compound butter.
Read the original article on Tasting Table

