13 Mistakes Everyone Makes When Cleaning Their Coffee Maker
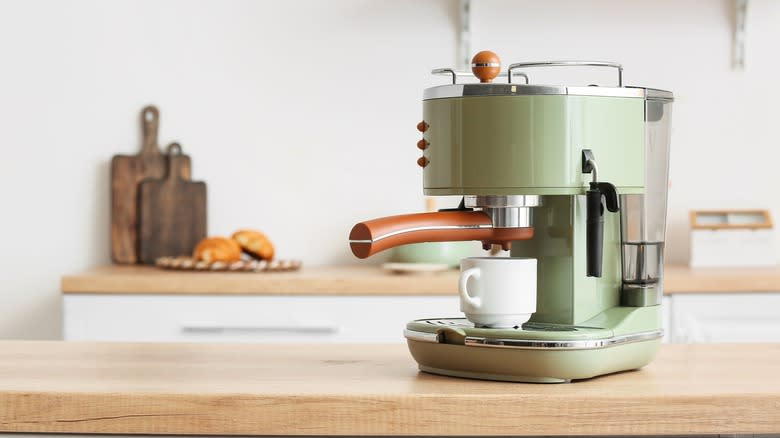
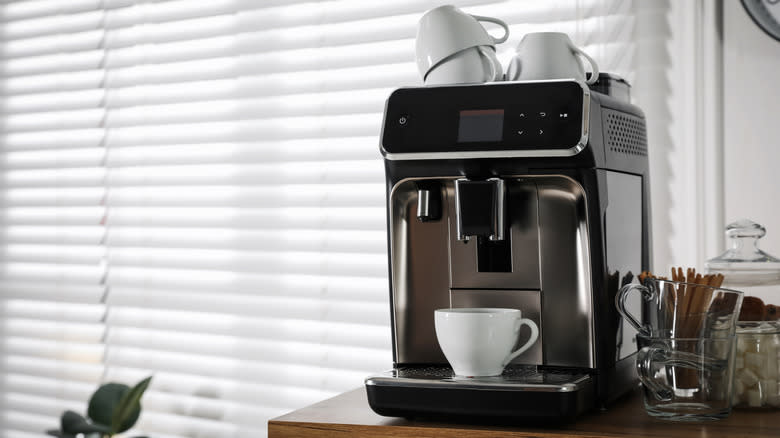
If you're anything like us, your coffee maker is pretty much your best friend in the kitchen. Coffee makers take much of the hassle out of preparing an all-important reviving cup of Joe in the morning and require little more than the measuring of some coffee grounds and water and the press of a button. However, unlike other kitchen utensils, like pots, chopping boards, and even other coffee-making items like cafeterias, coffee makers can be items that we neglect to clean thoroughly regularly, potentially because beyond the carafe and filter, there's often not a lot of visible mess.
This is a big error. "Every coffee maker should be cleaned to keep it functioning properly, to protect the parts and avoid a build-up of limescale and bacteria," states HomeHow cleaning expert Joyce French via Homes & Gardens. Coffee makers are intricate machines made of many detachable and interior parts, and if you're not cleaning each one regularly and thoroughly, it will not only limit the life of your appliance but ruin the taste of your coffee. Because of the complexity of some coffee machine's designs, though, and the different materials used, it's easy to clean them improperly, lazily, or else use cleaning materials that don't suit each part. We're here to put a stop to these common mistakes occurring.
Read more: The Best Way To Clean That Nasty Grease Off Of Your Kitchen Cabinets
Forgetting To Clean Your Filter Basket After Every Use
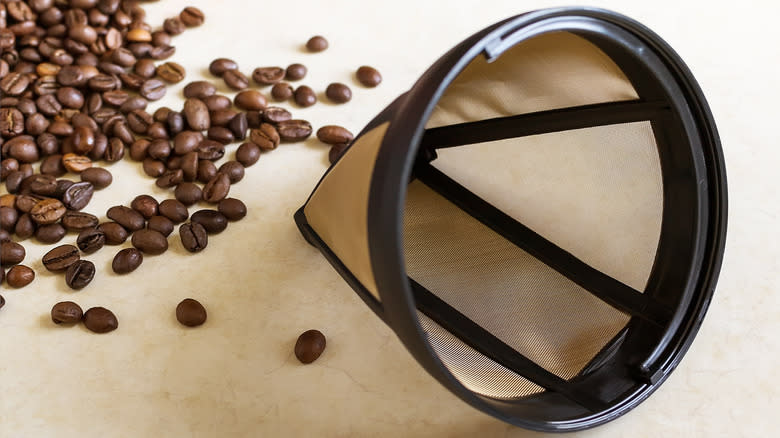
Your filter basket is one of the parts of your coffee machine that gets the most use and the most contact with food debris. As both water and coffee grounds circulate through it regularly, it's therefore prone to build-up from limescale, tiny particles of coffee, and potentially even mold.
Despite this, a lot of people simply forget to clean the basket after each use instead of just throwing away the paper filter or giving it a rinse. This simply isn't enough, unfortunately, and can lead to the basket deteriorating quickly, ruining your coffee's taste. The brewed coffee itself that runs through it is also damaging, says NYC Coffee Masters champion Erika Vonie. "Aside from mold and scale that can build in your coffee maker, coffee is also corrosive and acidic and could potentially damage your machine the longer it lingers on your equipment," Vonie explains, per Gear Patrol.
Make sure you avoid this by giving your filter basket as thorough a clean as possible after each use. Remove the basket and wash it under the sink using unscented soap. If it has a large amount of build-up on it, soak it in hot water before scrubbing it clean.
Cleaning Your Coffee Maker With Vinegar

It's no secret that vinegar is an excellent cleaning material, so it seems natural to use it with your coffee maker. However, it's advisable to steer clear of using it altogether. The acidity in vinegar, which makes it so valuable as a cleaning solution, can also damage parts of your machine, especially rubber seals or parts. Over time, this can cause your coffee maker to break, leak, or simply stop functioning.
When using vinegar, you also run the risk of not removing it properly and ending up with a vinegary cup of coffee for your efforts. Having said this, certain parts of your machine can be cleaned using it. "Some models with an integral reservoir can be cleaned by running white vinegar through the machine, then running water through to remove the remaining residue and vinegar," points out HomeHow's Joyce French via Homes & Gardens. However, to err on the safe side, we'd recommend avoiding the use of it entirely and sticking to plain, unscented soap for removable parts and cleaning solutions designed for coffee makers for its interior.
Cleaning With Abrasive Cloths
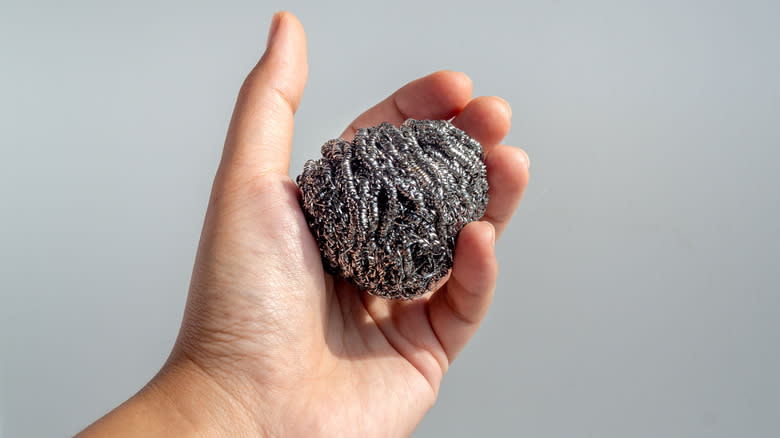
The cloth you use when cleaning your coffee maker is as important as the cleaning solution you choose to use, and if you opt for an abrasive cloth, you can damage your machine. Materials like steel wool or metal sponges may be good for getting built-in grime off some things, but with coffee makers, they'll scratch your machine without sufficiently cleaning it. This damage tends to be most cosmetic and may not ruin the functionality of your machine, but it will ruin its appearance.
These types of sponges will have the most damage on any metal components, like your steam wand or hot plate. Rather than have this occur, use soft, flexible sponges or cloths to clean your machine. Cotton microfiber cloths are ideal thanks to their ability to absorb way more than other sponges, thanks to their split microfiber surface catching higher amounts of dirt. If you don't have a microfiber cloth, a soft kitchen sponge is a good substitute. Try to avoid using paper towels to clean your coffee maker, particularly any metal parts, as they can leave residue and scratches.
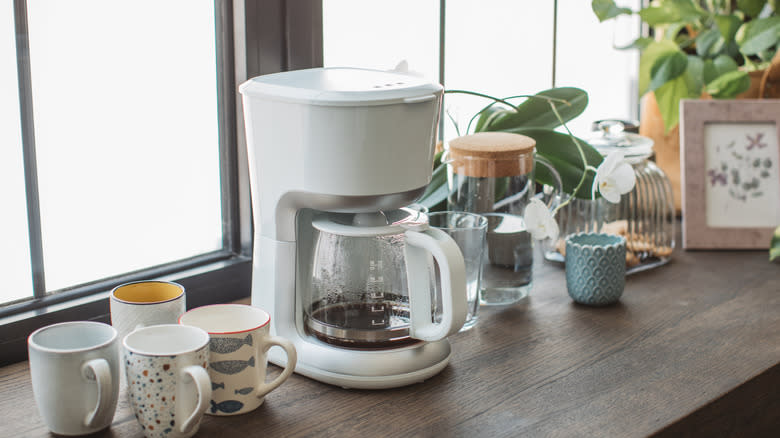
Only Cleaning Your Carafe
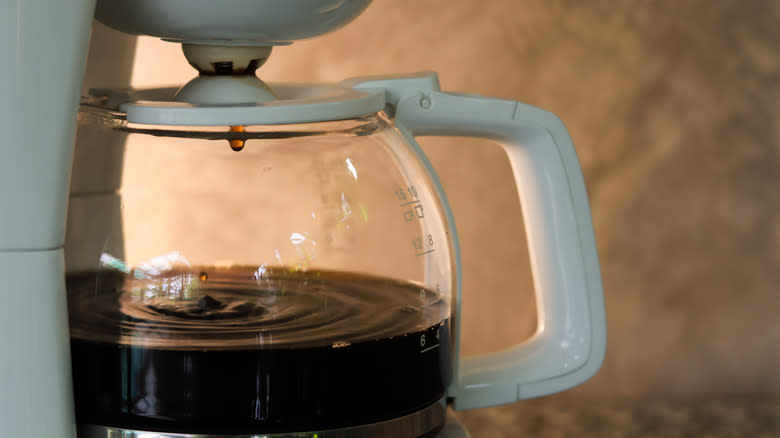
Cleaning your coffee maker's carafe after each use is essential, and luckily, most people remember to do it. However, it's not the only part of your machine that needs cleaning. Coffee makers are made from multiple different parts, including the reservoir that holds your water, the filter basket, the hot plate that keeps your carafe warm, and espresso machines, group heads, steam wands, and drip trays.
The majority of these parts have coffee near or running through them, and all of them require cleaning. Fortunately, doing so is simple. "You need to clean every removable part and soak it in soapy hot water for 15 minutes," says Coffee Semantics founder and barista Jamie Hickey, per Well+Good. Remember, this isn't just to keep your coffee machine looking good. Coffee makers can be a hotbed for bacteria, with strains like streptococcus, staphylococcus, and E. coli found in found present on machines in an investigation performed by CBS. These bacteria were found in particularly high numbers in the water reservoir, although the drip trays and filter baskets were also tested and may also contain potentially harmful microbes in your home.
Using Bleach To Clean Your Machine

Bleach is an extraordinarily powerful cleaning tool, thanks to its active ingredient, sodium hypochlorite, which can kill almost anything. When it comes to coffee makers, though, you should avoid bleach like the plague. Bleach is a toxic substance, and when ingested, it can be incredibly harmful and potentially fatal. In smaller concentrations, bleach can cause gastrointestinal upset, irritation, and vomiting, and when it's ingested in higher amounts, it can prompt irreversible gastrointestinal harm and death, according to Poison Control.
Bleach can also be very harmful to the skin, causing irritation, and inhaling it can also be dangerous. Therefore, you should always avoid using it, even on parts of your machine that may not come into contact with your coffee, like its exterior or its buttons. Remember that while cleaning products are usually well-labeled if they contain bleach, some may still have it without you knowing, so always read the ingredients before use. You're far better off sticking with gentle cleaners that are designed to be used on utensils and appliances that regularly come into contact with food, like dish soap.
Forgetting To Descale Your Maker
Coffee isn't the only thing you're trying to clean when you tackle your appliance. Coffee makers are particularly prone to developing limescale, which occurs when the calcium and magnesium in the water leave behind residue. Limescale is way more likely to build up in areas where water is heated, making your coffee maker a prime location and leaving multiple parts of your machine prone to mineral impact. When left to build up, limescale can damage your coffee machine in several ways, causing rust to form on its exterior parts and water blockages and heating issues on its inside.
That's why descaling your maker regularly is necessary. Although using a simple vinegar-water solution can work to cut through limescale effectively, it can also cause potential damage to other parts of your machine. The best solution is to use descaling tablets. Urnex's descaling tablets are an affordable and reliable choice, says NYC Coffee Masters champion Erika Vonie via Gear Patrol. "They don't leave a residue or impart flavor when used correctly and leave your equipment factory-clean when all is said and done," Vonie states.
Throwing Everything In The Dishwasher
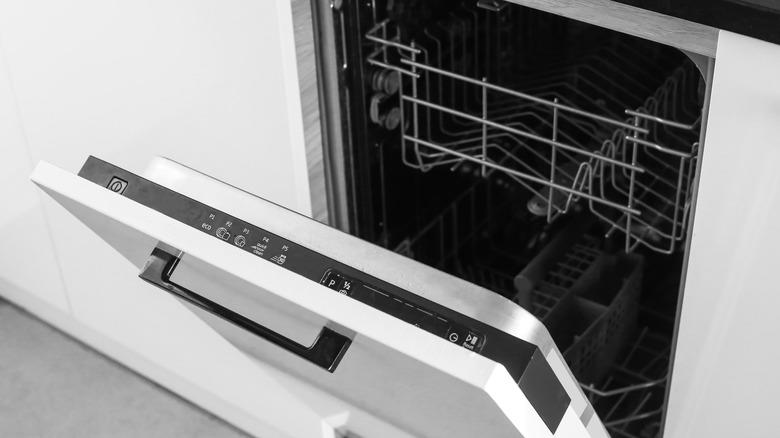
Dishwashers aren't just for dishes, with everything from your dirty keys to your unscrubbed potatoes and even your grubby baseball caps benefitting from a spin in your machine. With such a wide selection of items that can be cleaned in the dishwasher, putting parts of your coffee maker in there doesn't seem like such a wild idea.
However, there are certain elements of coffee makers that you should keep out of a dishwasher. This is especially the case for coffee makers or espresso machines that have built-in grinders. "Some parts of the grinder are dishwasher safe, but not the whole deal, so try to research what you can put in it," warns house cleaning service Emily's Maids general manager, per Well+Good. Specific grinder parts can be made from high-carbon steel or other materials that make them prone to rusting when in contact with water, thereby limiting the life of your maker.
It's way better to clean your grinder parts with cleaning tablets made specifically for the task and a dry brush to sweep away residue. Glass or plastic parts from your coffee maker, on the other hand, maybe fine to put in your dishwasher -- but make sure you check your manufacturer's instructions beforehand.
Not Flushing It Through With Water

When was the last time you ran your coffee maker without any coffee in it? If you're like most people, it's been a while. Flushing your coffee maker through with water, though, is a great way to move any residue or leftover coffee through your machine without giving it a full-on clean, and may improve the taste of your next cup.
Flushing your coffee maker through with water is particularly important after you've finished cleaning it. By doing this, you make sure that any cleaning materials or liquids used are fully cleared out of your appliance. This not only makes it safe to use, but it also removes any nasty tastes that could be left from your cleaning solutions. Flushing your coffee maker through with water is as simple as filling up your water reservoir and hitting go on a cycle. Once the water has flushed through, empty it out and perform one more water-only cycle to ensure everything's moved through the maker properly before brewing your next round of coffee.
Using Scented Soap To Clean Your Coffee Maker

Dish soap may cut through the grime on your pots and pans effectively, but it usually has a pretty strong smell. The scents that soap manufacturers put in their products may help to mask unpleasant food odors while you clean and, in the case of acidic scents like orange and lemon, help its ability to clean dirt, but they can also leave a lasting smell on your utensils.
Unfortunately, this is a pretty big problem with coffee makers, especially for parts made of silicone or plastic. These materials can absorb some of the scents and tastes of any soap used, meaning that your next cup of coffee tastes pretty nasty. Although some people suggest using vinegar as a workaround for this, it's worth bearing in mind that vinegar scents and tastes can also linger –--so by far, your best bet is to use a specialist product formulated by experts, designed to clean your machine. Urnex and Nuvera make affordable unscented solutions that require little more than pouring straight into your machine and running a cycle, which can cut through both limescale and leftover coffee oils.
Forgetting To Clean Your Steam Wand

Steam wands are the key to getting a barista-style cup of coffee at home, allowing you to froth milk to make lattes, macchiatos, and cappuccinos with ease, well, after you've messed up a few jugs of milk practicing, that is. If you forget to clean it after each use, though, your coffee will be far from delicious. Milk's high-fat content means that it coagulates and sticks to surfaces when it's heated up, coating the outside of your steam wand every time you use it. It also has a knack for getting inside the wand itself and in any grooves, rivets, or joints around it.
Because steam wands operate at ultra-high heat, this can quickly lead to burnt-on milk that flavors your drink and blockages that stop it from working properly. It's best to take a two-pronged approach to cleaning your steam wand. You should always be wiping the wand down with a damp cloth every time you use it to remove any visible milk froth or particles. You should also purge the wand after each blast with milk, running steam through it to expel any milk that's got inside. Also, periodically use a milk frother cleaner solution to clean the wand, submerging it in the liquid for several minutes to ensure that any grime is removed. If you use your wand heavily, several times a day, it might be worth doing this weekly for maximum cleanliness.
Not Drying Your Maker's Parts After Your Clean Them
To clean a coffee machine thoroughly, you'll likely have to take it apart pretty significantly, ensuring that each section gets a proper scrub. Too many people forget, however, that after your parts are cleaned, they also need to be dried. Drying all of your parts before reassembling your machine ensures that moisture doesn't get trapped in places it shouldn't be, which can then fester and contribute to odors as it develops bacteria. For metal parts, it also ensures that they remain rust-free.
Drying your parts well will additionally prevent any water from working its way into the electrical components of your machine, which may result in it stopping working. Try to use as absorbent cloth as possible to dry all of your parts to avoid simply pushing the water around. It's also useful to clean your coffee maker at a time when you won't need it for a few hours afterward so that you can allow your parts to air dry.
Ignoring Any Cleaning Lights On Your Machine

If your coffee maker has a cleaning alert, it's there for a reason. Not all coffee makers come equipped with cleaning lights, but some, like certain models from Nescafé's Dolce Gusto range, have built-in LEDs that indicate that they need descaling. These lights are useful as they can alert you that it's time to clean away grime that may not be visible, such as interior limescale, but they're all too easy to ignore or write off as an inconvenience.
Skipping over these cleaning notifications, however, will likely leave you with an inoperable machine sooner rather than later, as the buildup of limescale causes an eventual blockage somewhere. So, make sure to respond to them promptly. Importantly, though, you shouldn't just rely on technology to tell you when to clean your coffee maker. While these lights can be useful, they may only indicate when certain cleaning functions need to be performed, like descaling, and may not alert you to a build-up of coffee grounds, coffee oils, or exterior dirt and grime. Make sure to use your common sense; if it looks dirty, it likely needs cleaning. If your machine doesn't have a built-in cleaning light, aim to descale it every month or so to stay on the safe side.
Forgetting To Clean Your Hot Plate

Your coffee maker's hot plate is on the front line, and this means that it can get pretty dirty. Hot plates are most prone to accumulating burnt coffee stains as drips from your carafe's spout fall onto the heated metal. These coffee stains can make your coffee maker smell pretty bad, both in the short- and long-term, with acrid burnt coffee stenches filling your kitchen. The longer you leave them, too, the trickier they may be to remove as the burnt stain sets in.
For new stains, it's usually enough to wipe them away with a wet cloth, making sure, of course, that your machine is switched off first to avoid any risk of burning. Settled-in stains may need a bit of extra help, which can be acquired through utilizing the cleaning power of baking soda. Combine baking soda and water to make a thick paste, and then apply it to the stain using a toothbrush or cotton pad. After leaving it to work its magic, wipe it away with some extra water. Avoid the temptation to use industrial cleaning products for your hot plate, even though it doesn't come into contact with coffee directly. If any residue is left on the plate, when it heats back up, it'll likely leave your house smelling of unpleasant chemical-heavy fumes.
Read the original article on Daily Meal.

