13 Chef-Approved Tips For Making The Best Beef Tenderloin
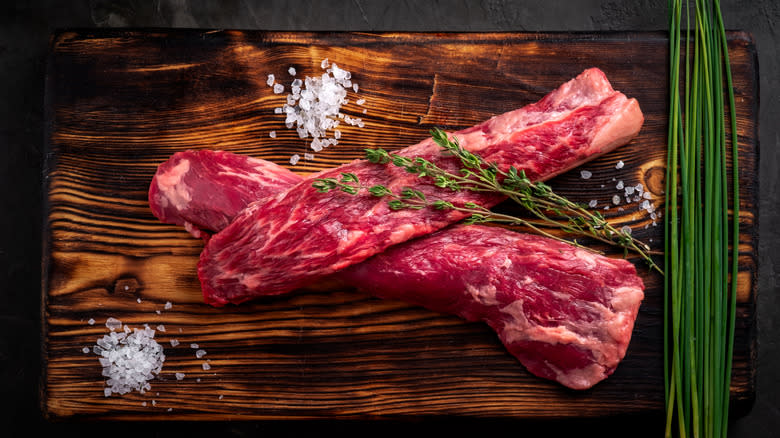
Few dishes are as elegant when entertaining as a whole roasted beef tenderloin. As a chef, seldom did an anniversary, birthday, wedding, or other special occasion go by where guests of my restaurant didn't request a menu that featured a beef tenderloin. This muscle, located along the backbone of a cow from the loin primal to the sirloin primal, typically spans 18 to 24 inches in length. The luscious showstopper is one of the most tender cuts because of its origin.
The muscles in this region are seldom exercised, leaving this cut rife with intramuscular fat, known as marbling, and lacking in dense, connective tissues that can make cuts of beef from the hindquarters or pectoral region less moist and juicy without using lengthy, low-heat cooking methods. Because of its distinct features and the panache associated with ordering beef tenderloin, it is a particularly budget-busting cut of meat to order at a restaurant.
But I have a secret for you -- cooking a whole beef tenderloin at home isn't as challenging as it seems. Over the years, I have experimented with every preparation method, from a classic roast to a fancy beef Wellington. I have learned what not to do and, more importantly, how to coax the maximum flavor and juiciness from this incredibly tender cut. Read on to discover the most crucial chef-approved tips for making the best beef tenderloin for your next special occasion that will not only blow away your guests but save you the expense of paying a premium for a restaurant to do it.
Read more: The 13 Best Steaks For Grilling
Trim Your Tenderloin
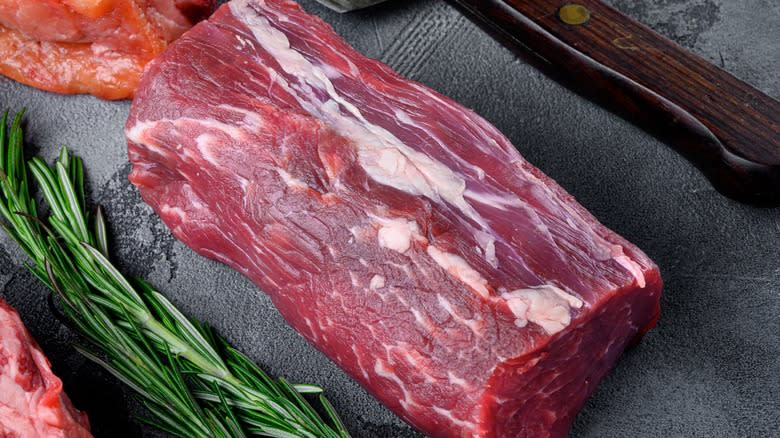
A whole beef tenderloin can be purchased trimmed or untrimmed. Trimming refers to the removal of the silverskin encasing the tenderloin. The silverskin is a sinewy, dense connective tissue that gets its name because of its slightly shiny metallic look. This lining never breaks down during cooking, leaving a virtually impenetrable barrier between your knife and the luscious tenderloin underneath.
Though you can pay to have this silverskin removed for you by a skilled butcher, which may be advisable if you are uncomfortable handling meat or don't have the time to invest in removing it yourself, trimming a tenderloin is not as challenging as it may seem. The benefits of trimming it yourself include saving money and retaining some of the pieces of the tenderloin you would otherwise lose, like the chain and the wing. Though not ideal as part of a tenderloin, these pieces contain meat that can be delicious in a soup, stew, or stir-fry.
To butcher your tenderloin, you will want to search for what is known as a "PSMO" or "peeled side, muscle on." This can be found at most big box stores, and you can request to purchase them from the grocery store butcher if they have not already trimmed them all. To trim your tenderloin, you will need a sharp boning knife to delicately peel away the silverskin without losing too much of the meat itself. Once the wing and chain have been removed, the silverskin generally pulls away without much effort.
Truss Your Tenderloin
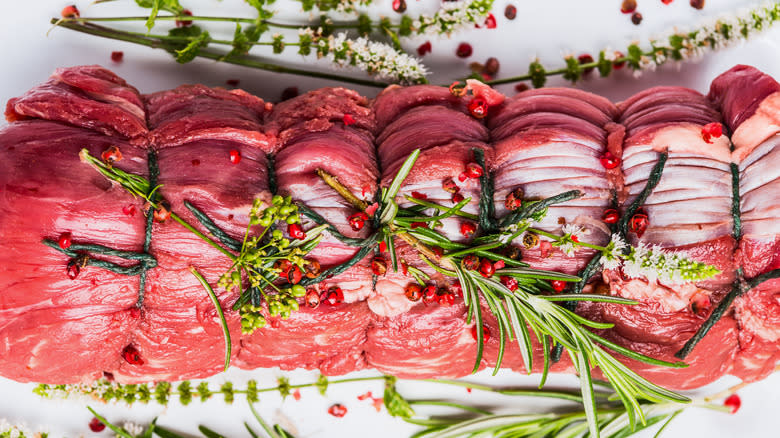
Once trimmed, a beef tenderloin has a cone-like shape with a thin, tapered end and a thicker one. If you were to try roasting a tenderloin as-is, it would cook unevenly, resulting in one end becoming overcooked while the other remains rare. Trussing or tying up your tenderloin involves using kitchen twine to fasten your meat into a roughly even shape with a succession of interlinking knots.
This process achieves a secondary purpose that is equally important as cooking evenly. Meat tends to dilate as it heats up, and its juices are drawn into the center of the roast. Trussing a tenderloin will ensure it remains uniformly shaped while withholding moisture, keeping your meat luscious and flavorful.
While you can have a butcher truss your tenderloin for you, you can do it yourself. Just remember to use oven-safe kitchen twine rather than string. When trussing, you will want to tuck the narrowest tapered piece of the thin end of the tenderloin underneath the meat to fasten it and create a more homogenous shape.
Use The Right Kind Of Salt
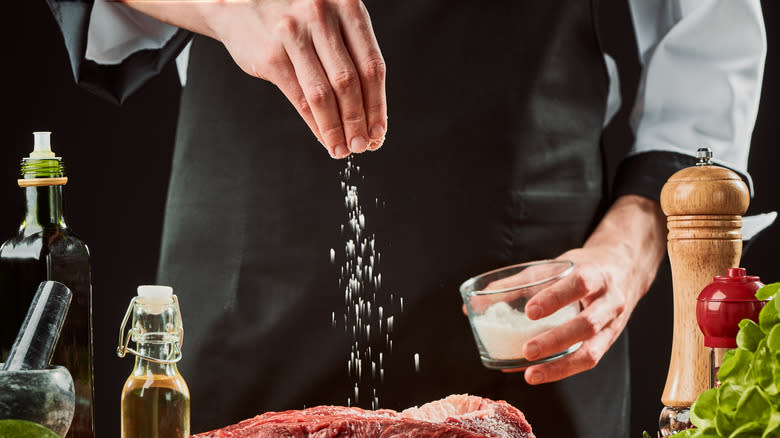
I season the meat using myriad dried herbs and ground spices when I prepare a beef tenderloin. Among these are liberal quantities of salt, which both impart flavor and help yield a more supple result. When deciding what salt to use, always opt for a medium to coarse ground kosher or sea salt versus regular iodized or table salt. The more visible grain will ensure you do not over or under-season your meat.
It is also crucial to salt the tenderloin a couple of hours before you cook it. Doing so will help the salt infuse the meat adequately with flavor while pulling residual moisture from the center of the meat. This process will also guarantee that your beef tenderloin doesn't steam as it cooks but instead begins to undergo the Maillard reaction, which is the non-enzymatic chemical process by which heat morphs the sugar and protein in your meat, encouraging it to become golden brown, rich, and flavorful.
Bring The Tenderloin To Room Temperature
Bringing meat to room temperature, or tempering it, is necessary for every cut but even more so for larger ones, like a beef tenderloin. When you put a cold tenderloin into a hot pan or oven, the exterior will start cooking while the interior remains cold. This will cause the meat to cook unevenly and make determining the doneness of your tenderloin tricky.
Moreover, the Maillard reaction can only begin when a protein reaches a temperature of 280 degrees Fahrenheit. When a cold piece of meat is added to a preheated pan or oven, it causes its temperature to drop. This delays the onset of the chemical reactions necessary for the Maillard reaction to commence.
Lastly, placing a cold piece of meat into a hot pan or oven will cause its muscle fibers to tense up, yielding a dense, less juicy result. It is best to allow a tenderloin to sit at room temperature for approximately 30 to 45 minutes before cooking it.
Pan Sear The Tenderloin
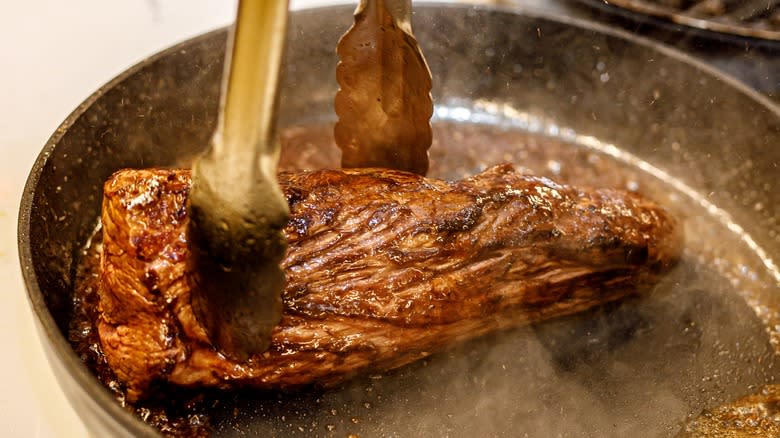
The most critical reason to pan-sear your beef tenderloin is to jump-start the onset of the Maillard reaction. Getting the exterior of the tenderloin to 280 degrees Fahrenheit quickly will help provide intense flavor and a moist, juicy interior. The key is using high heat, the correct type of pan, and the appropriate kind of fat to help obtain a quality sear.
The best kind of pan to use is one that is ideally suited for high-heat cooking. While cast iron pans are perfect for high-heat cooking, wrangling one large enough to accommodate a whole tenderloin can be challenging. A better, more user-friendly option that conducts heat evenly is one made from carbon or stainless steel. The worst option is a non-stick pan. These are not intended for high-heat cooking. In this case, the pan does not need to be oven-safe, as you will transfer your tenderloin to a roasting pan before placing it in the oven.
When deciding the fat to use for pan-searing your tenderloin, one with a high smoke point is preferable. Smoke point refers to the temperature at which fat will begin to incinerate and smoke rather than shimmer. Once a fat reaches its smoke point, which is different for every type, it begins to taste bitter and will confer a burnt flavor to your tenderloin. Generally, refined oils tend to have higher smoke points than unrefined ones. My preferred oil for pan-searing a tenderloin is more neutral in flavor, like grapeseed oil.
Use A Roasting Pan With A Rack
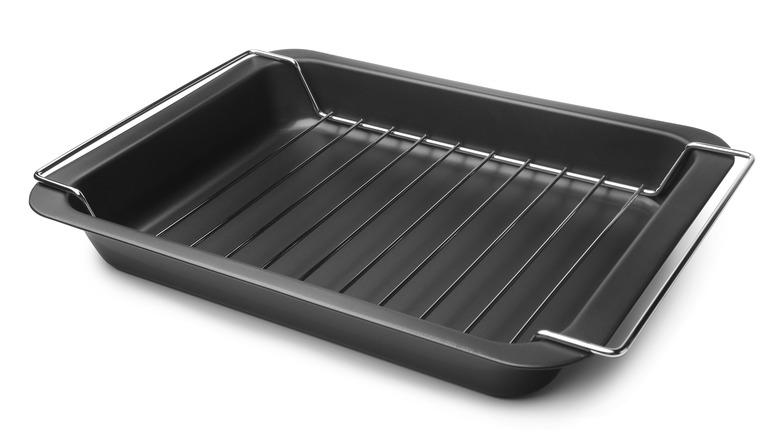
Like your holiday ham or turkey, the ideal cooking vessel for roasting a beef tenderloin is a roasting pan with a rack. These pans are made from metal, which conducts heat evenly and are deep enough with raised side walls to trap any runaway juices. The rack encourages airflow around your meat, enabling your tenderloin to maintain its crispy brown crust as it cooks symmetrically throughout.
When choosing a roasting pan, you will want to select one with dimensions that will provide your meat with at least two to three inches of clearance on all sides to encourage airflow. If you do not have a roasting pan with a rack, the best alternative is a casserole dish that is made to withstand high heat, a rimmed baking sheet, or a broiler pan lined with a metal cooling rack or loaves of aluminum foil upon which you can place your meat. While disposable aluminum pans are convenient, they are not the best conductors of heat, making them less efficient.
Once you have laid your tenderloin on the desired cooking vessel, you will want to place the roasting pan in the correct location within your oven. While every oven is different, most electric models have heating elements at the bottom of the unit. For this reason, you should use the lower third of the oven for best results.
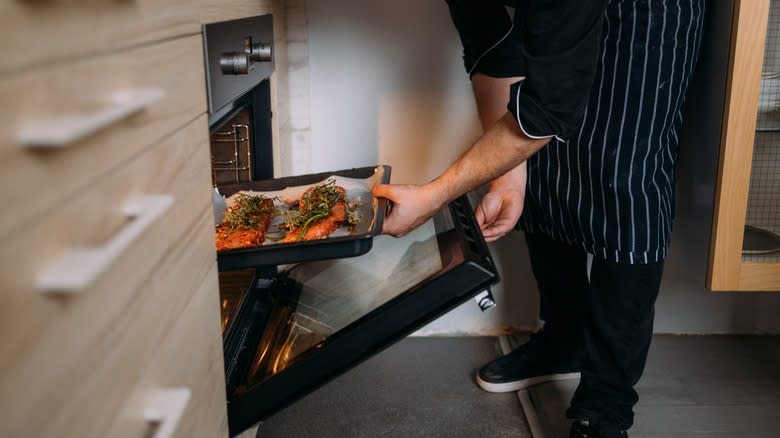
Use The Fast Oven Roasting Method
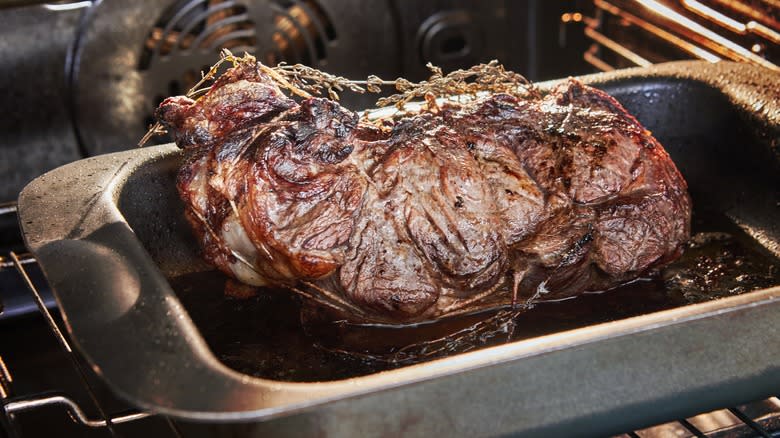
The fast oven roasting method is intended for those pressed for time or who prefer eating their beef on the rarer side. The basic technique involves preheating the oven to 425 degrees Fahrenheit. A beef tenderloin can be fully cooked in under an hour at this temperature.
I typically aim to remove the tenderloin from the oven at an internal temperature of 120 degrees Fahrenheit for rare to medium-rare beef. If you prefer your tenderloin more on the medium-rare to medium side, aim for 125 to 130 degrees Fahrenheit. This will yield a roast with a hot pink center that is not bloody but still moist.
This method can be done with or without pan-searing the tenderloin before transferring it to a roasting pan. The high oven temperature encourages the Maillard reaction, browning the meat and trapping its juices within the center of the meat. That said, pan-searing will only speed up the process. Monitor your tenderloin carefully to ensure the exterior is not burnt before the interior is at the appropriate desired temperature. Cover it loosely with foil as the roast finishes cooking if the crust becomes overly dark.
Use The Slow Oven Roasting Method
The slow oven roasting method is recommended if you have the time and want to prevent moisture loss or shrinkage of your beef tenderloin. This method involves roasting your meat in an oven preheated to 250 degrees Fahrenheit. It can take a couple of hours, depending on the size of the roast.
For this method, it is recommended that you pre-sear your meat in a pan to create that golden brown exterior conferred by the Maillard reaction. Since the Maillard reaction does not commence until meat reaches 280 degrees Fahrenheit, it will never occur in an oven set at such a low temperature.
Again, you will want to remove your roast at an internal temperature of 120 degrees Fahrenheit for rare to medium-rare or 125 to 130 degrees Fahrenheit for medium-rare to medium, depending upon your preferences. If you prefer meat more on the well-done side, which I do not recommend, this cooking method will be your best bet for achieving this level of doneness without completely dehydrating your meat.
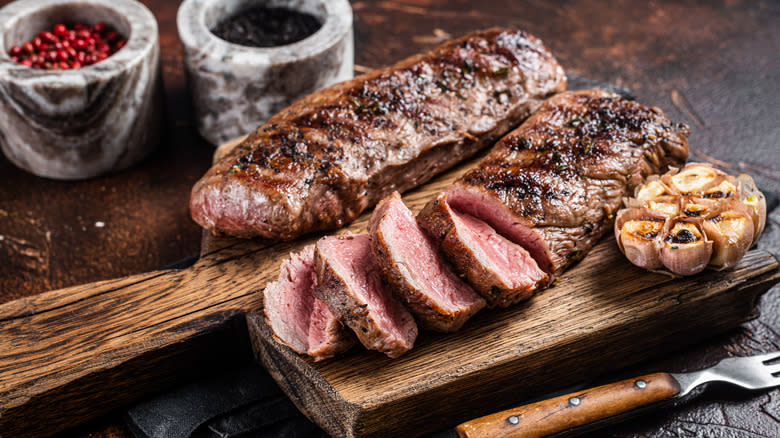
Do Not Overcook Your Tenderloin
While the proper doneness of meat is somewhat subjective, as a general rule, chefs and culinary experts recommend consuming beef tenderloin medium-rare for the best quality flavor and texture. Beef tenderloin is medium rare when it reaches an internal temperature of 130 to 135 degrees Fahrenheit. A medium-rare beef tenderloin will have a hot pink, moist interior that is not bloody.
The beef tenderloin should be removed from the oven when it is at least 5 to 10 degrees Fahrenheit less than the final desired temperature to ensure you do not overcook it. This is advisable even with steaks, but the larger and thicker a cut of meat, the more carryover cooking time it will experience.
Carryover cooking time can be defined as the residual cooking that occurs once the meat has been removed from its heat source. This can last up to 20 minutes after removing a beef tenderloin from the oven.
Use A Meat Thermometer
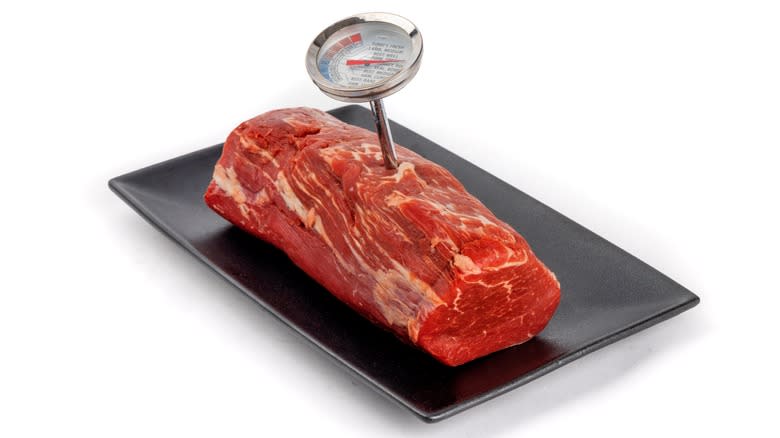
Assessing the temperature of the meat is crucial in ensuring it is safe to consume and prepared to the desired doneness. You can master the touch technique with steaks, but this method will not translate to preparing a whole beef tenderloin. Most recipes will estimate how long a tenderloin should take to be done based on approximate weight, but this is seldom a foolproof method for guaranteeing a perfectly cooked roast.
Factors ranging from the specific tenderloin to your oven to the cooking vessel you use will all influence how quickly or slowly your meat will cook. For this reason, the only way to accurately determine doneness is to test your tenderloin with a thermometer. Oven-safe thermometers are convenient because they can be inserted into your tenderloin and left there throughout the roasting process.
Many digital versions have built-in probes that can be pre-set to trigger an alarm indicating the meat has reached your preferred doneness. Instant read thermometers cannot be left in your tenderloin as it cooks but will accurately determine its temperature within 15 to 20 seconds when calibrated.
To test your tenderloin using an instant-read thermometer, insert the probe through the side of the roast at its thickest point until it reaches the center of the meat. Just remember to begin testing your tenderloin before you anticipate it to be done. To minimize moisture loss from the insertion point of the thermometer, use the same spot each time you test your meat to avoid creating numerous holes in your roast from which juices can leach out.
Rest Your Tenderloin
Resting your beef tenderloin after removing it from the oven is perhaps the most critical step in ensuring you are enjoying the best quality meat of your life. First, it allows for that carryover cooking to occur, increasing the internal temperature of your meat by 5 to 10 degrees Fahrenheit, which may mean the difference between a rare and medium-rare tenderloin.
More importantly, while the tenderloin rests, the moisture within the meat gets reabsorbed rather than squirting all over your plate, leaving a desiccated cut of beef. This has to do with the way meat cooks. As it is heated, juices that reside on the exterior of the tenderloin are pooled in the muscle fibers toward the center of the roast, causing it to bloat and become hyper-saturated. As the meat begins to cool, those juices redistribute evenly throughout the perimeter of the tenderloin, allowing every bite to remain supple and keeping all that rich flavor within the beef.
For a roast the size of a tenderloin, you should allow for at least 20 minutes of resting time before carving the meat. Once you remove the roast from the oven, set it on the countertop as it cools if you plan to eat the tenderloin immediately. If you want to prepare the meat ahead of time, wrap the tenderloin tightly in foil and transfer it to a vacant cooler. Just as a cooler will keep food cold, it will also insulate your meat and keep it warm for up to an hour.
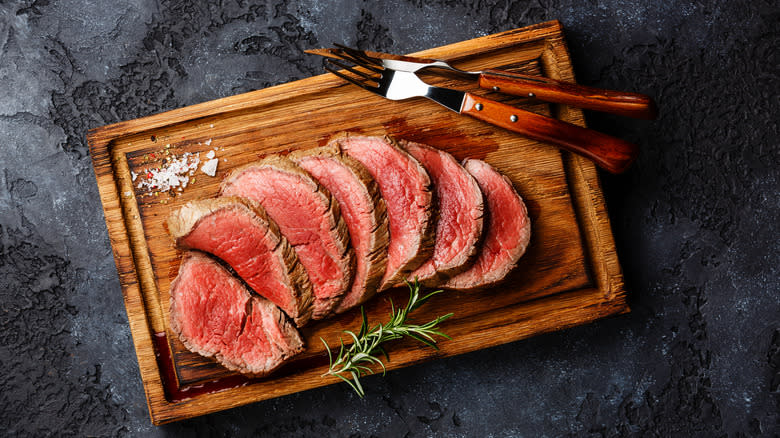
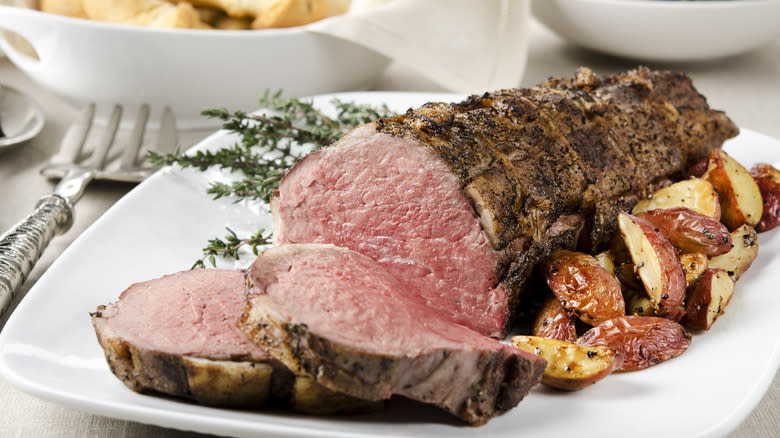
Carve Your Tenderloin Properly
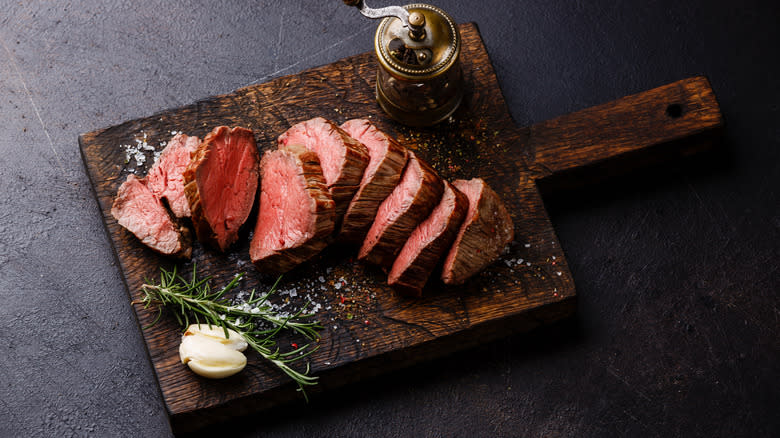
Before you carve your beef tenderloin, you will want to remove the kitchen twine you used to truss the meat. You can use a sharp chef's knife or kitchen shears to cut away the twine. Take great care not to leave any of the twine behind, as it can get stuck on the bottom side of the roast and end up on your plate inadvertently, which is both a safety hazard and unpalatable.
Once the twine has been thoroughly removed, you will want to carve your tenderloin to the desired thickness using a sharp chef's knife. To do so, address the tenderloin perpendicular to the length of the meat, which is against the grain. Against the grain means cutting through the tightly packed muscle fibers that stretch end to end along the roast. While these are less aggressively bound together in a tenderloin, it will still make for a more pleasurable chewing experience.
Begin carving from the center of the loin out, progressively cutting each portion in half until you have uniform slices. I recommend one-inch thick servings, though you can cut the meat thinner or thicker. You can also cut the slices on a bias at a 45-degree angle, increasing the surface area per slice, maximizing the juiciness of the roast, and creating an elegant presentation. Cutting on a bias does have the disadvantage of yielding fewer portions per roast. If you are cutting thin slices or unconcerned about uniformity, slice from one end to another.
Serve Your Tenderloin With The Right Sauce
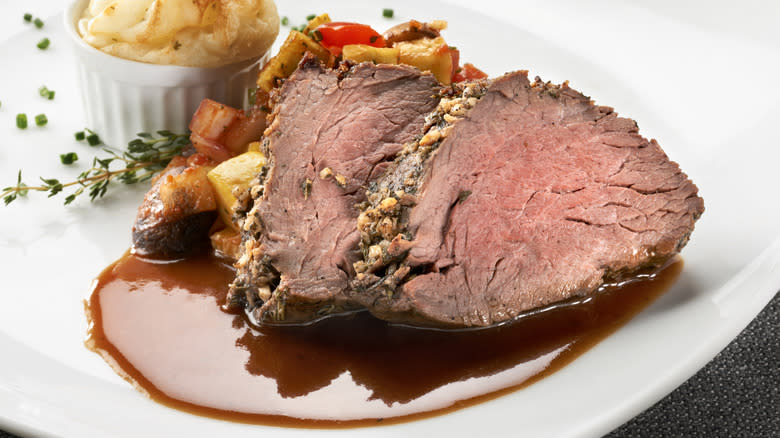
While beef tenderloin is arguably delicious served on its own without any accouterments, creating a luscious sauce in which to bathe your perfectly crafted roast will elevate the experience to something befitting a fine dining restaurant, impressing your guests and delighting their taste buds. When deciding on a sauce, factor in the inherent flavor of beef, which can range from subtly sweet and nutty to intensely grassy and metallic. Its natural savory umami-rich profile makes it ideal for sauces with a decent amount of acidity, fat, sweetness, and salt.
Any of the classic French Mother sauces would be appropriate, including a béchamel, velouté, hollandaise, espagnole, and sauce tomate. Other classic pairings with beef include a creamy mushroom gravy or a luxurious red wine reduction. If spicy is your jam, a horseradish sauce will awaken every one of your senses.
For something bright and fresh, try an herbaceous pesto or chimichurri. For an exotic twist, consider a romesco or a mole sauce. Lastly, if you want something simple, try a compound butter made with lemon zest, garlic, and fresh herbs. Regardless of the sauce, you might put it on the side, allowing your guests freedom to use as little or as much as they desire.
Read the original article on Daily Meal.

