10 tips to get started in Quill for VR artists
When we came to make our new VR animated short Namoo, which we call a narrative poem brought to life, Oculus Quill was the obvious choice to achieve the painterly look we wanted. Quill is a VR painting and animation software created by Smoothstep, which enables you to make art in a virtual space, in 360 degrees. It’s quite amazing and not too challenging to pick up and begin having fun with.
Imagine not being limited to painting on a 2D surface such as on a drawing tablet, but in 3D and all around you, and then taking your creations in your hand and moving them through space to animate them. This is what Quill offers, and while we’ve used it to create our movie, it can be used for all sorts of VR art and animation projects.
In the following 10 tips I’ll walk you through some key capabilities of Quill and the things to keep in mind when creating a VR film like Namoo. We’ll look at sketching in a 3D space, using the software to storyboard, animating frame-by-frame… all sorts of tips and techniques to get you started.
01. Start sketching in Quill
(Image: © Dan Franke)
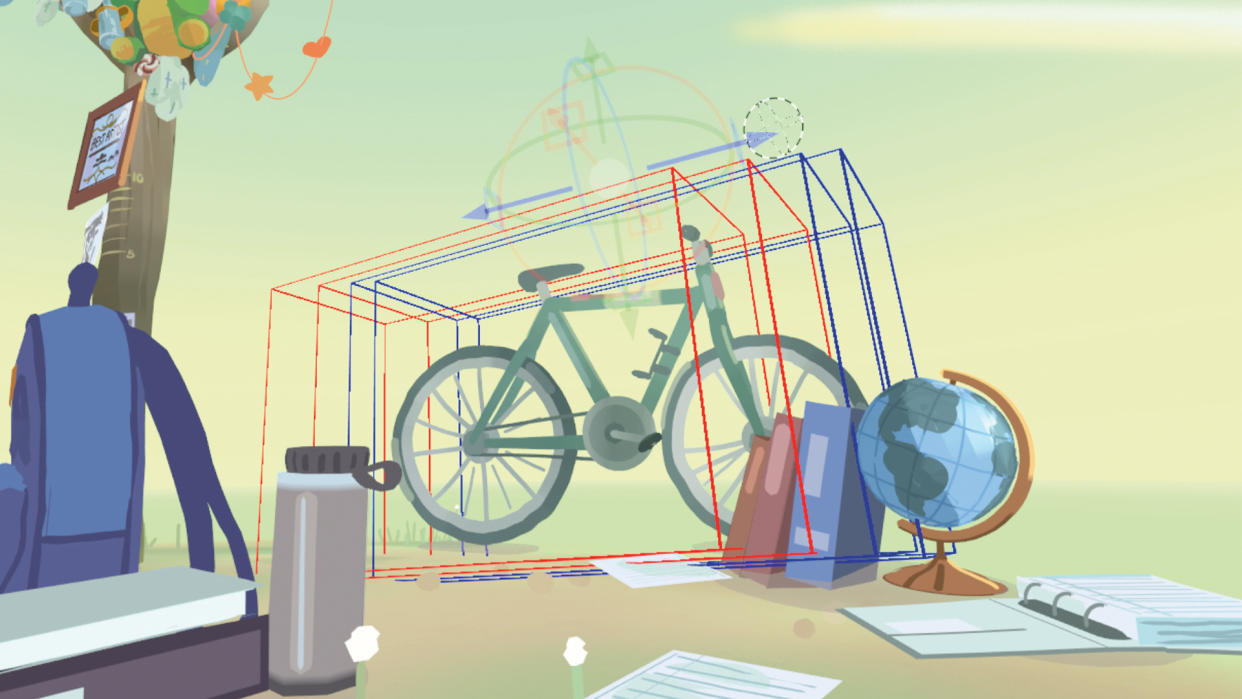
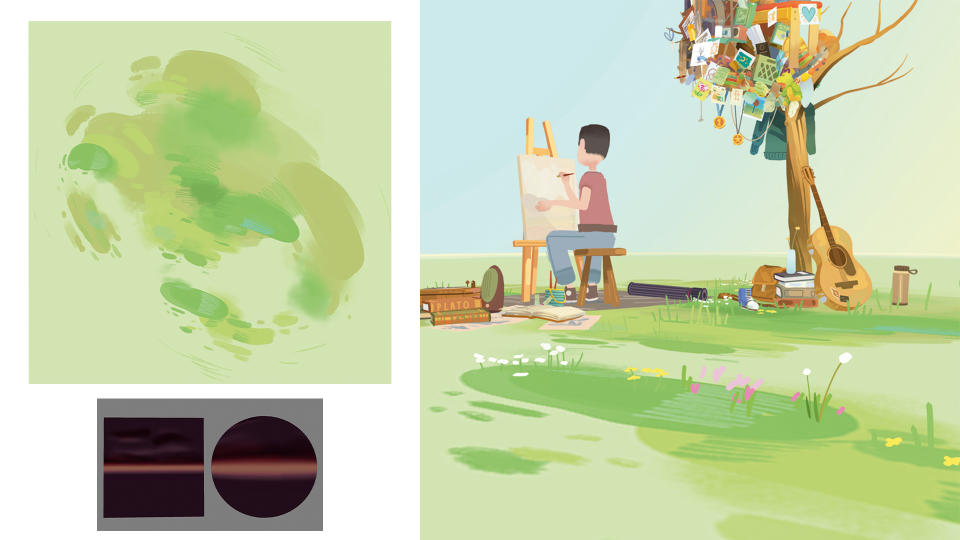
To generate an idea of a scene in VR, you can either create a line-drawing to suggest environments and character poses, or block out shapes with a grey box set, using primitive shapes and broad brushstrokes. Keep it loose and create variations of ideas you like.
Drawing sets in a virtual space enables you to freely move through your scenes to try out different camera angles and character staging. This workflow is similar to blocking a scene in a 3D program.
02. Get Storyboarding

(Image: © Dan Franke)
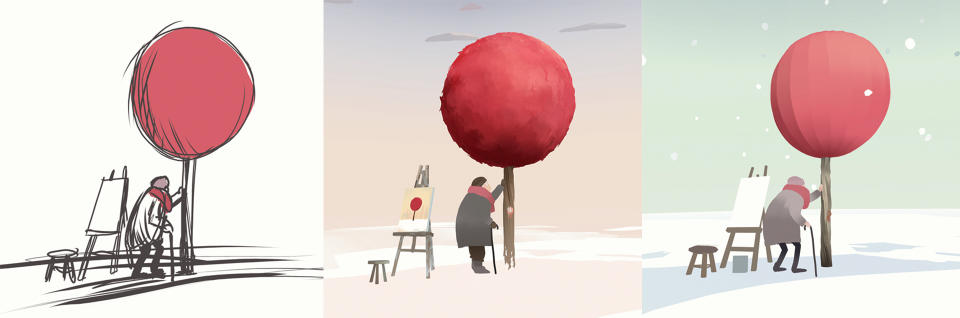
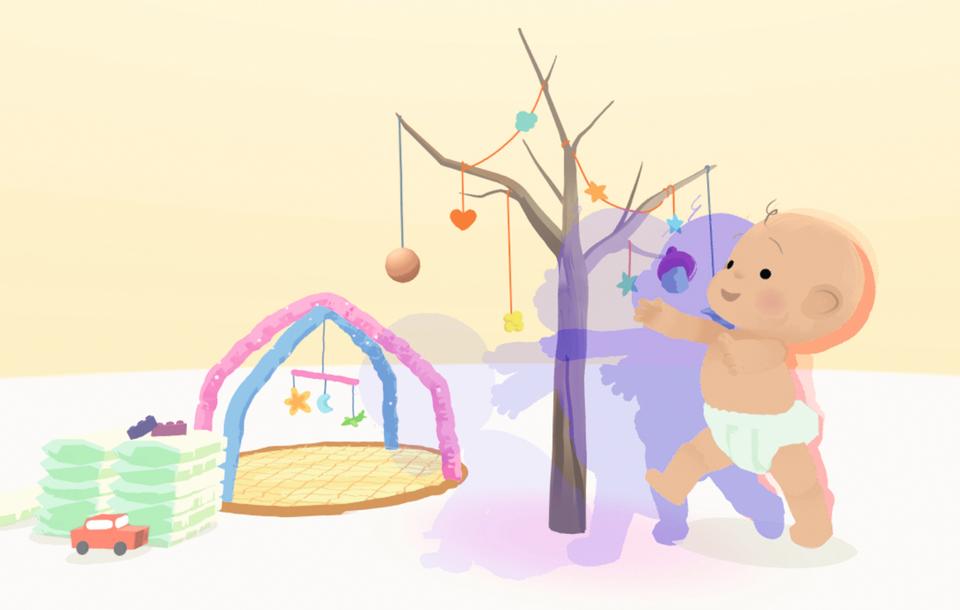
Rather than editing a 2D animatic first before creating a 3D pre-viz, in Quill you can combine both processes into one step by painting and editing storyboards directly in 3D.
For the first scene of Namoo we created a rough 3D model of the toddler next to the tree and then puppeteered the baby through the scene. To do this you enable Transform Mode on the layer and the Record option, and then simply grab and move the layer through space.
03. Design a 180 degree space
(Image: © Dan Franke )
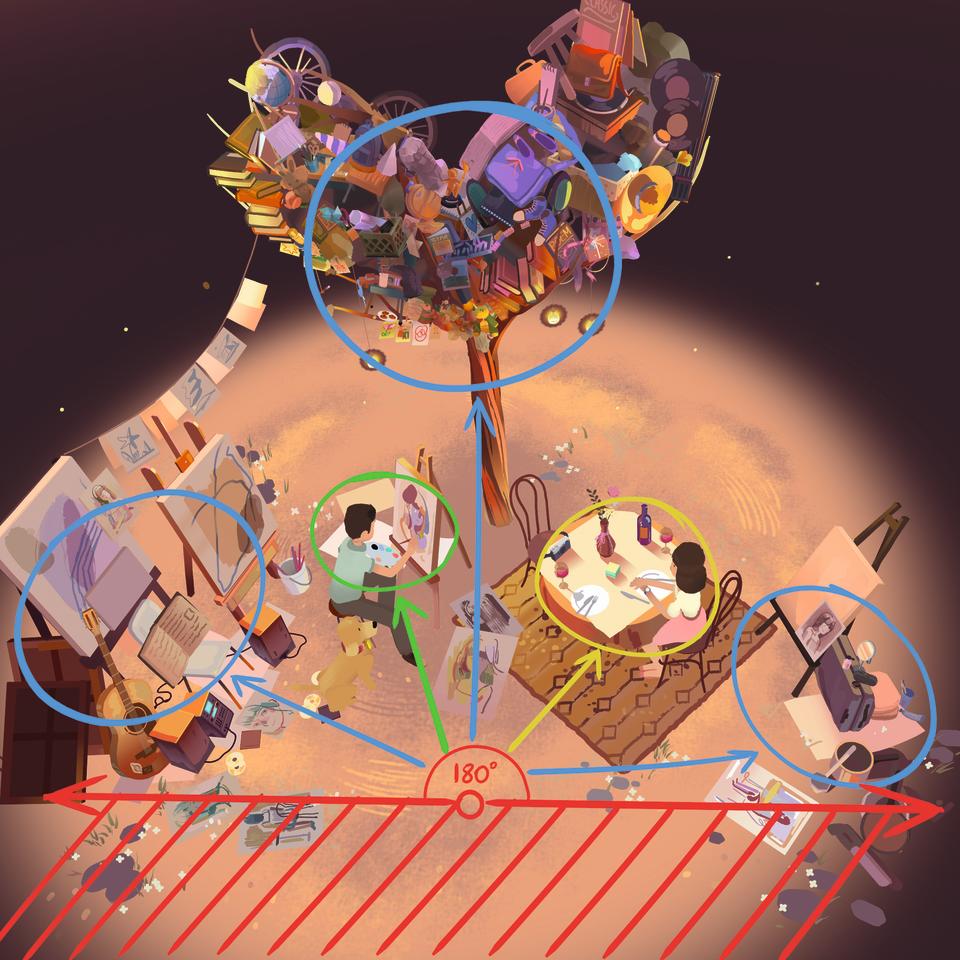
Viewers often watch VR while seated, which makes it uncomfortable to turn around. I usually design the space for 180 degrees, so the viewer has to only turn 90 degrees to either side.
In Namoo the tree serves as the main focal point and stays in the centre of the composition with the scene designed around it. We made sure to have focal points that guide the viewer’s eye through the scene and to not add distracting details near the 180 degree line or behind the viewer.
04. Create spawn areas
(Image: © Dan Franke)
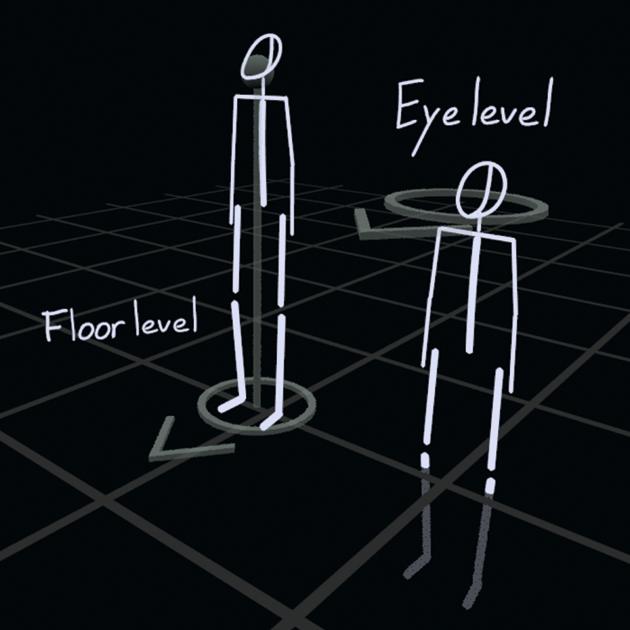
A Spawn Area in Quill controls the position of the viewer in the scene. By clicking the Spawn Area layer you can switch between Eye level or Floor level. Namoo uses an Eye level-based Spawn Area to make sure every viewer experiences the film from the same perspective, no matter their height. When animating a Spawn Area using Transform Keys, make sure the movement is slow and steady to avoid making the viewer feel nauseous.
05. Use PNG images
(Image: © Dan Franke )
Quill only offers a limited set of brushes based on primitive shapes, making it tricky to add detailed textures to your painting. It can sometimes be helpful to import a flat .PNG image layer.
When importing an image you can also select the 3D equirectangular option. This stretches the image along a sphere, creating a perfect skybox! Using images rather than brush stroke meshes reduces your polycount, but be careful to keep the image resolution low (around 2k) to not use up too much space in your Quill file.
06. Animate frame by frame

(Image: © Dan Franke)
The Frame by Frame animation process in Quill combines the haptic feeling of handmade stop-motion with the advantages of 2D animation, such as adding inbetweens or smear frames.
To animate frame by frame, you select the mesh, move and shape it, then duplicate the entire mesh to the next frame and repeat the process. Every frame adds to the overall mesh data and costs file space, but the animation is much more versatile and can easily be squashed and stretched with the powerful Grab Tool.
07. Watch your polycount

(Image: © Dan Franke)
Quill experiences have to be watchable on the Oculus Quest, an untethered mobile VR headset. Therefore you have to follow certain rules for optimal performance. The entire film has to be below 1.5Gb and can never have either 1.2 million polygons or 65 drawcalls (layers) visible at the same time.
The Performance menu highlights areas that need to be optimised, which can be done by reducing polycount with the Optimise Brush or merging layers to reduce drawcalls. Be careful to never merge a static layer with an animated one!
08. Transform keys
(Image: © Dan Franke )
Transform Key animation is similar to 3D animation with interpolation between keyframes. Transform Keys can only be applied to a whole layer, so to animate a character you have to create a “rig” by separating body parts into layers and then grouping them in the right order.
Only storing transform data makes your file much lighter, but it generates more drawcalls. For Namoo we preferred to animate characters with more flexible frame-by-frame animation and used Transform Keys mainly for simple objects.
09. Use Amnibrush to apply effects easily
(Image: © Dan Franke)
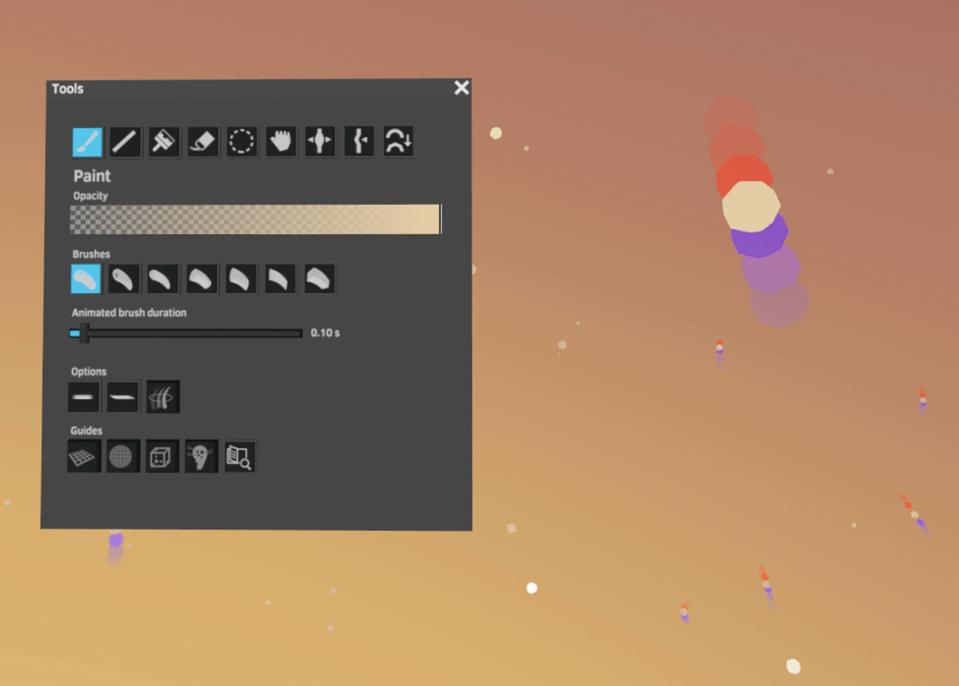
The Animbrush is a truly magical tool that enables you to animate effects simply by moving your hand through space. To use it, create a new layer, add a few empty frames, set the layer to Loop, hit Play on the timeline and start painting.
The movement and speed of your brushstroke are recorded, creating an animated stroke in real time. You can control the length of the brushstroke by moving the animated brush duration slider in the Tool options. In Namoo we used Animbrush to create rain, wind and snow. Rain, wind, snow and other effects in Namoo were all done with this fun tool.
10. Edit in VR

(Image: © Quill tutorial)
To edit in Quill, group your scenes into Sequence Layers and cut them by using In and Out timeline keyframes. Cuts in VR can be jarring and disorienting. To prevent that, make sure to guide the viewer’s eye to a certain area in the scene and then place the point of interest in the next shot in the same spot.
For a few cuts in Namoo we chose to wipe an object, for example a cloud, in front of the viewer to completely hide a cut. This creates a smooth transition into the next scene and is especially useful when cutting between moving shots.
This article originally appeared in ImagineFX. Subscribe to the magazine at Magazines Direct.

