10 expert tips for your first backpacking trip
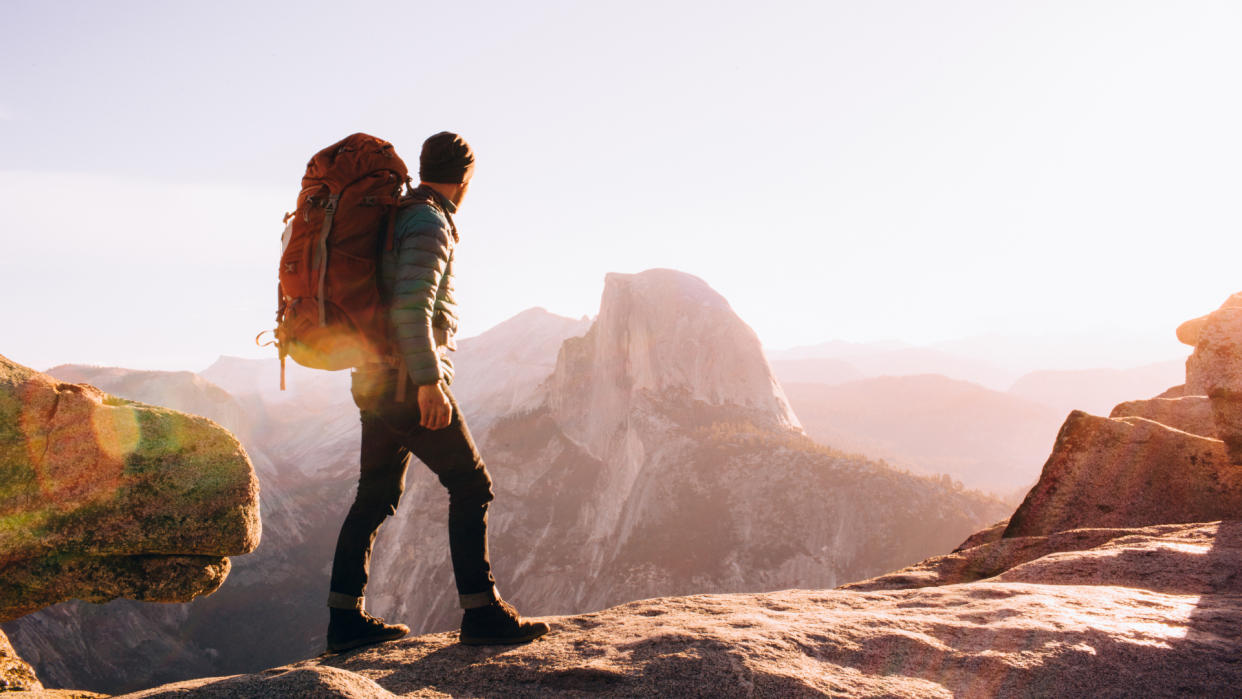
Who doesn't love the romantic notion of slinging everything you need to survive into a pack and heading out into the backcountry for adventure? Well, actually plenty of people would raise an eyebrow at the suggestion. But, as you've made it here, to this page among all of the pages on the internet, you're probably quite interested by the idea.
Backpacking is brilliant. Though like many forms of outdoor adventure, prepare poorly and it can be a nightmare. This is why we're here to help you take your burgeoning steps into this exciting new world.
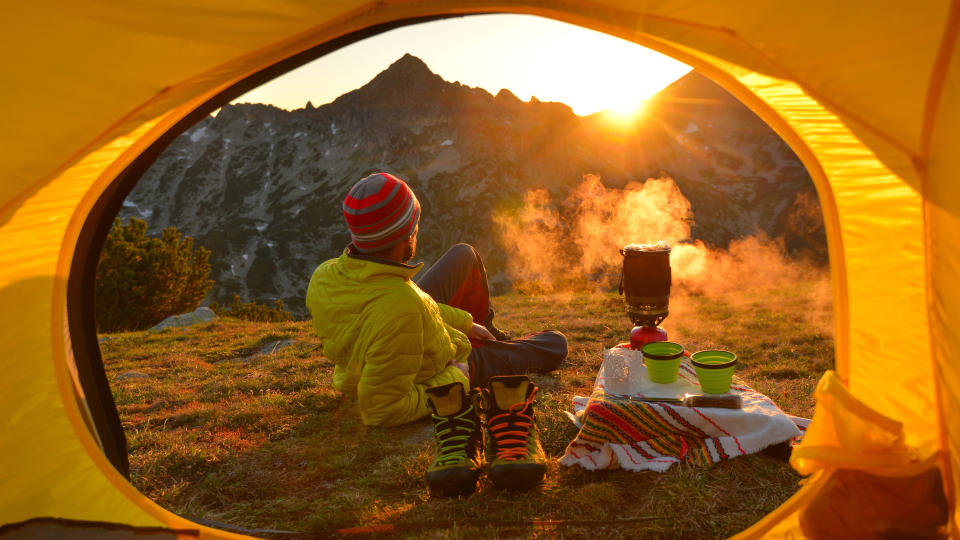
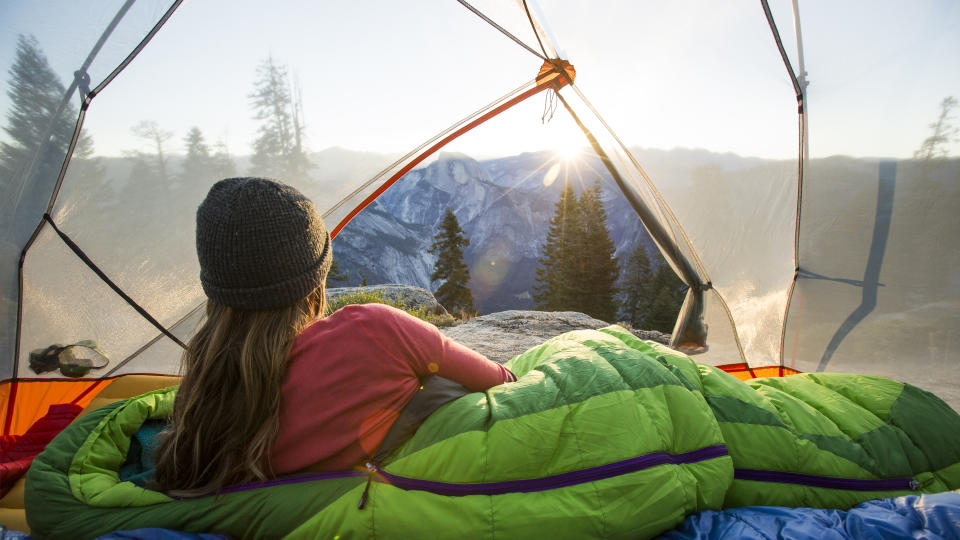
Yes, your first backpacking trip will be an adventure you'll never forget. If you’ve been hiking for a while now and you know you love the outdoors, there’s no reason why you’re not going to love it. Perhaps you did some car camping as a kid and you remember that lovely feeling of drifting off to sleep swaddled in your sleeping bag, and the feeling of the sun streaming through the tent walls in the morning?
Read on for 10 tips for your first backpacking trip to make sure you avoid common backpacking fails, and learn to love overnight adventure for life.
Meet the expert
Today's best deals
1. Build up to it
Train for your backpacking trip by taking a heavier pack on day hikes
Practise walking with trekking poles too
If you’re planning on a backpacking trip, you probably already hike a lot, but hiking with a daypack containing your water bottle and a fleece jacket is a lot different than hiking with a 20lb pack. It’s harder work on your legs, for starters, and can make it more cumbersome to retain your balance on trickier sections of the trail. You can start to add weights to your daypack as you walk, and even try a day hike or two wearing your packed backpacking pack in order to build your stamina and get used to the sensation of hiking with a load. Walking with trekking poles for balance can really help, too.
2. Start with a one-nighter
A one-night trip is easier to plan and execute
You'll get a sense of what will be required for a longer trip
A one-night backpacking trip can seem like a lot of work for a single night, but trust me, it’s easier to plan and prepare for. In addition to your overnight gear, you’ll need food and it’s quite enough to plan for lunch on the hike, one dinner when you arrive, breakfast in the morning and perhaps another lunch if it’s a long way back to the trailhead. One night is easier to plan and execute, and lets you get a feel for the whole backpacking experience before you throw yourself into a weeklong adventure or a thru-hike.
3. Borrow gear
Borrowing kit is a great option for that first trip
This stops you from making large investments before you know if you'll enjoy backpacking
If you’re not already kitted out – and there’s no reason why you should be – borrow as much gear as you can for your first trip. This can mean temporarily purloining a tent and sleeping pad from a friend back home, or in my case it means going with a friend who had the essentials, and sharing their tent, camping stove and first aid kit. That way I just had to bring my sleeping bag and pad. This cuts down on the initial investment, or at least delays it, until you figure out if you really like backpacking and want to do loads more of it.
Hot tip: if borrowing a sleeping bag seems gross, get yourself a sleeping bag liner.
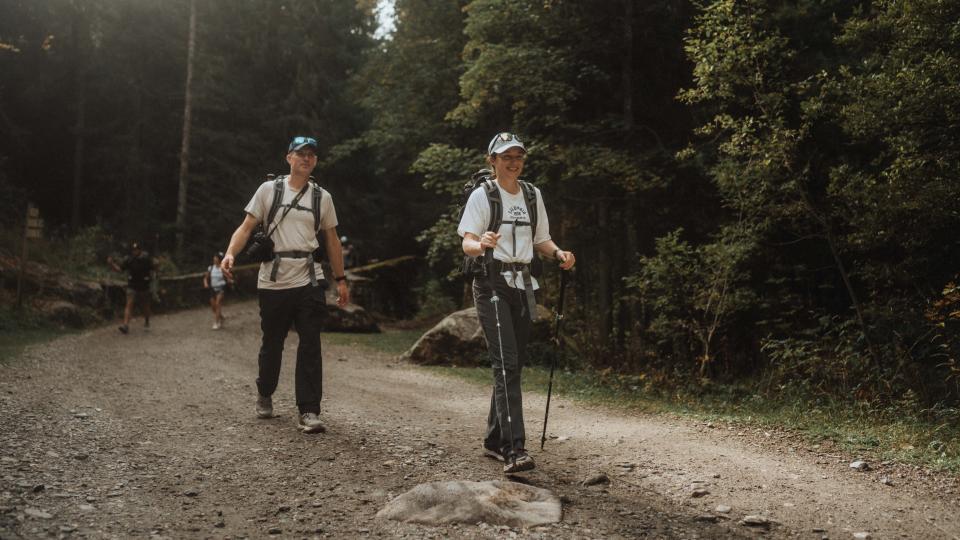
4. Go with an experienced friend
Your first trips will go smoother with an experienced friend
You can learn the tricks of the trade from them
Solo backpacking trips really can be a thing of great beauty, but for your first few, it’s strongly advised that you go with someone else, and ideally with someone who has done a bit of backpacking themselves. They can help you get to grips with finding the perfect spot to pitch your tent as well as operating all your gear. In my case, it was super helpful to have someone teach me how to hang a bear bag, because that wasn’t something I learned growing up in Scotland. He also helped me stay calm when we met a bear the following morning on our descent. After a few adventures, it all becomes second nature, but it’s a lot to learn your first time out!
5. Check permits
Check if the region you plan to camp in requires a permit
Sure, you can camp legally anywhere in Scotland, but elsewhere you may need a permit to go backpacking. Most National Parks require a permit, for example, while BLM land, Wilderness Areas and National Forests may be fair game to everyone who follows the principles of Leave No Trace. Make sure you know your permissions before you hike six miles in with a heavy pack.
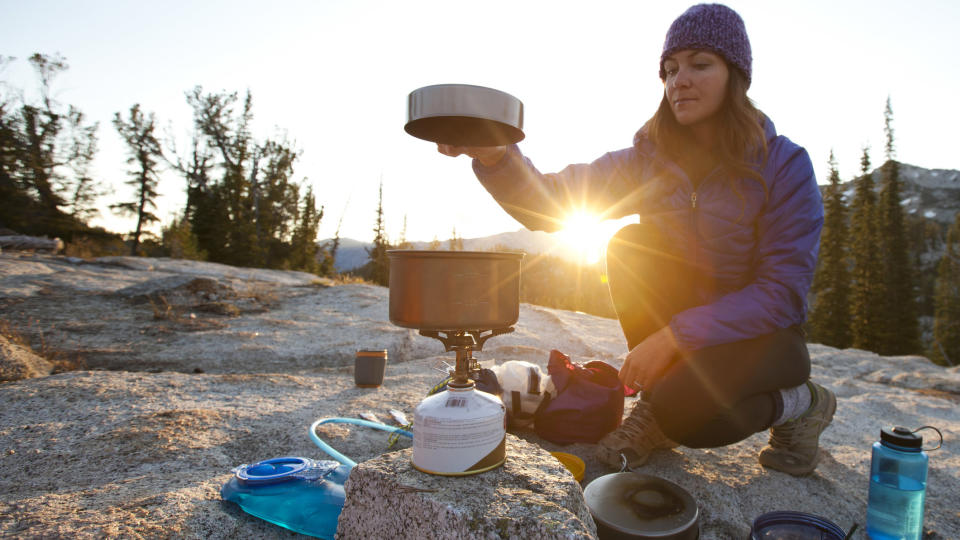
6. Test your gear
Test your gear to check everything is in working order
This will also help you to be more efficient on the trail
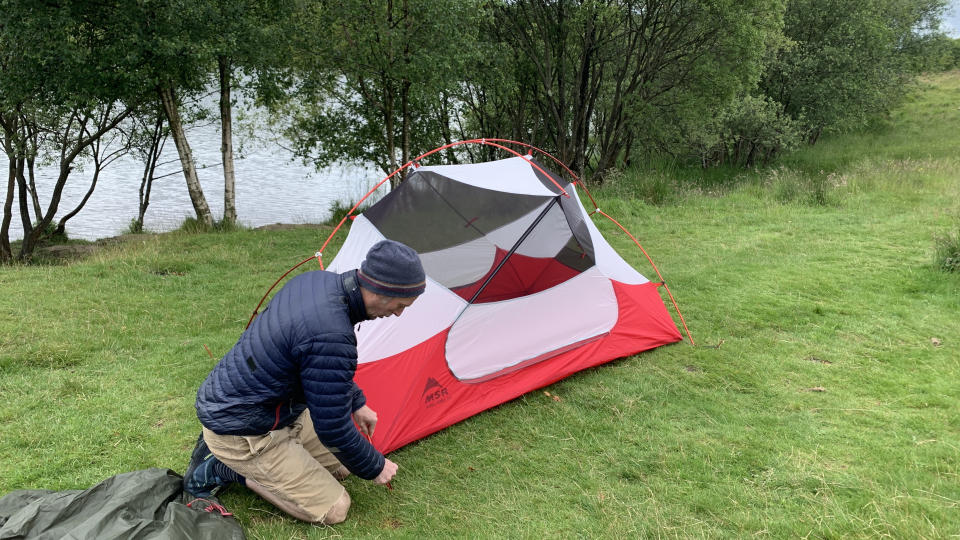
For any gear that you’re personally bringing, make sure you test it out at home first. That means you need to pitch your tent in your living room and practice using your stove in the back garden. Sleeping in a collapsed tent and eating a cold camping meal will definitely ruin your fun, fast. Plus, by the time you're on the trail, you'll be efficient when setting up camp if you've practised at home first.
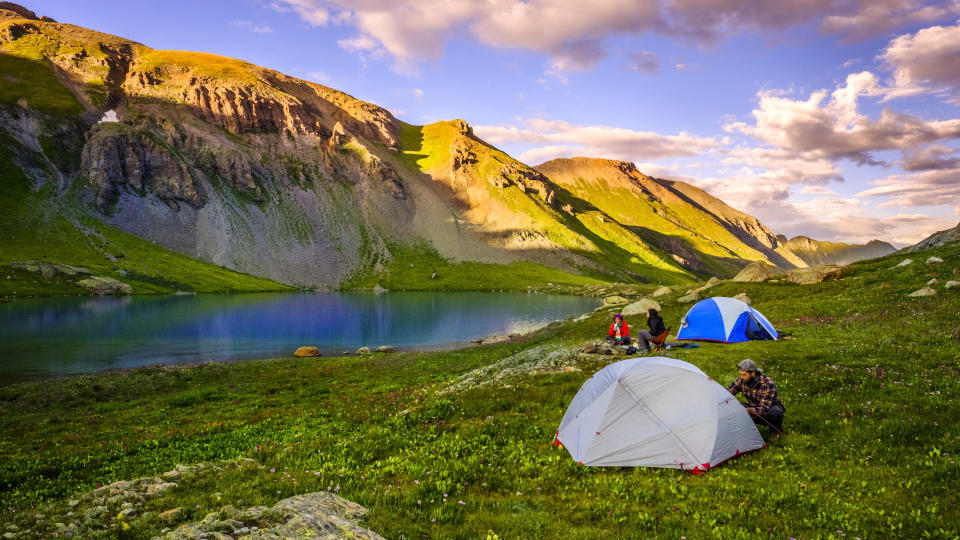
7. Don’t go too far...
Choose a site that's not too far from the car – around 3 miles away is ideal
Don't forget you have to hike back out the next day!
Because backpacking can be a fair sight more difficult than day hiking, it’s a good idea to pick somewhere that’s not too much more than three miles down the trail. It might not sound like very far, but that’s plenty of mileage to get lost in the mountains, and you can ensure that you don’t tire yourself out before arriving. My first trip was actually six miles, but we were able to cheat a little and ride a ski lift up the mountain, which shaved off the first couple of miles, and the steepest section.
If you keep things on the enjoyable side, you’re much more likely to give backpacking another chance than if you try to tackle a ten-miler and fail. And remember, you have to hike out again tomorrow!
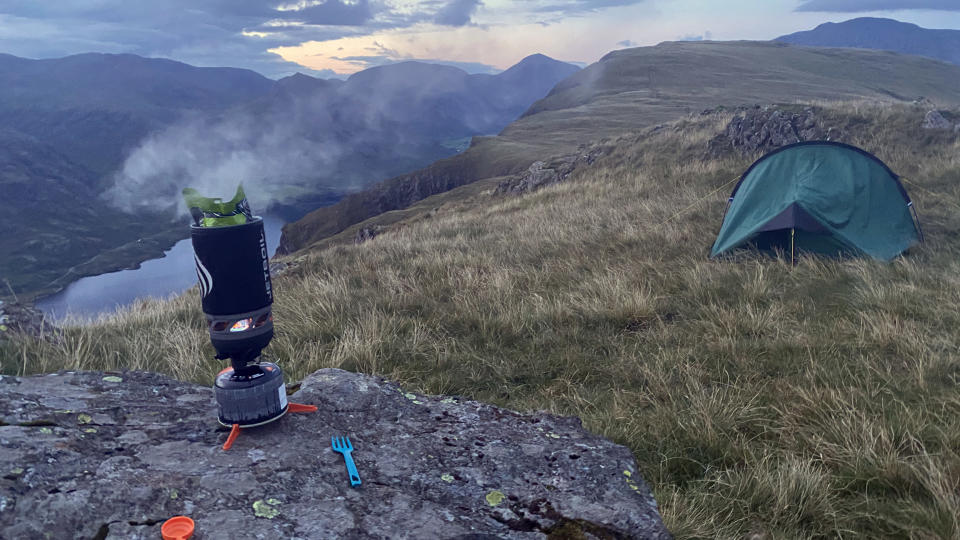
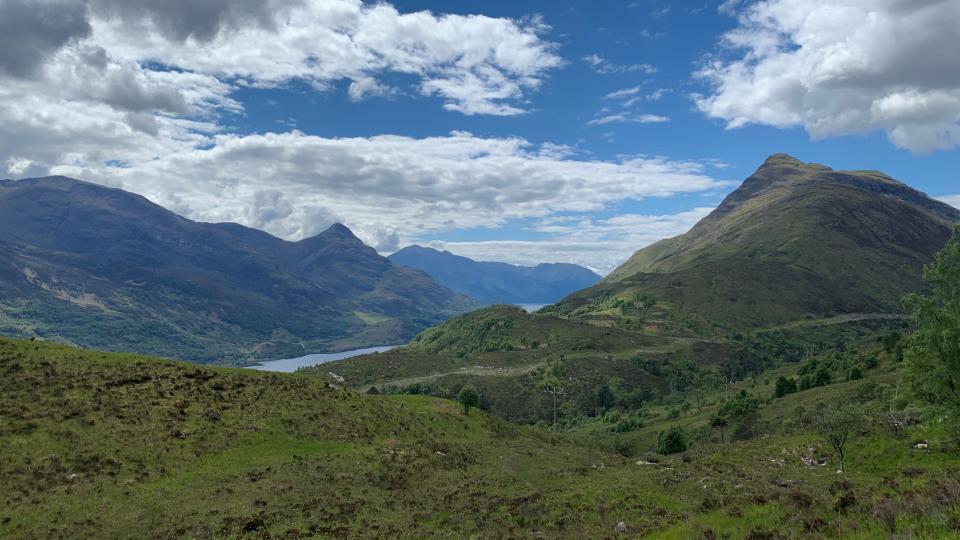
8. Or too high
Gaining too much elevation can be tiring and expose you to cold or lightning risk
Camp in sheltered areas and check the forecasted wind direction before planning where to pitch
If you’re backpacking in an alpine area, also take care with vertical feet. It can be easy to want to head up a mountain for the best views, and that can be amazing with the right training and gear, but it gets a lot colder overnight at high altitude, and if you’re above treeline then the risk of lightning strikes is higher too. It's also very tiring to gain loads of vert while carrying a heavy pack.
Check the forecast to see which direction the wind is going to be coming from and plan to camp where there'll be a barrier in the way of the wind. Seek out sheltered lakes that are cradled in mountain bowls and lower elevation areas where you won’t need your winter tent and 4-season sleeping bag even in summer.
9. Pick a well-established trail
When carrying a heavy backpack, a well-established trail is much preferable to bush whacking
If you’re going much more than a mile or two, because the backpack can make the walking more burdensome, it’s a better idea to pick a well-defined, easy-to-travel trail than try to bushwhack or do a lot of scrambling. We got a little adventurous on our way out and tried a different route, which resulted in a long bushwhack, a fall and a stick in the eye for me, the aforementioned bear sighting and being late for work. It was memorable, but if I could go back in time I’d tell 2009 Julia to go back the way she came.
10. Research your destination
Research your chosen destination by studying maps, reading blogs etc.
Examine a topo map and read trip reports to get a feel for the area where you intend to set up camp for the night. What’s the elevation? Is there a water supply? And what kind of terrain can you expect – is it rocky ground and are there clearings where you can camp away from trees? Are fires allowed? Ideally, you can find some flat areas of dirt that have previously been camped on, near a water source and with lovely views.

