10 DIY Seed Starter Pot Ideas – Repurpose, Reuse, and Recycle Household Items
With so many different products on the market, seed starting can seem like an expensive business. But really, all you need is a packet of seeds, a bag of potting mix, and a few containers to grow in.
As long as they have enough space to take root, the right soil nutrients, and some drainage so they don't rot, seeds aren’t particular about the container they are grown in.
Luckily there are many household items that can be repurposed as seed starter pots – saving paper, plastic, and even styrofoam from being sent to landfill.
Why not get creative and make your own pots from papier mâché, or even fashion a mini greenhouse?
Not only is making seed starter pots more sustainable than buying new, but it also means you will never run out. Once you start, you will see potential growing vessels everywhere you look…
1. Use old newspaper to make seed pots
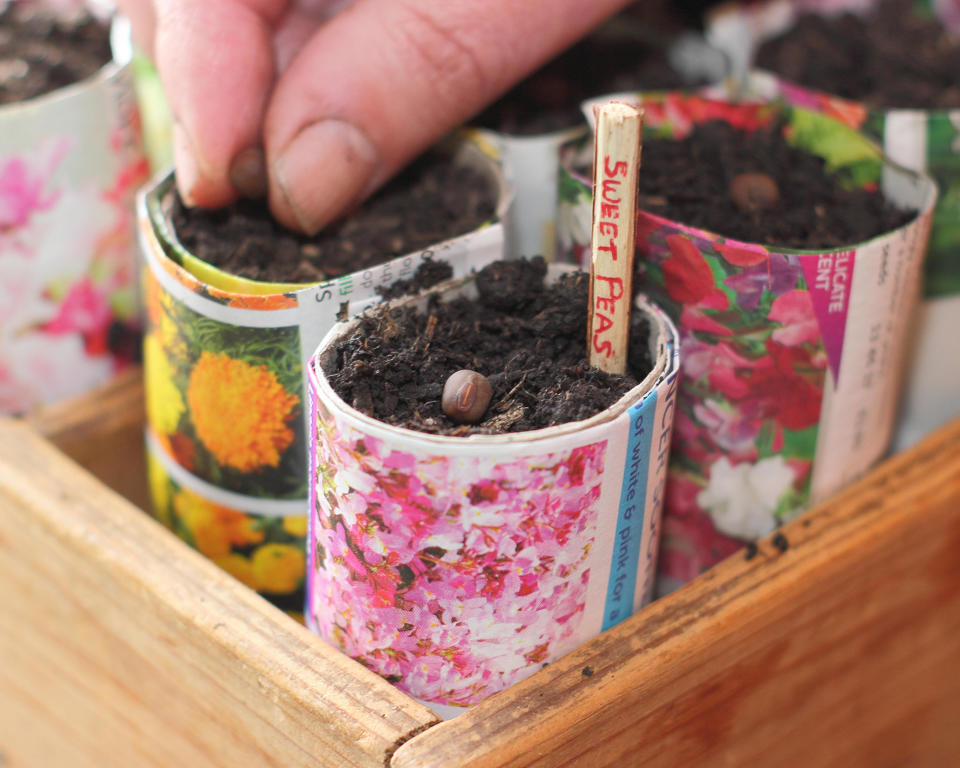
Making recycled newspaper pots is fun and easy to do, and a great way to use up old newspapers and non-glossy magazines. The paper will simply decompose when the seedling pots are transplanted to the ground.
All you need to make seed starter pots from newspaper is scissors and a mold for wrapping the paper around – such as an aluminum can.
Cut four layers of newspaper into strips – 4 inches (10cm) wide if using an empty can – and wrap the layer around the can, keeping the paper taut.
Leave 2 inches (5cm) of the paper hanging below the bottom of the can.
To make a base, simply fold the newspaper strips under the bottom of the can. You can flatten this by tapping the can on a solid surface.
Remove the newspaper seed pot from the can, and it is ready to use.
If you’re having difficulty making the paper keep its shape, then spritz it with a water spray before wrapping round the mold, and remove the pot when dry.
2. Make papier mâché seed pots
Take your recycled paper pots to the next level by using papier mâché to form molded pots. These pots will be more robust to handle than the previous method, and it’s a great project to keep the kids busy.
To make papier mâché seed pots, you will need old paper, flour, a blender, a fine mesh strainer or cheesecloth, and a mold – a silicone muffin tray is ideal, as it will allow you to remove the pots easily.
Start by shredding or tearing up your paper into small pieces, then place into the blender and cover with water. Fill the blender up to two thirds full.
Allow the paper to soak in the water for a few minutes, to allow it to soften, then blend to a pulp.
Put the paper into a fine mesh strainer or cheesecloth and squeeze out as much excess water as possible. You can use a sponge to apply pressure.
Transfer the paper mixture to a bowl and add 2-3 tablespoons of flour. Mix well with your hands until it is combined.
Take balls of the mixture and press one into each of the cups on your silicone muffin tin, ensuring the sides and bottom of each hole are evenly covered.
Either allow your pots to dry naturally – this will take a day or two – or speed up the process by putting them in the oven on a low heat for around an hour.
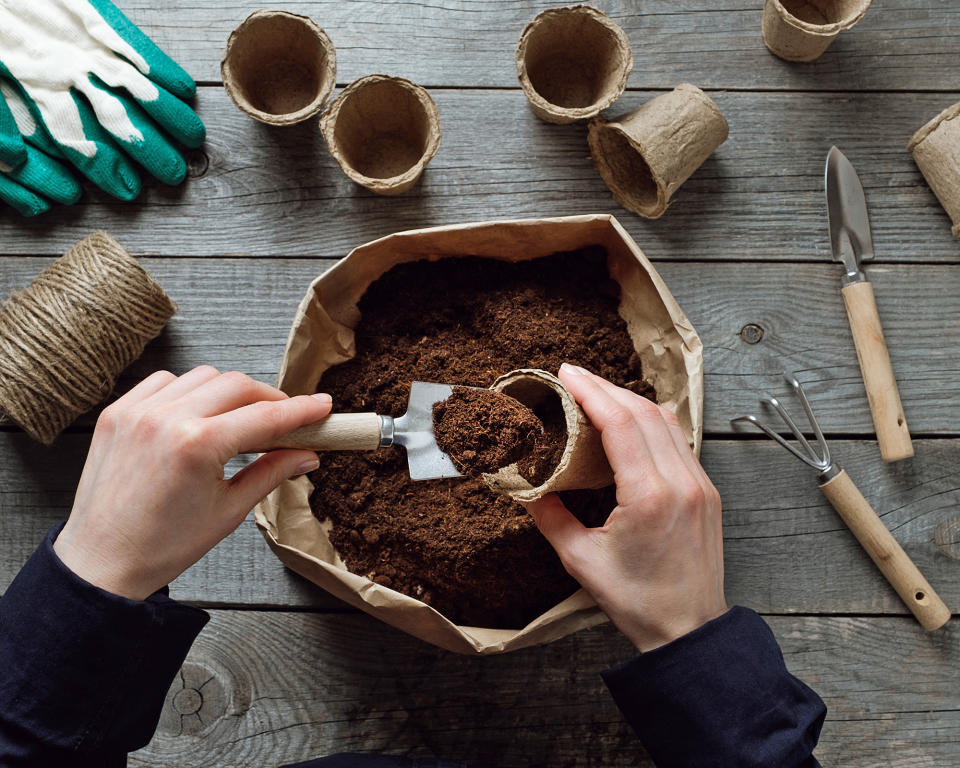
3. Use toilet rolls as root trainers
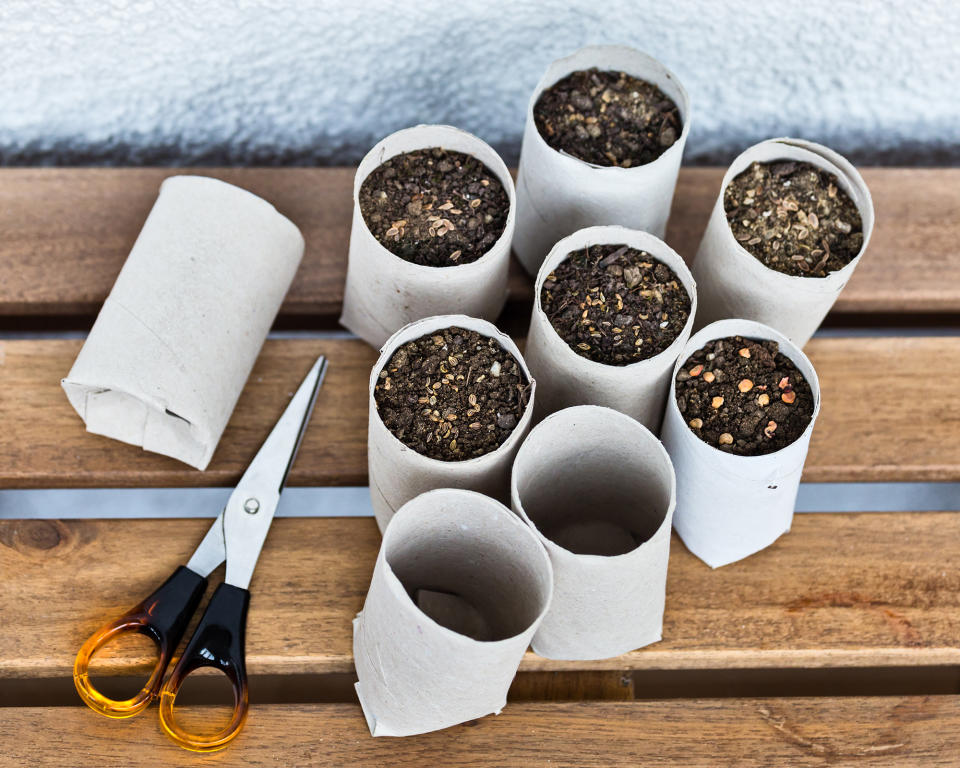
Old toilet rolls and paper towel rolls are ideal for turning into seed pots – they work particularly well with seedlings with long roots, such as beans and sweet peas.
If you want to keep the pots tall, then tape a circle of card or paper around the bottom of the tube, which can be removed when planting.
If you want the pots to be shorter, then you can cut longer tubes in half, and snip into the cardboard to make a base.
To do this, simply make four small cuts about an inch long at one end of the tubes. Fold the flaps down and overlap them, to make a base. If you aren't concerned with being so precise, then instead of making cuts, you can simply push the bottom of the tube, squashing it inwards until the bottom closes up.
4. Repurpose egg cartons as seed trays
A DIY egg carton seed tray couldn’t be simpler to make and has so many benefits. Egg cartons are already compartmentalized, so they can be kept intact and positioned on windowsills, or they can be easily cut apart into smaller segments.
Depending on the material the carton is made from, you may be able to plant the segments directly into the ground and allow them to decompose.
Paper-based cartons shouldn’t require drainage adding, but if used indoors you will need to place them on a tray. Plastic egg cartons will need drainage holes adding at the bottom using a drill.
5. Make eggshell seed pots
Making eggshell seed pots is such a fun way to teach children about growing. But it has benefits too: eggshells can add vital nutrients into the soil, and increase calcium carbonate levels, which helps to lower the soil's pH level.
It’s also extremely easy to plant your seedlings without disturbing the roots – simply crack up the shell when planting.
To repurpose eggshells as seed pots, begin collecting enough shells in the weeks prior to planting. You will need to crack your eggs quite carefully so that one half to two thirds of each shell remains intact.
Wash the shells in warm, soapy water, and when dry poke a hole in the bottom with a large needle. They are now ready for filling with potting mix.
6. Reuse styrofoam containers
Styrofoam containers are in plentiful supply, yet the material is not biodegradable and will take hundreds of years to break down.
While styrofoam can be recycled, it rarely is and so if you have any foam containers or coffee cups, it’s a great idea to repurpose them as plant pots.
Apart from being a good way to recycle, planting in styrofoam containers does have one major benefit: the material is an insulator, so it keeps the roots of vulnerable seedlings warm in cold weather.
Poke a few holes in the bottom of the containers to provide drainage. Otherwise, your seeds and seedlings will become soggy and rot.
7. Make a mini greenhouse with plastic food containers
Those lidded plastic containers that are used to hold berries, tomatoes, and salads among other groceries, make excellent mini greenhouses.
Either fill with potting mix and use as a growing tray, or use them to hold homemade paper pots. Once you have planted them up, place the containers on a sunny windowsill and enjoy watching your seedlings grow.
As well as lidded containers, keep other plastic containers such as yoghurt pots, as these too make useful plant pots.
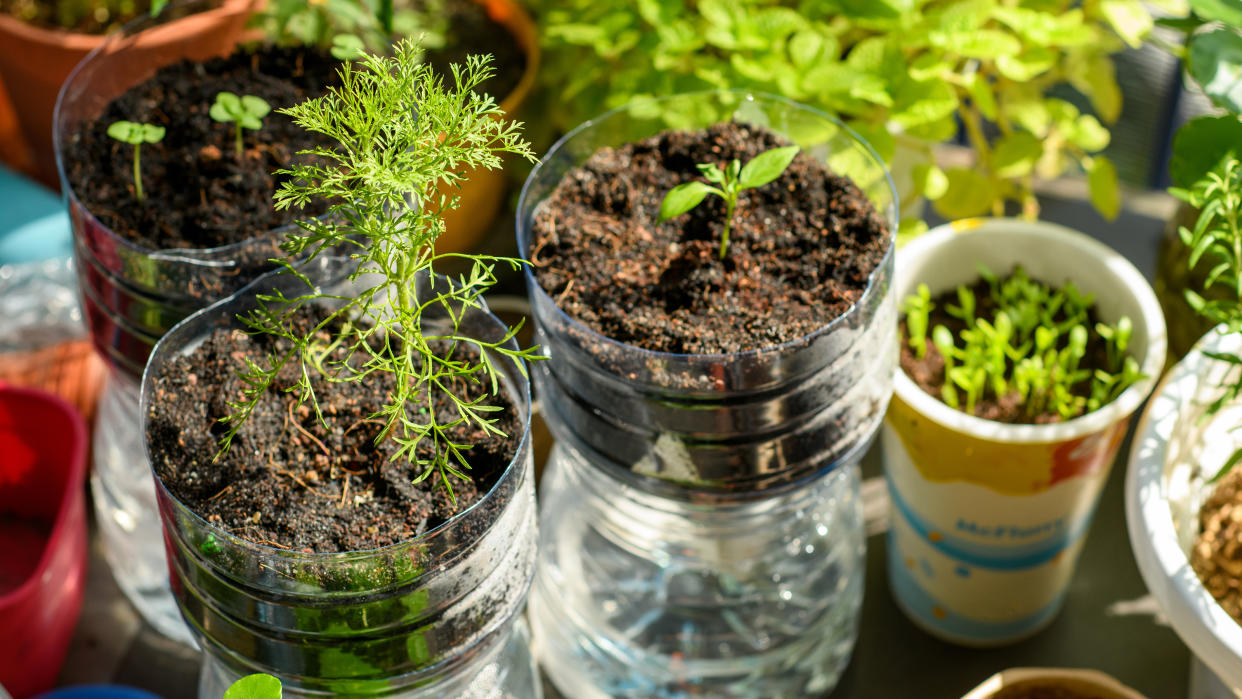
8. Find a new use for soda bottles
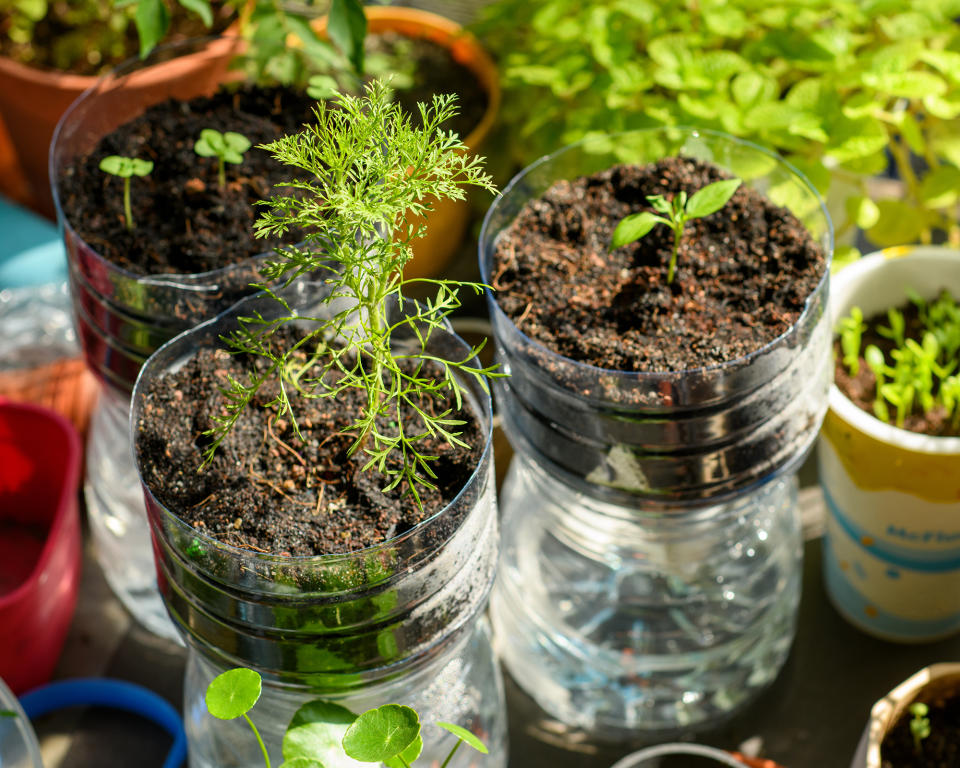
Soda bottles make excellent seed planters with built-in drainage, and can be used to create mini greenhouses. Milk jugs are also ideal for this purpose.
To use them to grow seeds, start by cutting the bottle in half. Place the top section upside down and place in the lower portion. Then add your potting mix to the top of the bottle. By doing this the bottle spout will drain excess water into the base below.
To make a pop bottle greenhouse, fill the bottom half with potting mix, then reattach the top half, using the cap to keep in moisture.
9. Repurpose tin cans as windowsill planters
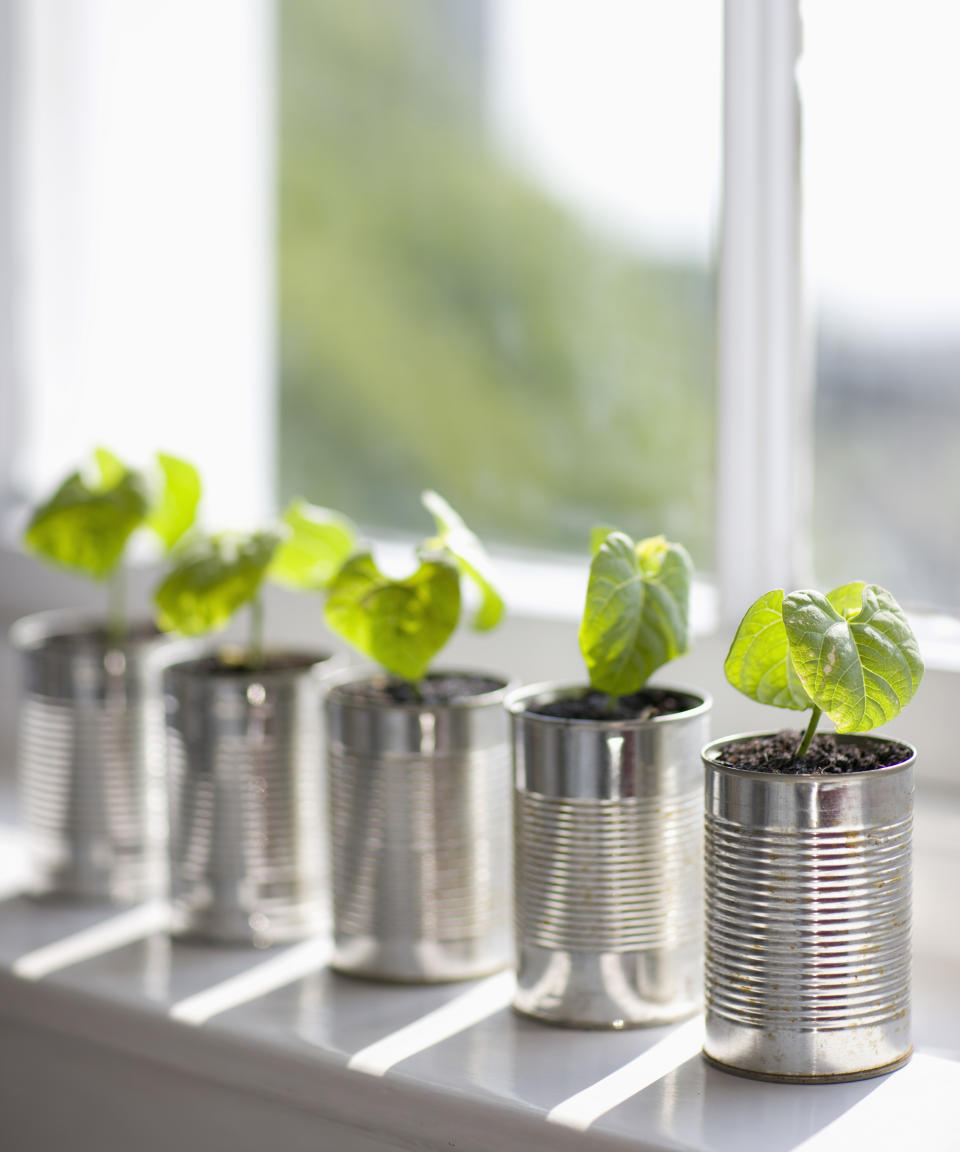
Using tin cans as planters is quick and easy – you just need to drill drainage holes in the bottom. They also look more attractive than old plastic food containers.
However, if a can starts to go rusty, you should stop using it as it can have a negative effect on the plant – especially if growing vegetables.
Some tin cans have an inner plastic coating, which can include BPA, and may also cause problems with planting food in them. So use tin cans for a limited time with veggies, or use them exclusively for growing flower seeds.
10. Grow seedlings in citrus rinds
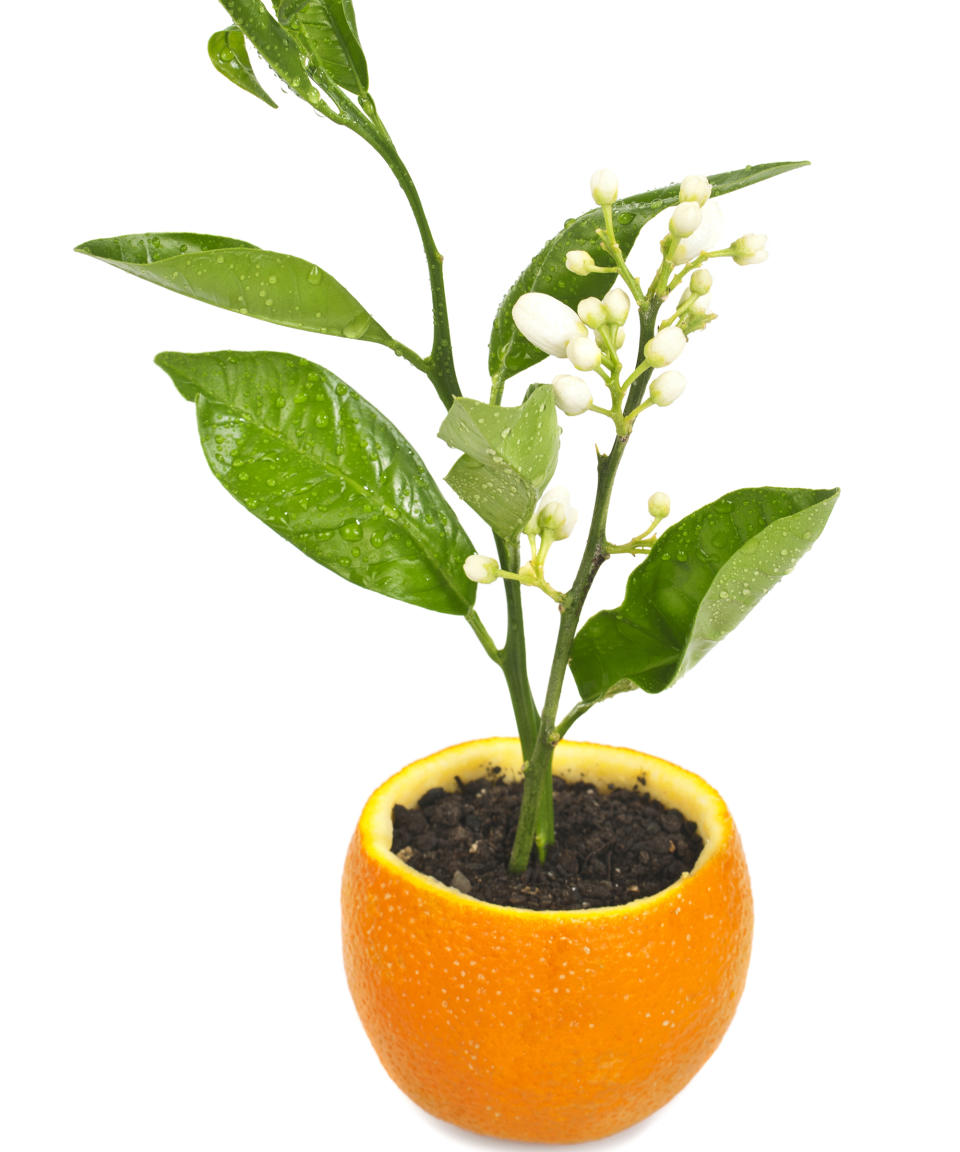
If you love eating citrus fruits, then growing seedlings in citrus peels is as eco-friendly as you can get.
You can use any variety of fruit, including oranges and grapefruit. However, lemon and limes are probably a bit on the small side.
All you need to do is hollow out the citrus peel and remove any nub on the base that will prevent the pot from standing up straight. Poke a small hole for drainage, then fill with potting soil.
When your seedlings have grown in height, thin to one plant per peel and when it’s time to plant out, simply transplant the whole citrus pot into the ground or s larger pot. The peel will compost into the soil, providing enrichment.

