10 Best Halloween Decor Ideas From the Dollar Tree
The Arena Media Brands, LLC and respective content providers to this website may receive compensation for some links to products and services on this website.
Now that summer is slowly approaching its final days, many people have already started preparing for the Halloween season.
Whether you reuse Halloween decor from last year, buy some new ones at HomeGoods or Lowe's, or decide to create some DIY Halloween decor, there are many options. However, if you're on a budget, DIY Halloween decor with items from Dollar Tree and stuff you already have on hand is certainly a better option.
Here are a few unique ideas that could be fun for the entire family!
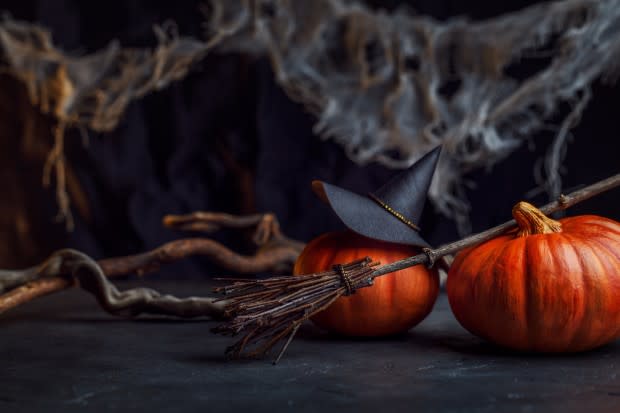
This fun and easy DIY Halloween edition of "Hanging Witch Brooms," posted on August 4 by Stephanie Hanna, is one of the easiest Halloween decorations you could think of.
All you need are clear command strip hooks and a fishing line; that's it. Then you just apply the hooks, attach the fishing line to each end of the brooms, and secure them to the hooks.
You can most certainly find what you need at Dollar Tree, but if not, Amazon is your next best option.
For this little creation, which was introduced by the crafty DIYer Lori Castellon, you'll need small artificial jack-o'-lanterns, an existing chandelier frame (or you can also make one with a foam ring, reef form, and wires), painter's tape, scissors or a utility knife, and some pink spray paint, or another color if you want to change it.
If you have an existing chandelier in your entryway, you can just cover the light bulbs with the jack-o'-lanterns and buy enough to cover them all.
First, take the mask off the top of the Jack-o'-lanterns before you spray paint them. Then take these bad boys outside or into a well-ventilated area and cover them in spray paint.
Let them fully dry before you proceed with the next steps.
Once dry, you can carve a hole in the bottom and then place them on top of each light bulb, making sure the pumpkins are big enough to cover the bulbs.
If you don't have a chandelier, you can make one using a reef form, ring foam, spray paint, zip ties, and some fishing lines and wires to hang it.
That's it!
Shutterstock
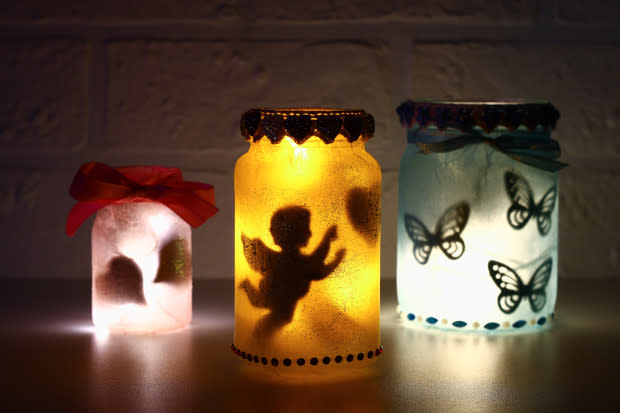
How cute is this shadow ghost lantern? Created by content creator Laura.
If you're interested in creating something similar, you'll need an old lantern or a new one, which you can find at Dollar Tree, some cut-out silhouettes, scissors, super glue, a battery-operated LED tea light, and spray paint in the color of your choice.
Start by thoroughly cleaning the lantern to remove any dust or stickers, and then remove the glass sheets.
Then take the lantern to a well-ventilated area and spray-paint it in the color of your choice.
While this dries, print out some ghostly silhouettes or whatever design you have in mind, carefully cut them out, and glue the silhouettes to the glass sheets.
Now you can test the projection by placing the LED tea light inside the lantern and turning it on in a dark room for the best effects.
That's it!
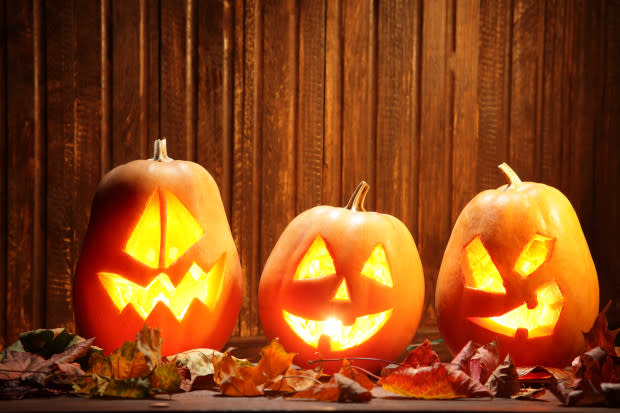
Who says Halloween has to be creepy? It can also be cute. Like these ghost and Jack-o'-lantern hanging wall decor, done by Jamie Frost.
For this DIY project, you'll need two or more bottle cap ornaments from Dollar Tree, black spray paint, some printed designs, black glitter, a black ribbon, wooden beads, Mod Podge, paintbrushes, black acrylic paint, scissors, and hot glue.
Start by spray painting the bottle cap ornaments, and while these dry, print out the designs of ghosts and jack-o'-lanterns and carefully cut them out so they'll fit the center of the bottle caps.
Once the bottle caps are dry, apply some Mod Pode to the center of the bottle caps and add the cut-out prints. Add a little of the black glitter so it will adhere to the edges, creating a nice frame for the prints.
Then paint the wooden beads black using acrylic paint, and once they're dry, loop the black ribbon through them, cut off the excess ribbon, and glue the beads on top of the bottle cap ornaments.
And you're all done.
Now you can hang them up.
Shutterstock
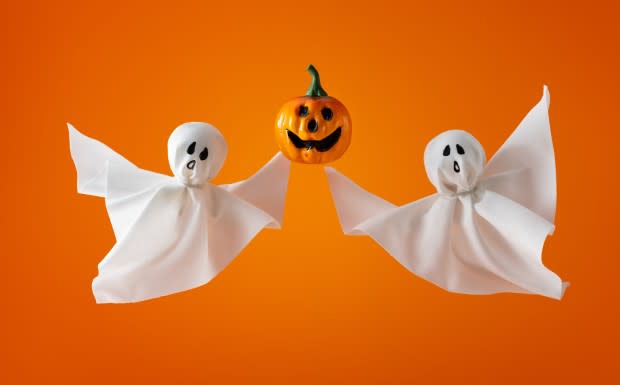
Now if you want something cute and super easy, I've got something for you: DIY cheesecloth ghosts, as Deborah Trette posted on August 5.
To start, gather all your materials, which are some cheesecloth, fabric stiffener, water, felt for eyes and mouth, parchment paper to protect your work surface, fishing line or clear thread, a bowl, a wooden stick, a hot glue gun, and balloons to use as a form.
First, lay down the parchment paper on your work surface to protect it from the fabric stiffener. Then cut the cheesecloth into pieces large enough to drape over your ballon to create the ghost's shape. You could also use multiple pieces, as shown in the video.
Mix the fabric stiffener with water according to the manufacturer's instructions, dip the cheesecloth pieces into the mixture, ensuring they are fully saturated, and soak for a few minutes.
If you're using balloons as a form for your ghosts, inflate the balloons to the desired size and tie them off, and then place the balloon on top of a vase and add the cheesecloth pieces while they're still wet.
After 24 hours, they're finally stiff and dry and ready to be decorated with the felt pieces for the eyes and mouth.
Now you can hang them up using fishing lines or clear thread.
Want to mix Americana with freakshow vibes? Look no further; Emily McInnis created the cutest Halloween decor, as you can see here.
For this DIY project, you'll need a foam hoop, a 30" fake skeleton or any size you prefer, some antique ribbon, circus-themed fabric, a red clown nose, scissors, a hot glue gun, and ribbon as a harness or clear thread to hang it up.
Start by wrapping the foam hoop in the antique ribbon and securing it with some hot glue. Then cut the circus fabric into a smaller size, add some fringes, and glue it to the bottom of the skeleton. This serves as a skirt for our skeleton acrobat.
Then place the skeleton in a sitting position at the center of the hoop and secure it with some glue.
Last but not least, glue on the red nose, add some more decor, such as cute little ribbons and maybe some creepy critters, attach the other ribbon as a harness, and now you can hang it up to your ceiling or your front door.

Yeshi Kangrang/Unsplash
Do you know what can't be missed? Creepy lights. This can be achieved with candles, of course, or you can make a cute and easy Halloween globe, as Amanda Gilmore posted on August 2.
All you need is a 4-inch frosted replacement light globe from Home Depot, this Dollar Tree Halloween LED shadow projector, an empty clean glass candle jar, black spray paint, some creepy critter decor, and a hot glue gun.
Start by attaching the Dollar Tree Halloween LED projector inside the replacement light globe using hot glue.
Then spray paint the candle jar and wait until it's dry.
Once dry, decorate the candle jar with some creepy critters, bones, and ribbon, as well as add some purple, orange, and green glitter if you like.
And finally, switch on the LED projector and place it into the candle jar.
Now your DIY Halloween globe is ready to be displayed!
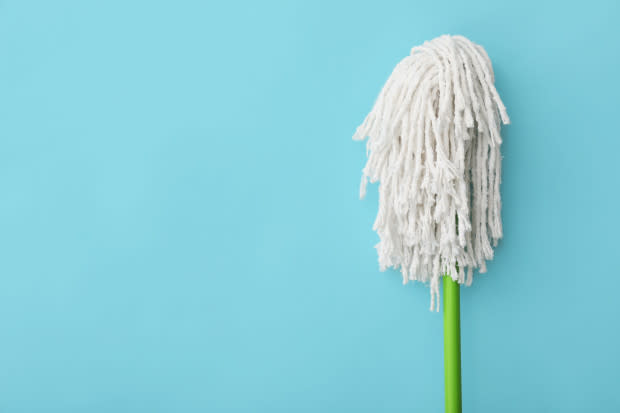
As you can see, there are many types of decor, and you can certainly go to town with your creativity, just like this TikToker @thenavagepatch did with his cute light-up mop ghost creation.
Everything used here can be found at Dollar Tree, including string mop heads, glass vases, felt sheets, small witch hats, LED battery-operated fairy lights—or tea lights—and, of course, a hot glue gun.
First, clean the vases, then turn the vases upside down. This will serve as the base for your ghost.
Next, attach the mop head to the inverted vase by placing the mop head over the vase and securing it with hot glue. Make sure to push the strings to the side before gluing the mop head to the vase and then allowing the strands to drape down around the vase, as shown in the video.
Cut out some felt pieces to create the eyes and mouth, and secure them with some glue.
Then glue on the witch hat, and last but not least, insert the LED fairy lights in the vase and secure it with a command strip.
And you're all done!
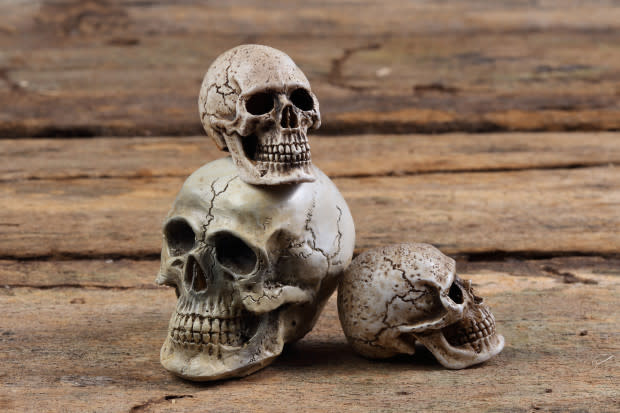
Aside from "burning bones" Halloween decor, you could also add some skull-shish kabob decor to enhance and scare your neighbors even more, especially if you name them Bob, Mary, and Clarice. Just like @thenavagepatch did.
Gather everything from Dollar Tree, including two broomsticks, a few foam or plastic skulls, Spanish moss, a hot glue gun, two laundry baskets, two reef forms, expanding foam, two orange battery-operated LED string lights, red and black spray paint, two large planters, and zip ties.
You'd also need a utility knife and scissors.
Start by cutting incisions to the bottom and top of each skull, and stack them onto the broomsticks.
To prevent the skulls from moving, glue some Spanish moss in between each skull.
Then cut the bottom part of the laundry basket and zip-tie it to the reef form, and cut a hole on top to insert the broomstick later. Now use the expanding foam and add a generous amount to cover the reef form and basket.
Next, wrap the LED string lights around it, add a few more skulls, and apply more foam to cover the strings of the lights.
Then spray on some red and black spray paint, and once dry, you can place them on top of the planters and insert the broomsticks, aka skull sewers.

SHUTTERSTOCK / SNEHIT PHOTO
Don't want to use real candles for Halloween but want to create the aesthetic of candlelight and dripping wax? No problem! DIYer @btypep came up with a great idea using pool noodles, as you can see here.
These fake candles can add a spooky and eerie ambiance to your Halloween decorations without the risk of real flames.
For this Halloween DIY project, you'll need pool noodles, LED tea lights (one for each candle), expanding foam spray, a hot glue gun, a black serving plate, black spray paint, scissors, a drop cloth to protect the surrounding area, painter's tape, and some cute Halloween decor, such as cobwebs and creepy critters.
Start by cutting the pool noodles into various sizes, and then assemble them by placing a rubber band around them.
Once satisfied with the look, cover the pool noodle pieces in black paint, and while that dries, mask off the flames of the LED tea lights and spray paint these black as well.
After everything is dry, glue the pool noodles into the desired position and insert the tea lights inside the opening of the pool noodles, resembling the look of candles.
Now add the expanding foam all around the pool noodles, as well as in between. This will resemble melting wax.
While the foam is still wet, add the Halloween decor, such as bones and some LED fairy lights.
After it's dry, spray paint the expanding foam black, and then add some more Halloween decor.
Now turn on the LED tea lights and enjoy your decor!
It's creepy good!
As you can see, there are many creative ways to decorate your home in a spooky fashion and get it ready in time for the Halloween season.
And the great part is that you don't have to spend a lot of money to do these DIY projects, as you can find most of the materials needed at Dollar Tree.
Follow us on Google News, subscribe to get Home & Garden news to your inbox, and share your latest project for a chance to be featured!
