The 1-Ingredient Upgrade Your Rice Krispies Treats Need, According to a Recipe Developer
Use it to give the back-of-the-box recipe a flavor boost.
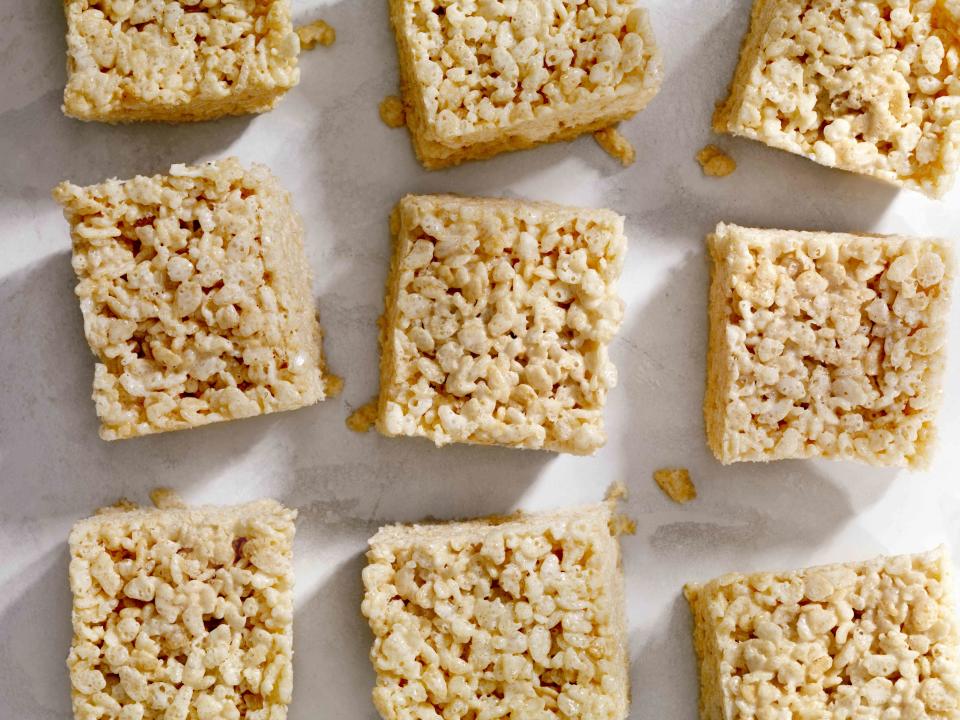
Simply Recipes / Lauri Patterson
There are many sweets I’ve outgrown over the years, but I will always have a soft spot for Rice Krispies Treats. Buttery, perfectly gooey, crunchy and so full of nostalgia, it’s hard to think of a way to improve upon this classic dessert of my youth. That was until I recently had a very big kitchen fail that led to a life-changing discovery.
During a distracted cookie-baking session a few months ago, I inadvertently scorched butter while trying to brown it. The milk solids were totally charred and I worried they were going to ruin my cookies.
As a mom of two boys, I do my best work in total chaos and realized that if I strained out the burnt bits from the butter, then added some more milk solids in the form of milk powder, I could get that nutty brown butter flavor I was going for. It worked like a charm and I didn’t have to waste a precious resource (my favorite Kerrygold butter from Costco).
There is no way I am wise enough to take credit for this technique. I read about it in a cake developed by the incredibly talented Shilpa Uskokovic. She cleverly used milk powder to enhance the flavor of a brown butter frosting, and luckily, that knowledge was swimming around in my brain when burnt-butter panic set in. It’s amazing what you can retain in a food-obsessed mind!
As a complete and utter food nerd, this newfound wisdom had me electrified. What else could I possibly improve with milk powder? It turns out, the answer is pretty much anything you are making with brown butter, but my very favorite upgrade comes in the form of pumped-up Rice Krispies Treats.
How To Upgrade Classic Rice Krispies Treats
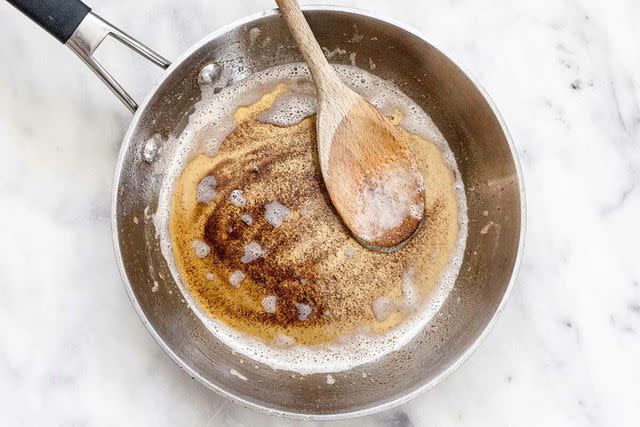
The method is simple: Double the standard amount of butter on the back of the Rice Krispies box recipe (because, duh, more butter is almost always better) and brown it first. Right when you start to see the milk solids starting to get GBD (golden brown and delicious), add 1 tablespoon of dry milk powder and stir well to combine.
Let that toast until everything is deeply golden and smells nutty, then proceed with the recipe as usual. If I’m feeling really extra (if you know me, you know this means all the time) I also add in a teaspoon of vanilla bean paste and finish the final bars with a sprinkle of flaky salt before they set up.
These are the most comforting treats of your childhood with just a hint of sophistication thanks to deeply flavored brown butter. Make these for the next PTA fundraiser and you’ll be crowned as bake sale royalty.
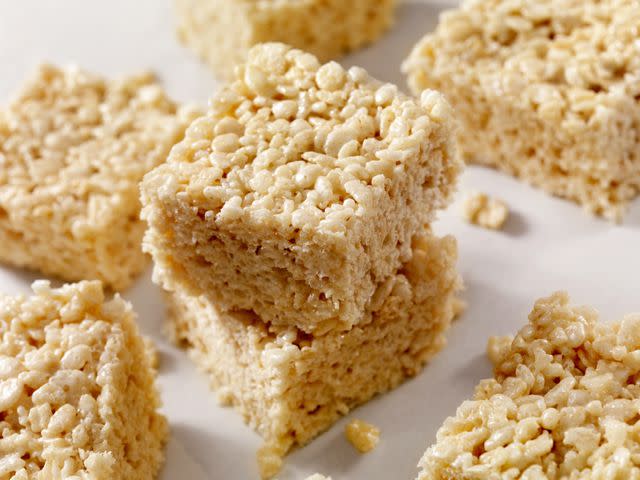
Simply Recipes / Lauri Patterson
Here’s how you make my ultimate Rice Krispies Treats, using the original recipe as the base:
6 tablespoons unsalted butter, plus more for the pan
1 tablespoon dry milk powder (I use Carnation or Bob’s Red Mill Brand)
1 teaspoon vanilla bean paste (optional)
1 (10-ounce) bag marshmallows (traditional Jet-Puffed works best)
6 cups Rice Krispies cereal
Flaky salt, as needed, for garnish (optional)
Line an 8x8-inch pan with parchment paper, leaving excess on all four sides so you can easily remove the treats from the pan. Lightly butter the parchment paper, then set aside.
Add butter to a large, light-colored saucepan and place over medium heat. Once the butter has melted, it will begin to foam. Move the pan around a bit to keep it from burning, and allow it to cook until foaming stops and brown bits form on the bottom of the pan. Add the dry milk powder and cook for 3 to 5 minutes, or until everything is nicely golden brown. Stir constantly with a heat-proof spatula to prevent burning.
Add the vanilla bean paste, if using, and marshmallows, and cook over very low heat until the marshmallows have melted, stirring constantly.
Remove the pan from the heat and fold in the cereal until evenly coated. Use a buttered spatula to gently press the mixture into the prepared pan. I like to press lightly so that the treats aren't too dense.
Sprinkle with flaky salt and let sit at room temperature for 30 minutes before slicing into squares.

