Learn How to Carve a Ham for Easter
A juicy glazed ham is often the star of Easter menus, Thanksgiving feasts and Christmas dinners—and for good reason! To start, ham is simply delicious (and makes for great ham leftovers for days after the big meal!). It’s also fairly inexpensive—ham is a much more affordable option than other popular holiday roasts if you're feeding a crowd. But best of all, making a ham requires very little hands-on time, giving you more time to spend with your guests. You don’t need to do much more than just stick the ham in the oven to warm it up for a few hours. (That’s right: Most store-bought hams are sold fully-cooked and just need to be glazed and heated!) There's only one more thing you need to do before you bring your ham to the table: You have to carve it! Luckily, it's not hard to do at all—read on to find out how to carve a ham the easy way.
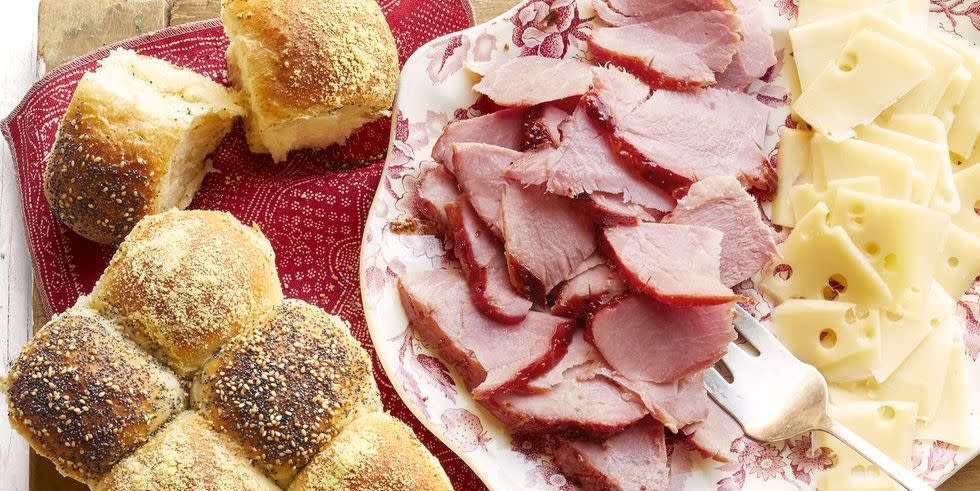
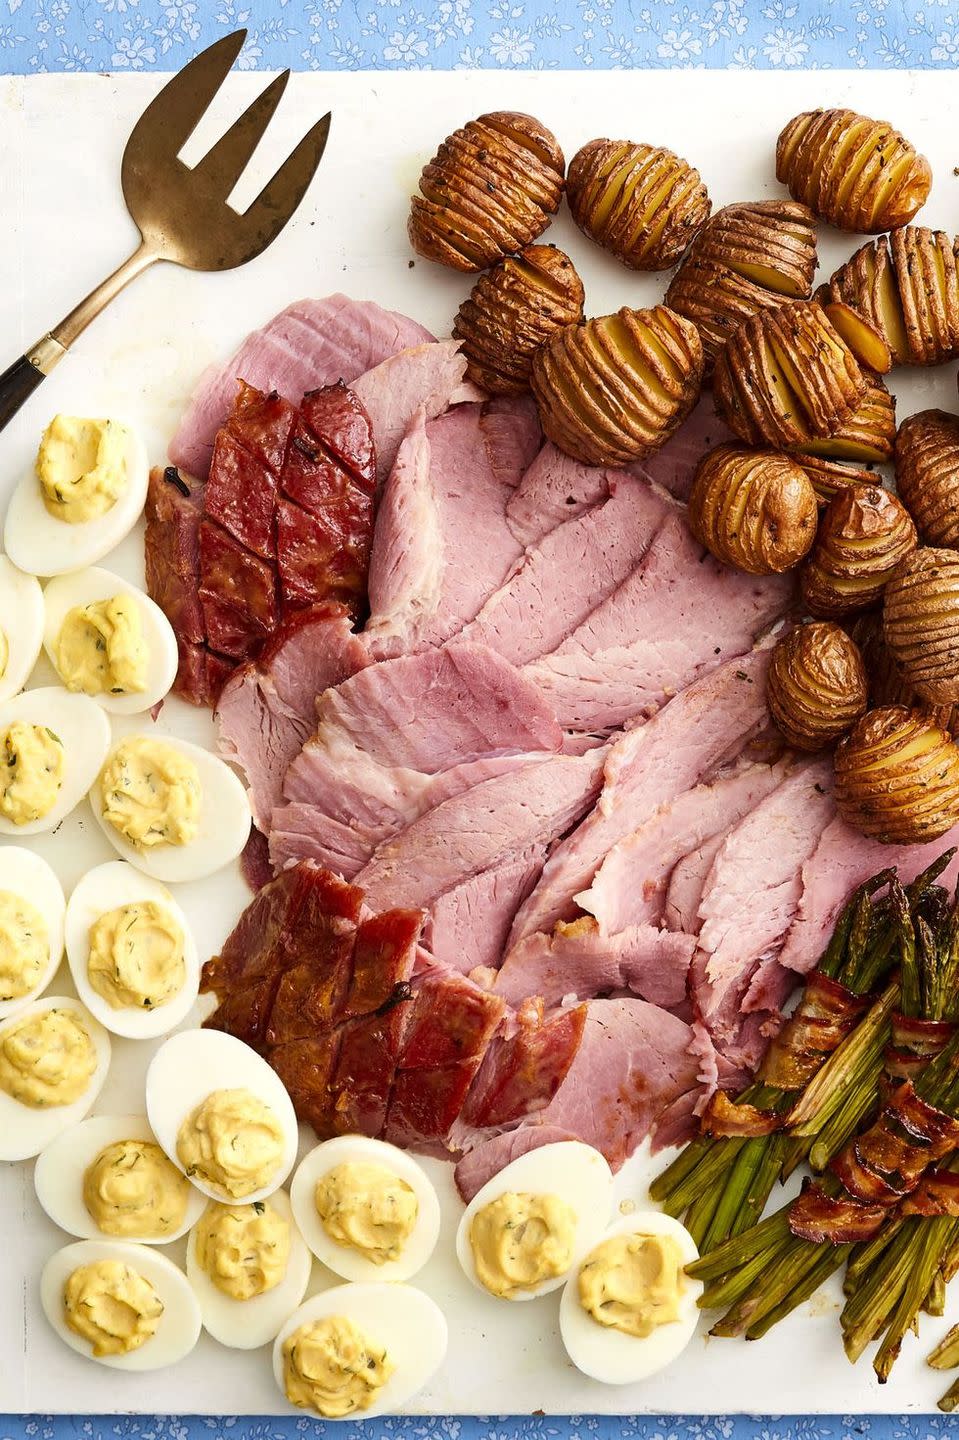
Ree Drummond is a big fan of ham at the holidays: "In Oklahoma, ham is everything on Easter," she says. She even created a holiday ham board, with carved meat and all the fixings on one big wooden cutting board! The nice thing about this idea is that you can carve the meat in the kitchen—not at the table in front of your guests. To get the look, you just need to know how to carve a ham. So what’s the right way to do it? What kind of knife is best? And what if the ham has a bone?! Follow this easy step-by-step guide and you’ll be ready to present the centerpiece of your meal at your next big dinner. (And don't forget the sides! Here are some of Ree’s favorite Easter side dishes that go great with ham.)
What kind of ham should you buy?
The majority of hams sold in grocery stores are cured, often smoked, and usually fully-cooked (check the label to be sure). You can find them with or without a bone and some are even spiral-cut for even easier slicing. If you purchase a butt-end ham, which is usually larger, you’ll be able to carve thick slices, but you’ll have to work around multiple bones. Shank-end hams are smaller—you won’t get slices that are as meaty as the butt-end ham, but there’s only one bone down the center to worry about. No matter which ham you choose, the carving technique is pretty easy once you know what you’re doing. Hams are more flavorful with a bone, but they do require more carving skill—keep reading to find out how to tackle them.
Do you need special equipment to carve ham?
You don’t need any fancy tools to carve a ham, but before the roast is about to come out of the oven, it’s a good idea to get your gear in order so that you’re not scrambling around the kitchen at the last minute and allowing your ham to get cold (that’s a major ham no-no!).
Here’s what you’ll need:
•A cutting board large enough to fit your ham with room to maneuver (bonus if it has a rim to catch any juices—you’ll want to capture those to pour over your ham later).
•A carving set (or knife and a fork)—you can use an electric carving knife if you’re feeling fancy, but all you need is a carving set with a long, thin knife and fork (many don’t run more than $30). Don’t have one? Use a long, thin knife (make sure it’s sharp) and a regular fork in place of the pronged carving fork—you just want to stabilize the ham as you carve.
•A platter or board to put your sliced ham on when you’re done carving.
•A container for leftovers (don’t forget to save the bone to make pea soup!).
•Your cooked ham (obviously!)—let it rest 15 to 20 minutes out of the oven so that those juices can redistribute.
How do you carve ham?
Set up your work space before you carve a ham: Make sure you have your tools assembled and that you have enough room around your cutting board to really dig into your ham. Once your ham has rested, transfer it to the cutting board, cut-side down, so that it lays flat and will be stable as you start slicing.
Here’s how to carve a ham:
For a bone-in ham:
Insert your fork into the center of the ham and slice off the largest chunk you can, cutting as close to the bone as possible; slice that piece vertically into thinner pieces.
Next, carve the remaining ham (the part with the bone), slicing horizontally into the bone, then vertically along the side of the bone to remove as much meat as possible—this will cut off the horizontal slices that you just cut so that the meat falls off in pieces.
For a spiral-cut ham:
If your ham comes pre-sliced, just cut the thin slices away from the bone in a downward motion. They’ll fall off as you work your way around and are ready to serve. The machine that cuts spirals into ham was a game-changer when it was invented in the 1950s!
For a boneless ham:
These hams are usually pressed in a mold, so they don’t contain a bone. Simply slice the ham like a loaf of bread—if the piece is too large for you to stabilize, cut it in half first, then slice.

