3 Easy Styles For Long-Haired Ladies
ALL PHOTOS BY BRIANNE WILLIS.
Close your eyes and take a deep breath. Now, picture your perfect hair day: We think it’s safe to wager that most of you are envisioning the way you look after walking out of the salon with a mood-enhancing blowout. And whether your preferred style is stick-straight or smooth waves, it’s amazing how eliminating frizz and tweaking your texture can transform your look.
“It is not always about reinventing the wheel, but mastering a texture change,” says Harry Josh, John Frieda International creative consultant. “It can make your hair look completely fresh and completely different and reinvented every day.” Trust us, Josh knows his stuff — he’s the man behind Gisele’s signature waves (more on that to come) and our most recent tutorials for curls and undercuts.
Related: 30 Photos Of Unretouched Butts, In Case You Forgot What They Really Look Like
So instead of showing you the new haircut you need to get or the artsy braid you’ll try only once, we had Josh teach us how you can easily style three looks that are likely on your mental mood board — with the help of a few basic tools you probably already own. Ahead, how to master a blowdryer, a curling iron, and a flat iron to create hair-down looks you’ll actually rock on the regular, plus styling tips you’ll use for years to come.
Au Naturel
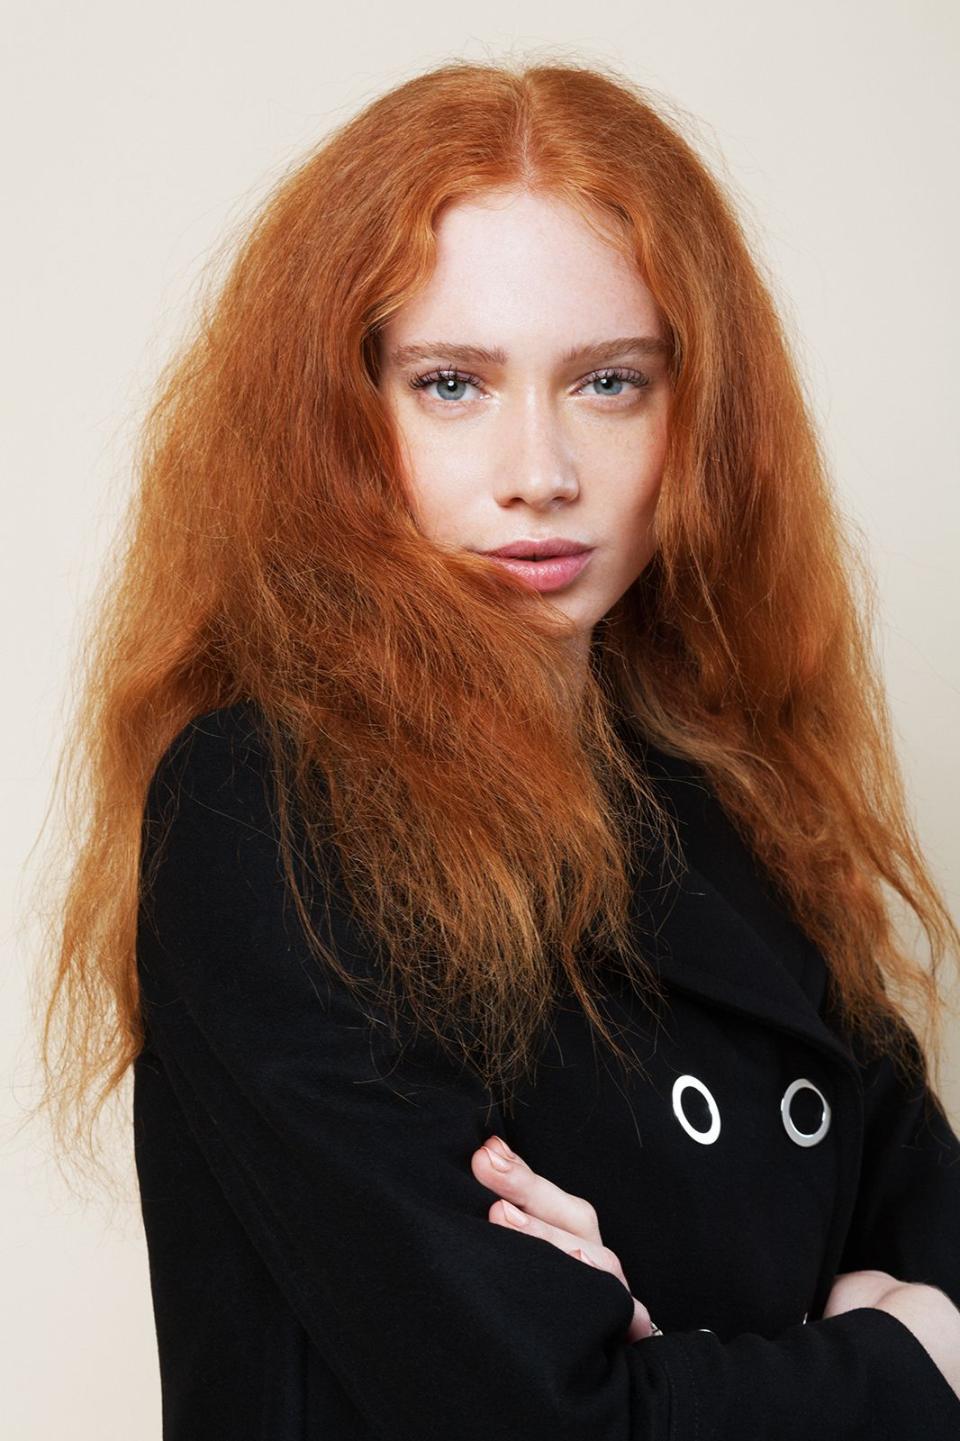
You’ve got a standard long-haired cut — it doesn’t require much more than a trim to keep things healthy, add some texture, and thin out the ends. The great thing about this style is that switching up your look doesn’t have to be about taking off any length. You can rock your Grace Coddington texture (as you should, with aplomb), but if the mood strikes, you can also use tools to transform it into glossy Kate Middleton waves, beachy stands à la Gisele Bündchen, or a glossy, straight style like Gwyneth Paltrow.
Related: 25 Real Photos Of Women’s Breasts (NSFW)
“The tools are what the experts have at the salon, the tools are what transform these models and celebrities that I work on everyday,” says Josh. “It’s not necessarily about new haircuts and new styles.”
Sonia by Sonia Rykiel Jacket; Rosetta Getty Jeans.
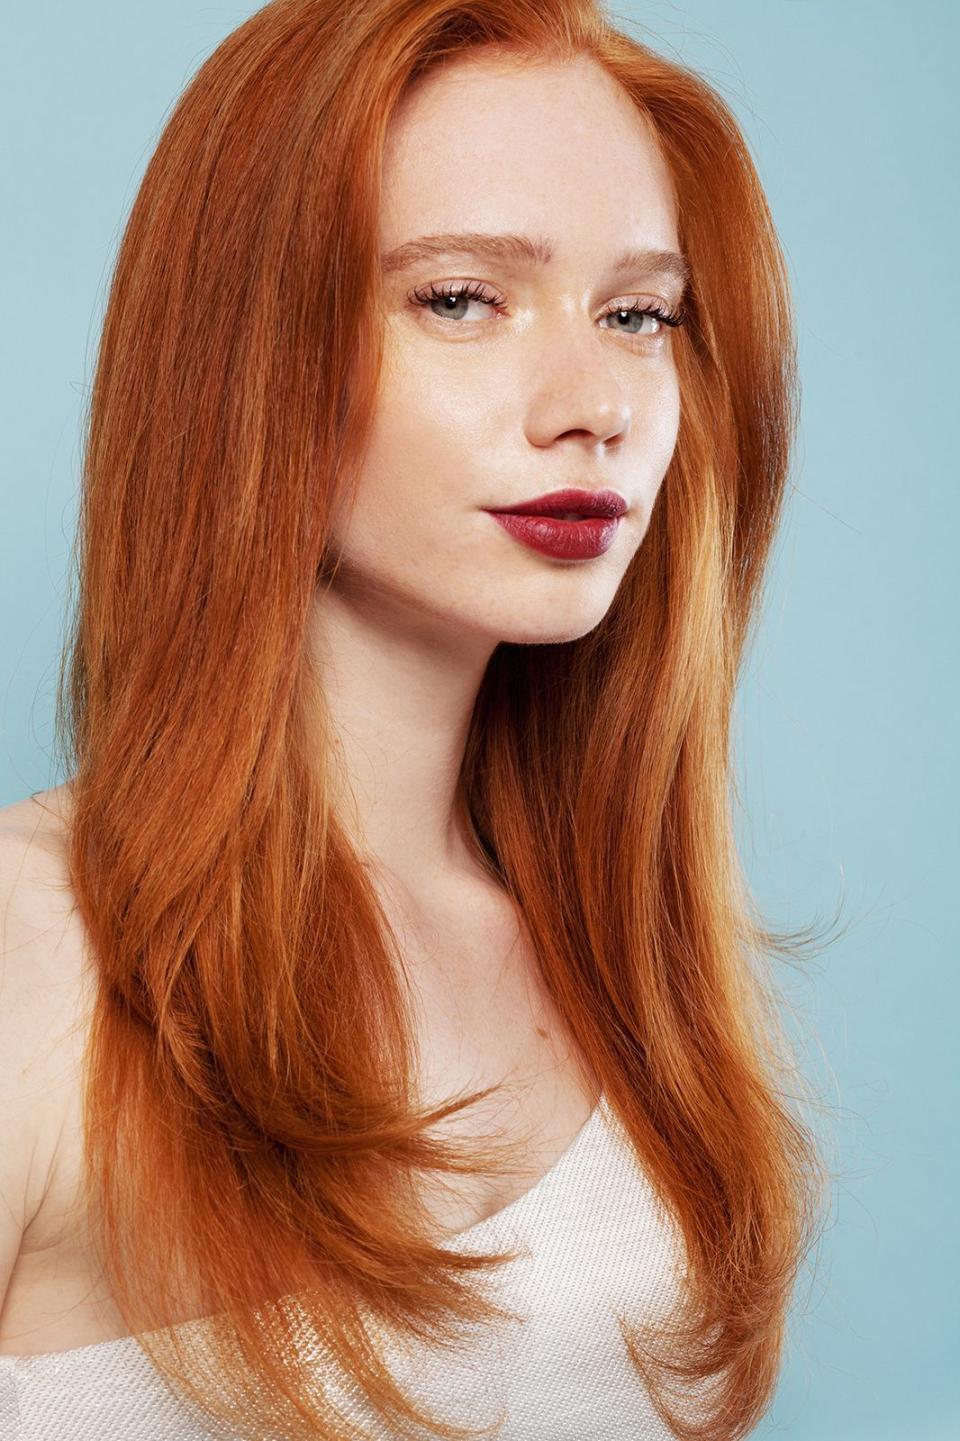
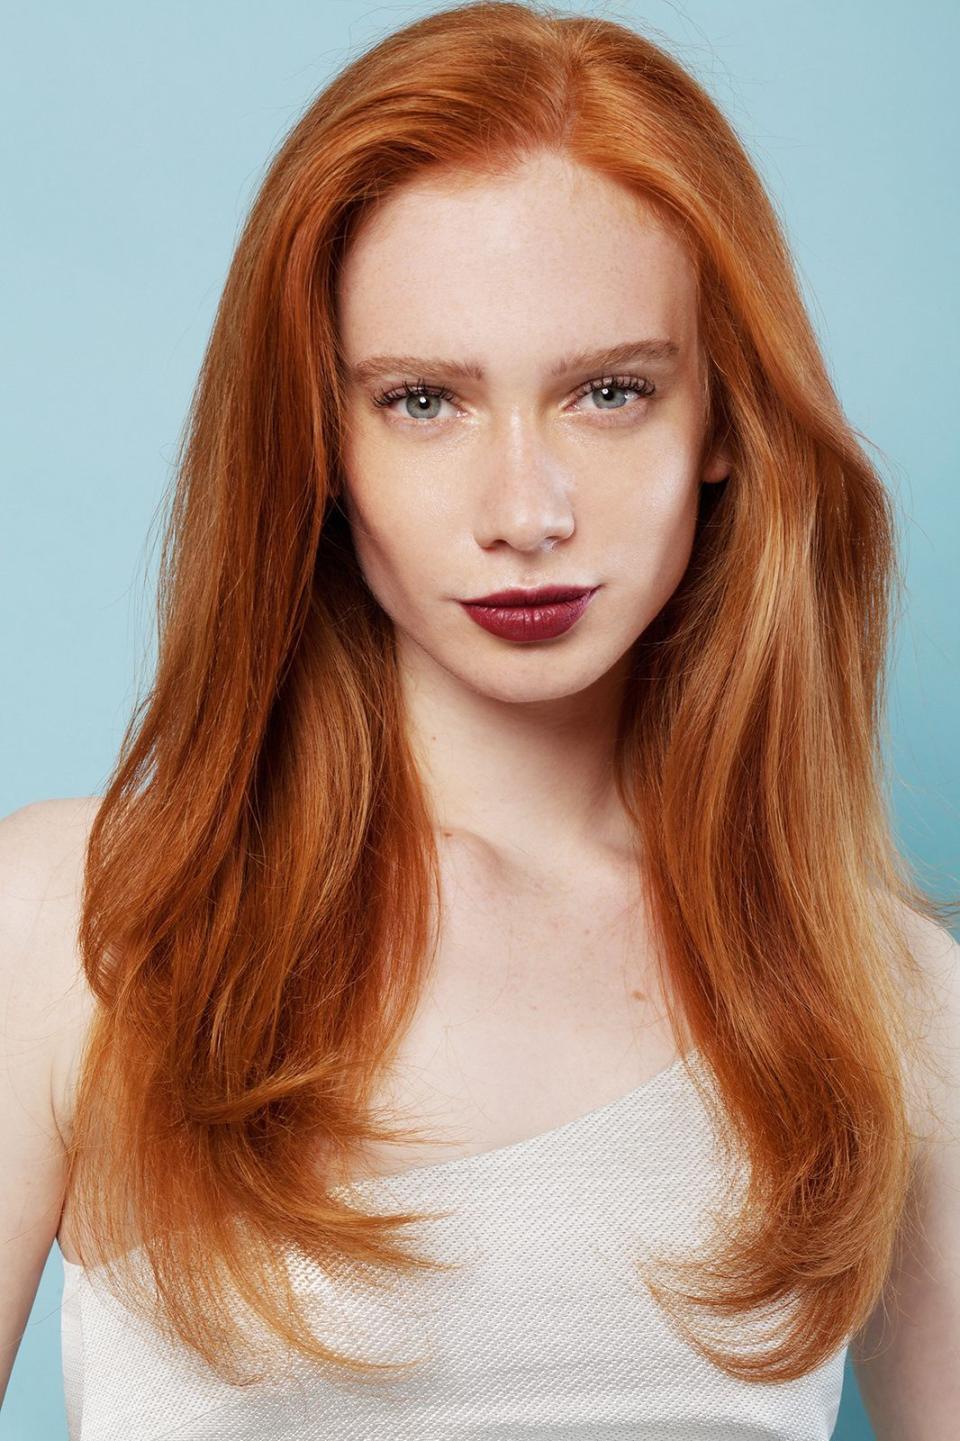
Look 1: The Basic Blowout
No matter what tribe you subscribe to, sometimes you just want to have long, perfect (princess-y) hair, no? This is the look you most often get at your local blowdry bar. But why is this simple style so damn hard to recreate at home? Josh says it might be because of where you’re beginning your blowdry.
“Start with the back, because it’s the hardest,” he suggests. “You’re going to put more effort in the front, so you’re never going to do a good job in the back if you leave that for the end. You’ll just be like, ‘This looks fine.’” Good point, Josh.
Step 1: Though you may be inclined to towel dry your hair after washing it, you actually want to start with it sopping wet. Simply rub a quarter size amount of serum through your hair and you’re ready to begin.
Step 2: Divide your hair into four sections, parting down the middle from the center of your nose back, then from ear to ear. Hold in place with clips.
Step 3: Remember to start in the back and take one section down, divide in half or thirds if you have thick hair, and leave the bottom section out. Clip the rest back up.
Related: What Losing 110 Pounds REALLY Looks Like
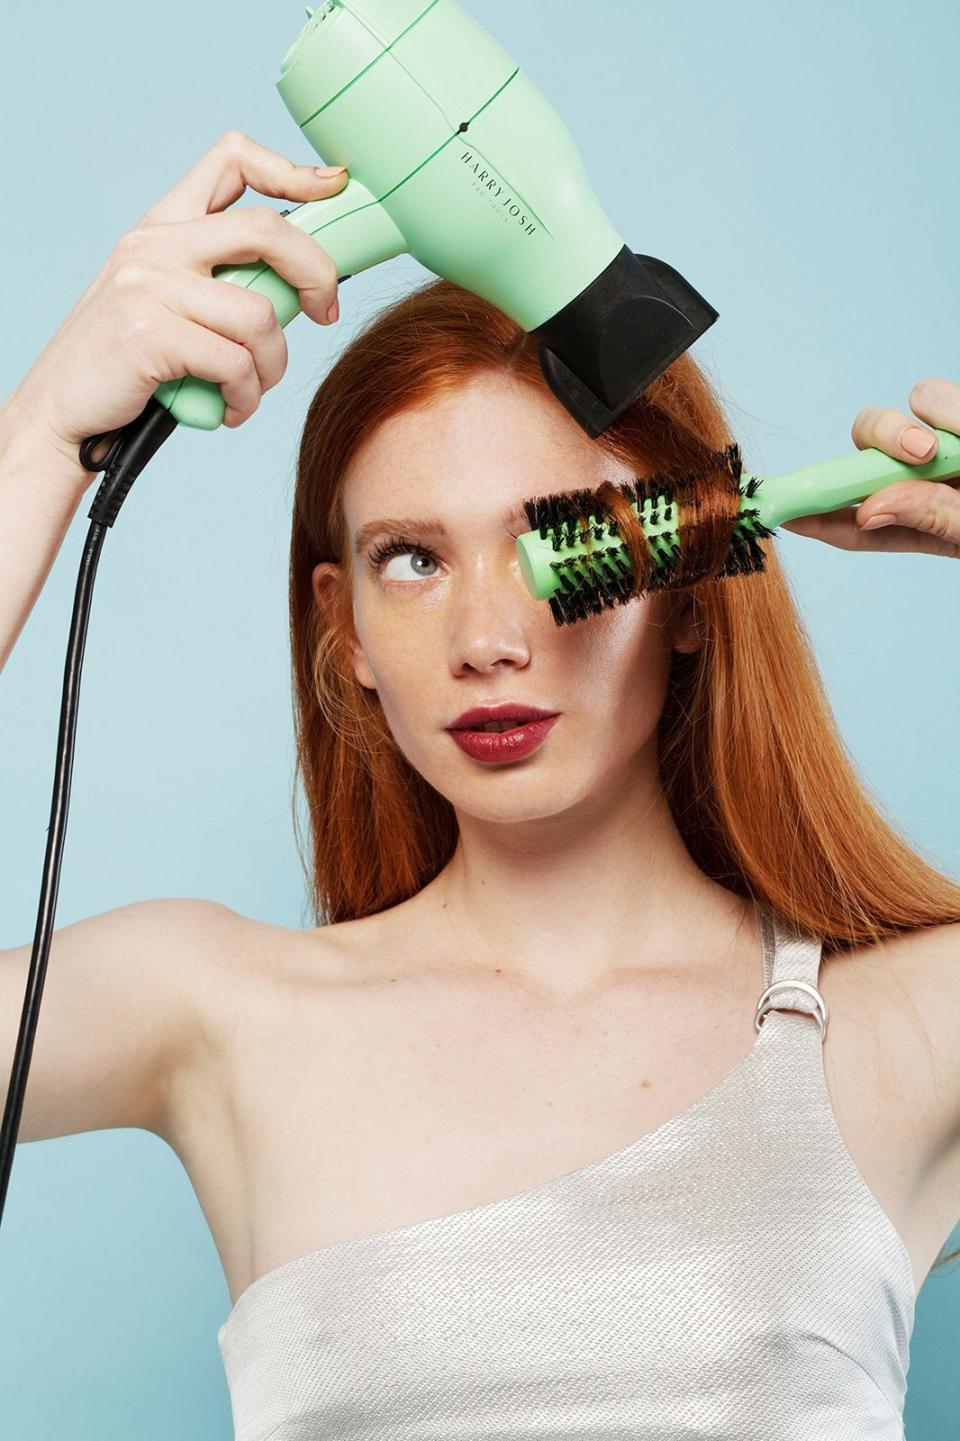
Step 4: Use a blowdryer with a nozzle (“Without a nozzle, you’re never going to get it smooth,” advises Josh). Take your first wet section and place the round brush at the base of the nape of your neck, then aim the dryer down and hover the nozzle over the brush as you slowly pull it straight.
Step 5: When you get to the end, turn the brush under and hold for a second; press the cold shot button on your hairdryer to lock in the bend at the bottom; then pull the brush out. Finish one-quarter of the head, go to the other side, and repeat.
Step 6: Follow the same technique with the two front sections, starting at the ears and working your way up. But when you get to the section closest to the forehead, pull the hair forward with the brush and roll it back as you blowdry.
This last step will allow you to have a neutral style that you can part wherever you please and switch it up from middle to side without effecting your gorgeous blown-out lewk.
Finish it off (once your hair is completely dry) by running a little more serum through it for some extra high-impact shine, as well as a few spritzes of brushable hairspray.
Kalmanivich Top; Tome Skirt.
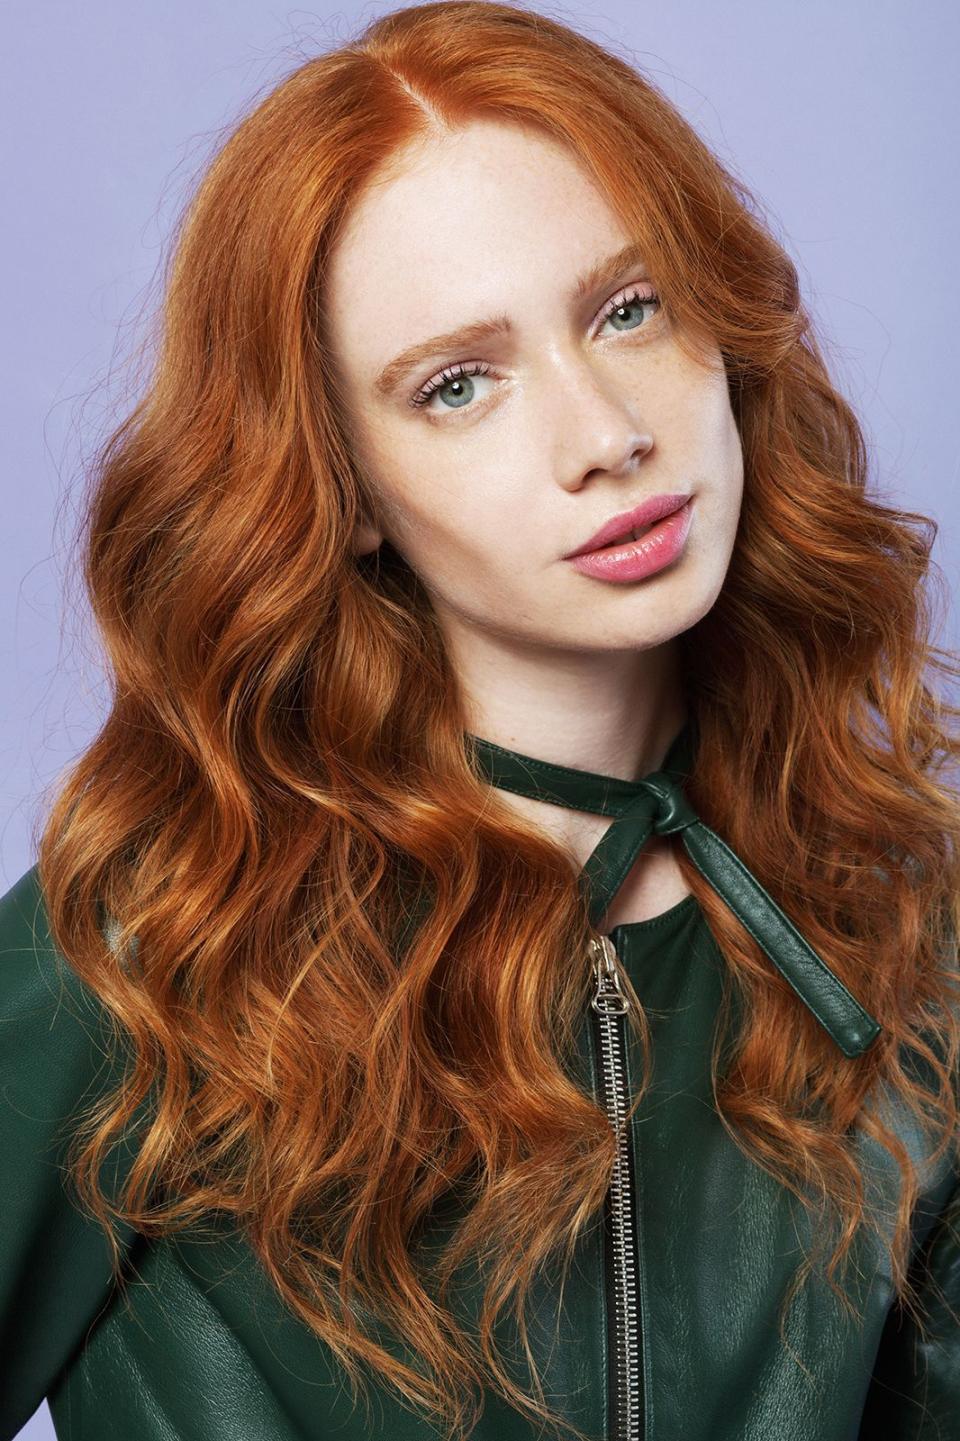
Look 1: Gisele Waves
So yes, Josh is the man behind those Brazilian bombshell waves — a look that never seems to waver in popularity, no matter how many styles filter through the trend cycle. And you don’t have to step onto the catwalk, or even into a salon, to get the look. The trick is in the iron — you might think you need a big wand to get those fat waves, but, in fact, you should use a small, one-inch iron.
Related: The True Story Of Eyebrow Transplants
“Use an inch iron for the elasticity,” says Josh. “It’s not giving you a tight wave pattern, but it’s giving you curl memory.” Meaning: your curls will stay put.
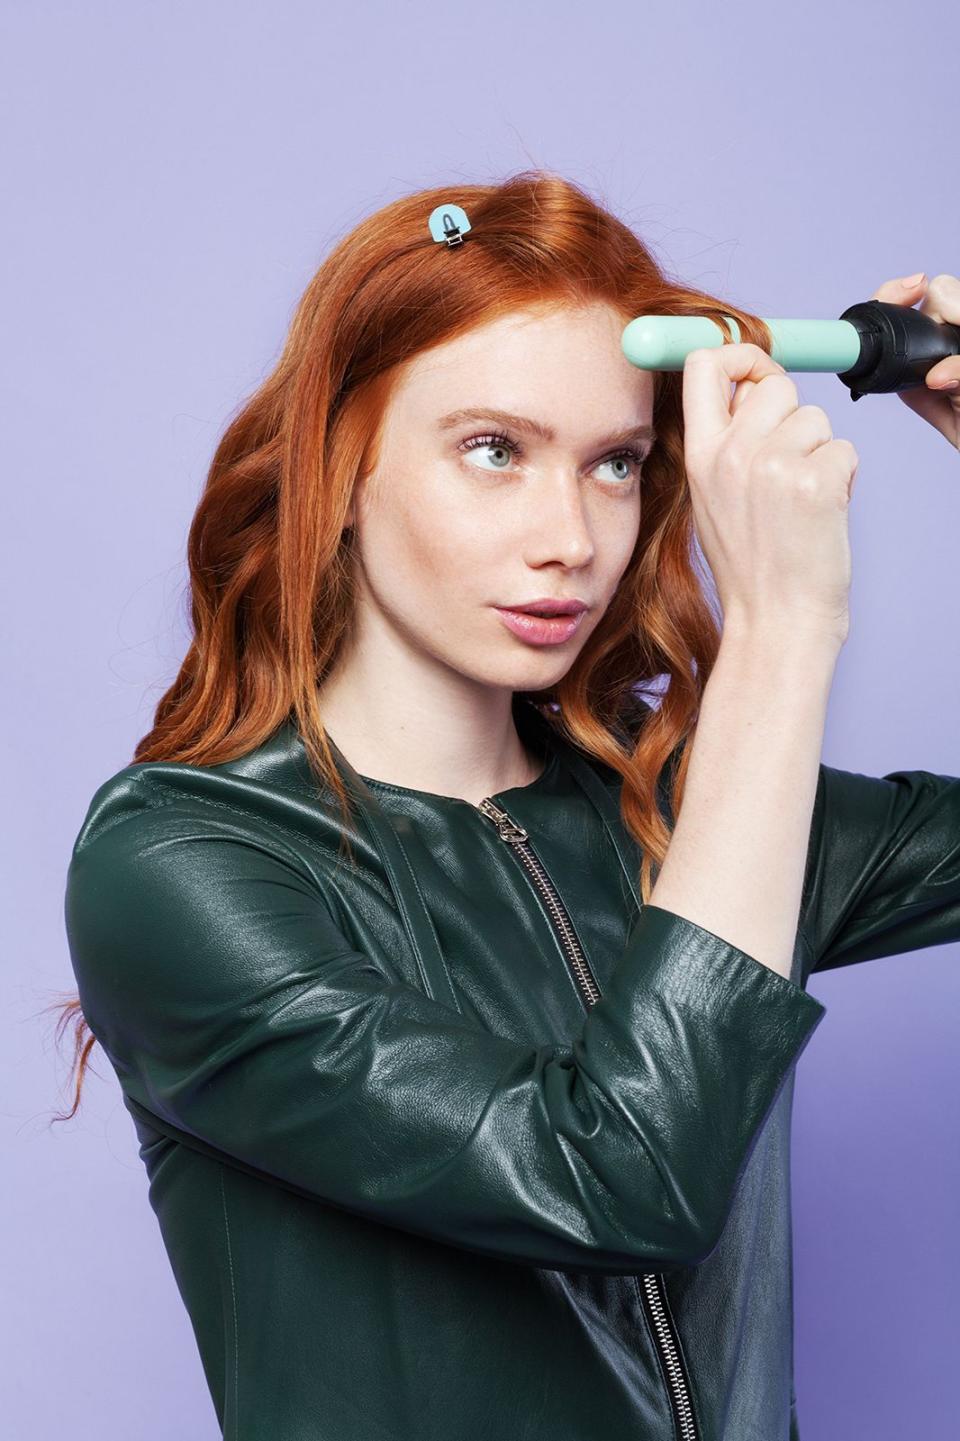
Step 1: For this look, it doesn’t matter so much where you begin, but it’s easiest to start on one side of the forehead and work your way around. Take one-inch square sections and wrap the hair starting close to the root, but away from the face, around the iron; keep about an inch of the tip out; hold for two full seconds and let go.
Step 2: When you release the curl and it is still coiled and hot, pull down on the tip. It will loosen the small curl into a big wave.
This is where the small iron comes into play: If you used a big iron, the curls would drop in about an hour, but this small iron/tug-on-the-end technique will ensure that your curls last all day.
Step 3: Make sure every curl is symmetrical in size, mirroring the last. Timing is the key. Continue around the head, curling in the same direction and holding for two seconds each time. Once you reach the other side, the curls will now be going in the direction of the face.
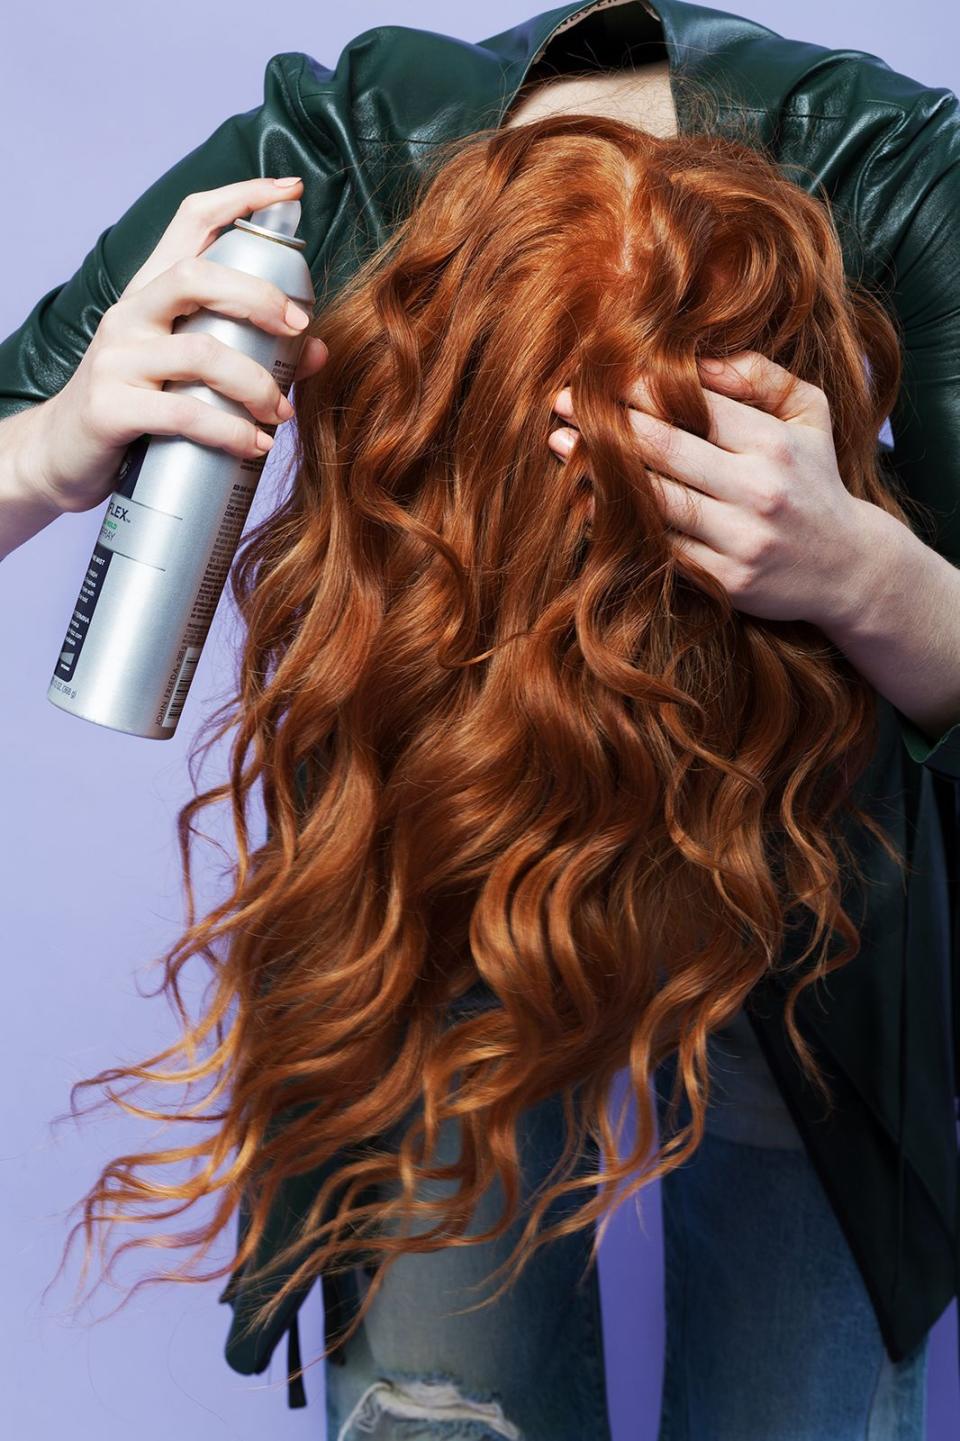
Step 4: Once your head is completely curled, it’s time to shake things up so everything doesn’t look so pageant-y. Flip your hair upside down and spray it with a brushable hairspray — you don’t want to use anything that will make the hair too hard. Finish by running your fingers through it and tousling the curls.
Related: This 30-Day Upper-Body Challenge Will Transform Your Arms & Shoulders

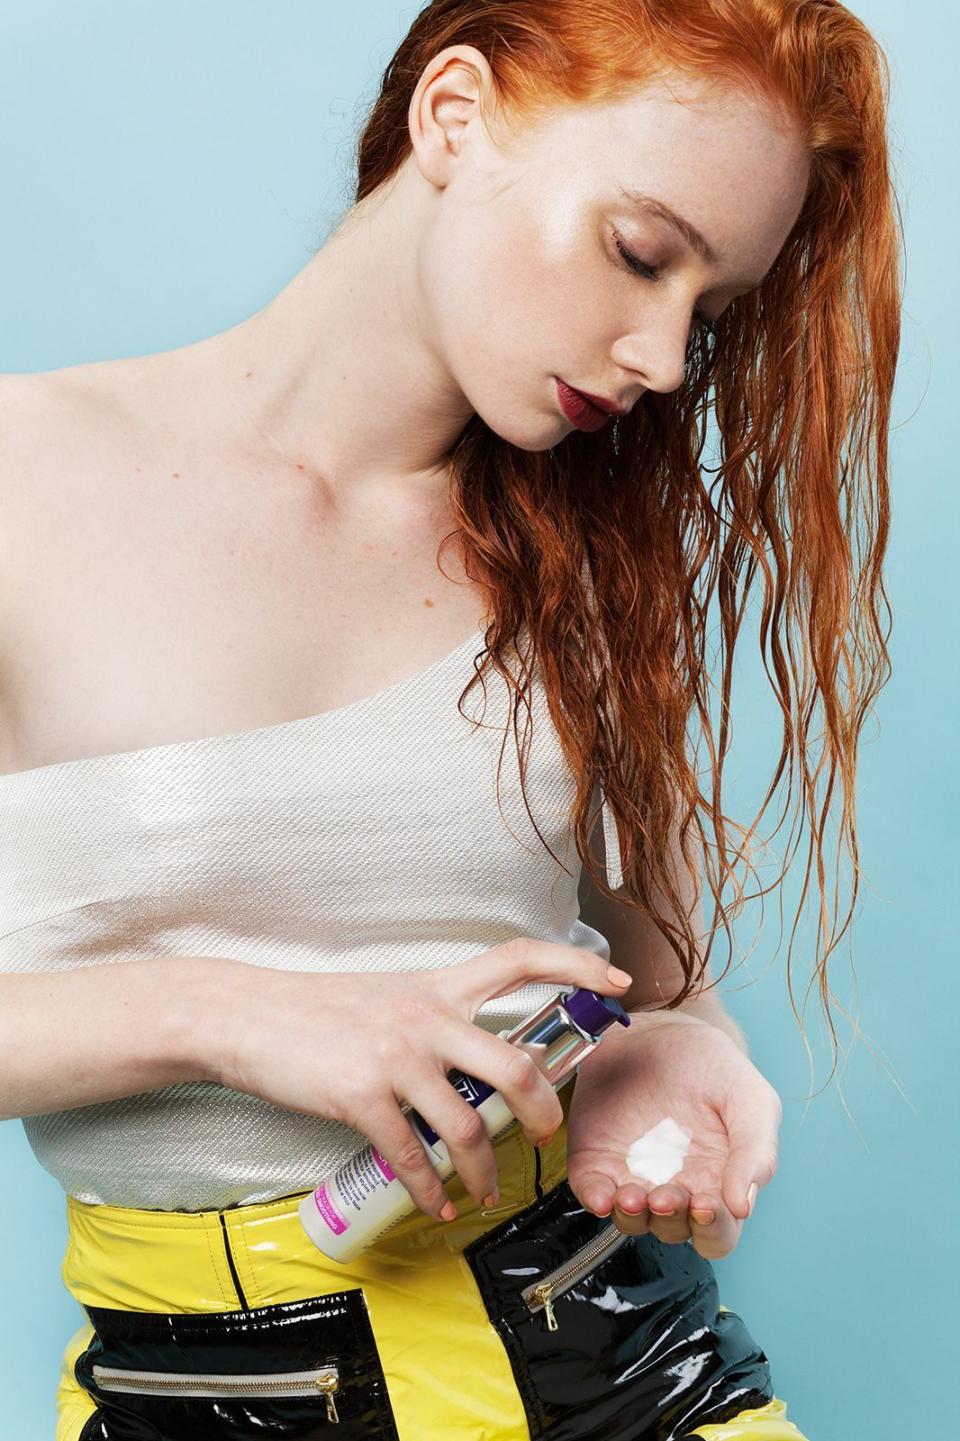
If you want even more voluminous VS Angel-like waves, Josh knows the perfect product: After the hairspray, it’s time for a little Serge Normant Meta Revive Dry Shampoo. Don’t be confused by the name, Josh considers this product more of a texturizer than a dry shampoo.
“It not an oil sucker at all,” says Josh. “It builds thickness and texture into the hair, so you can mold it and it just stays. It gives the hair a matte finish, and allows it to stack on top of each of each other and build. If you want dramatic volume, spray this through the mid-shaft and the ends of the hair.”
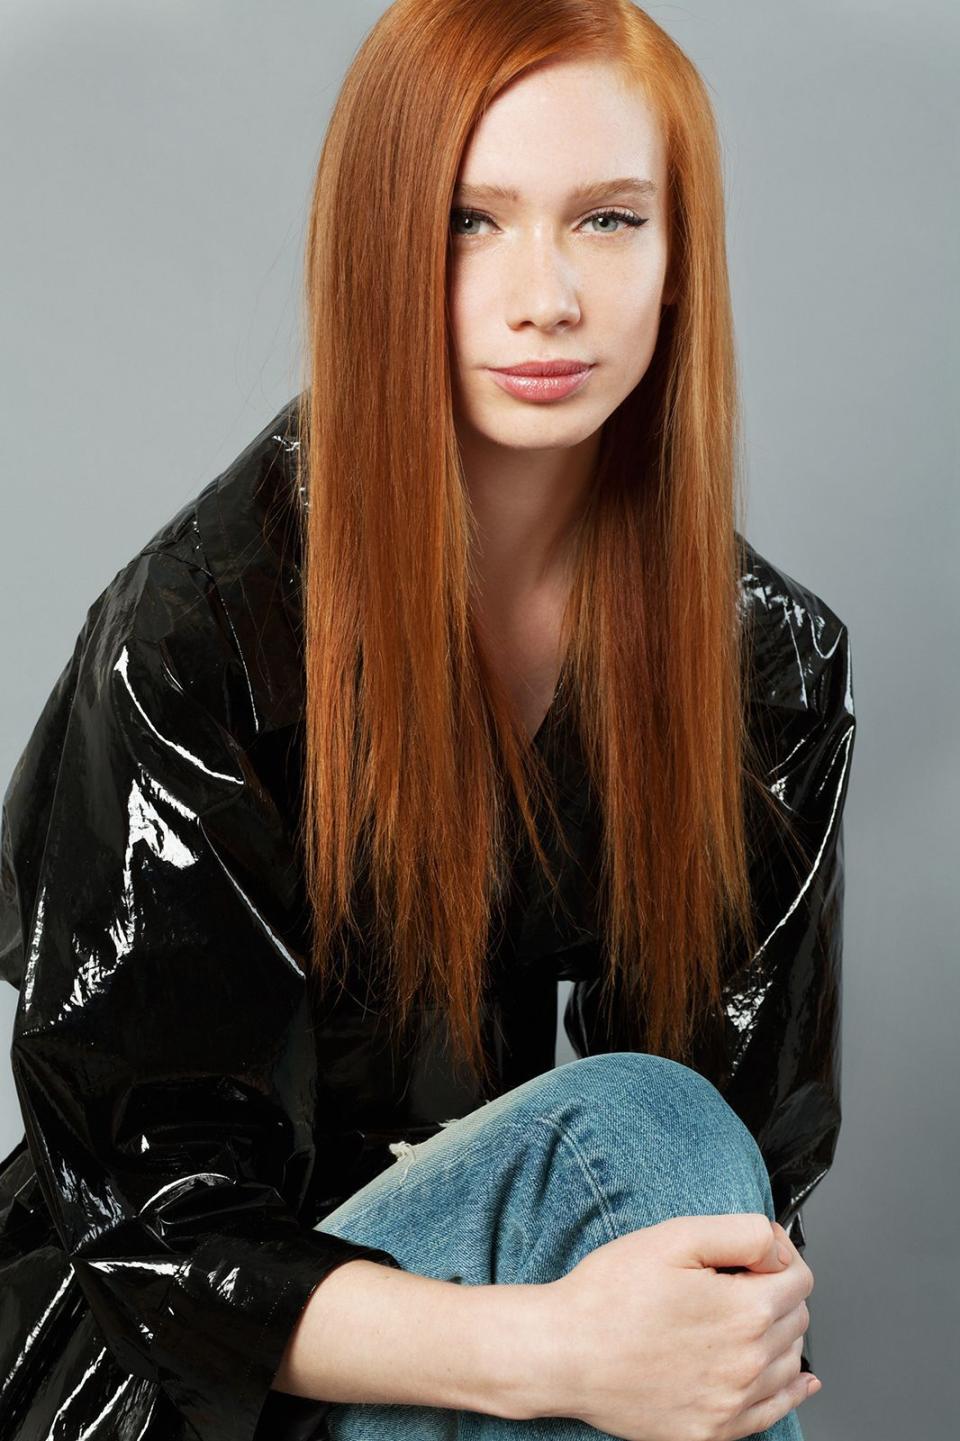
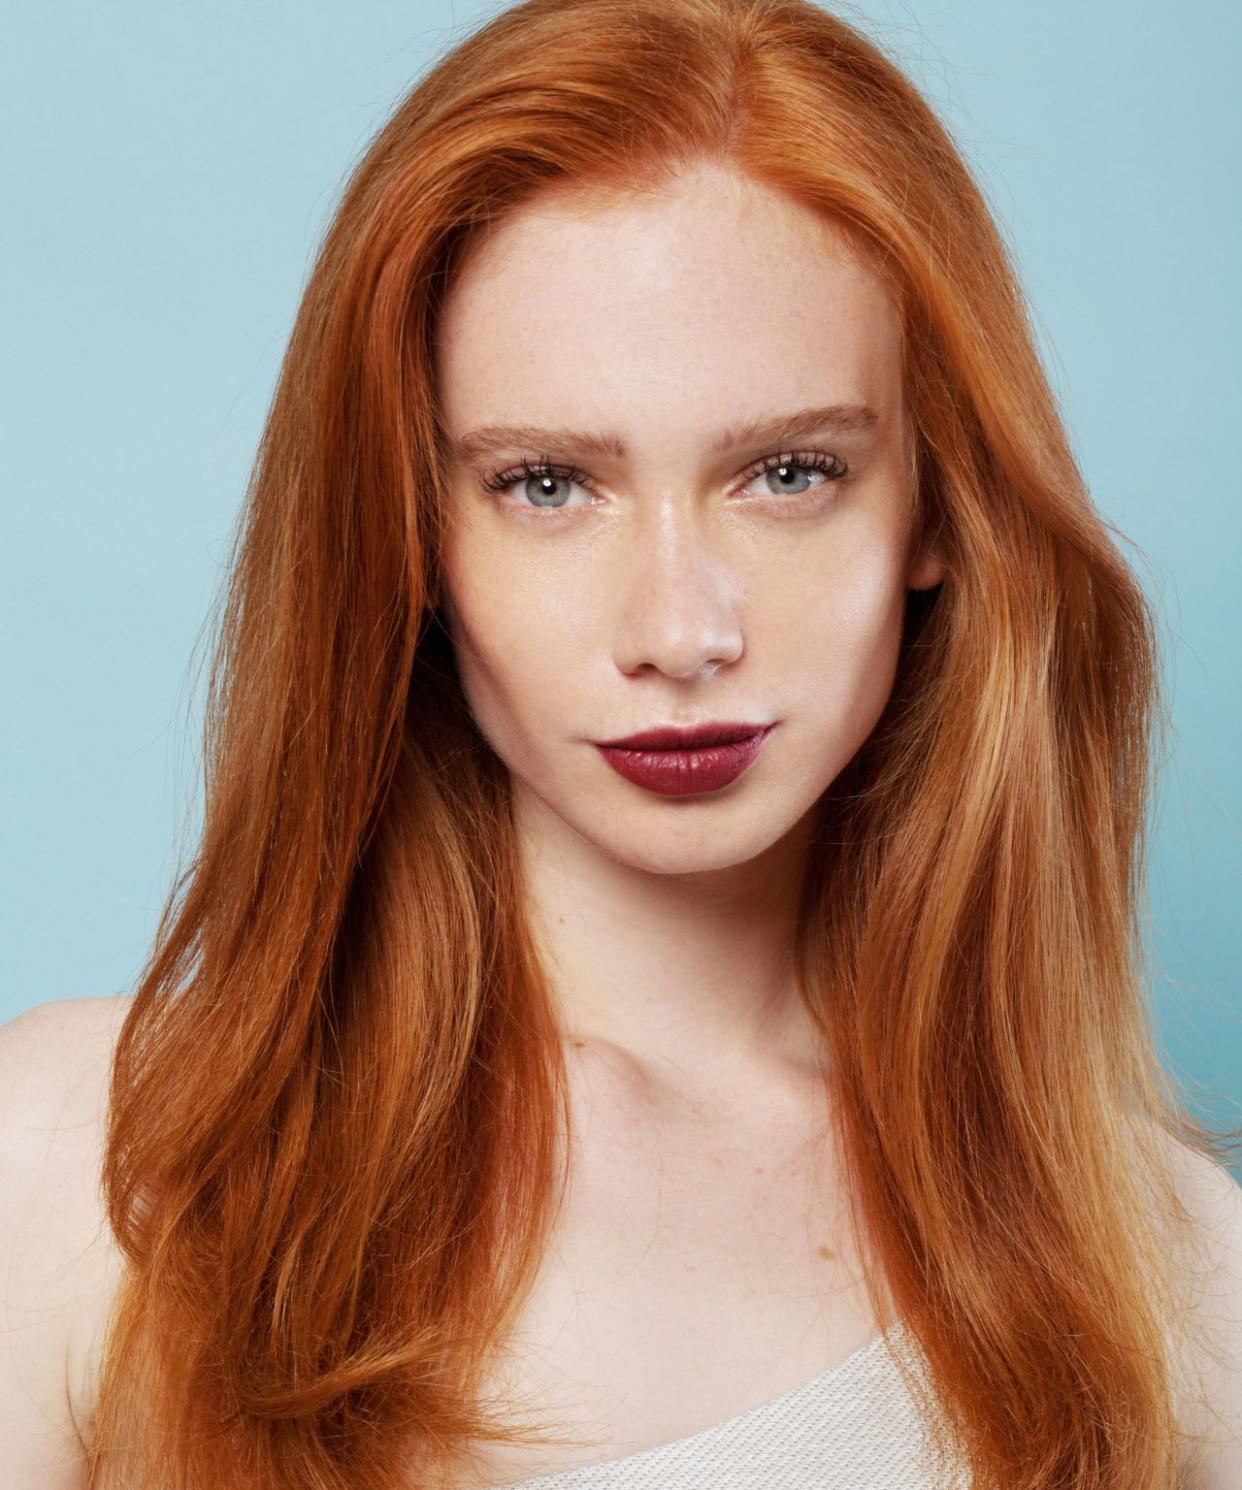
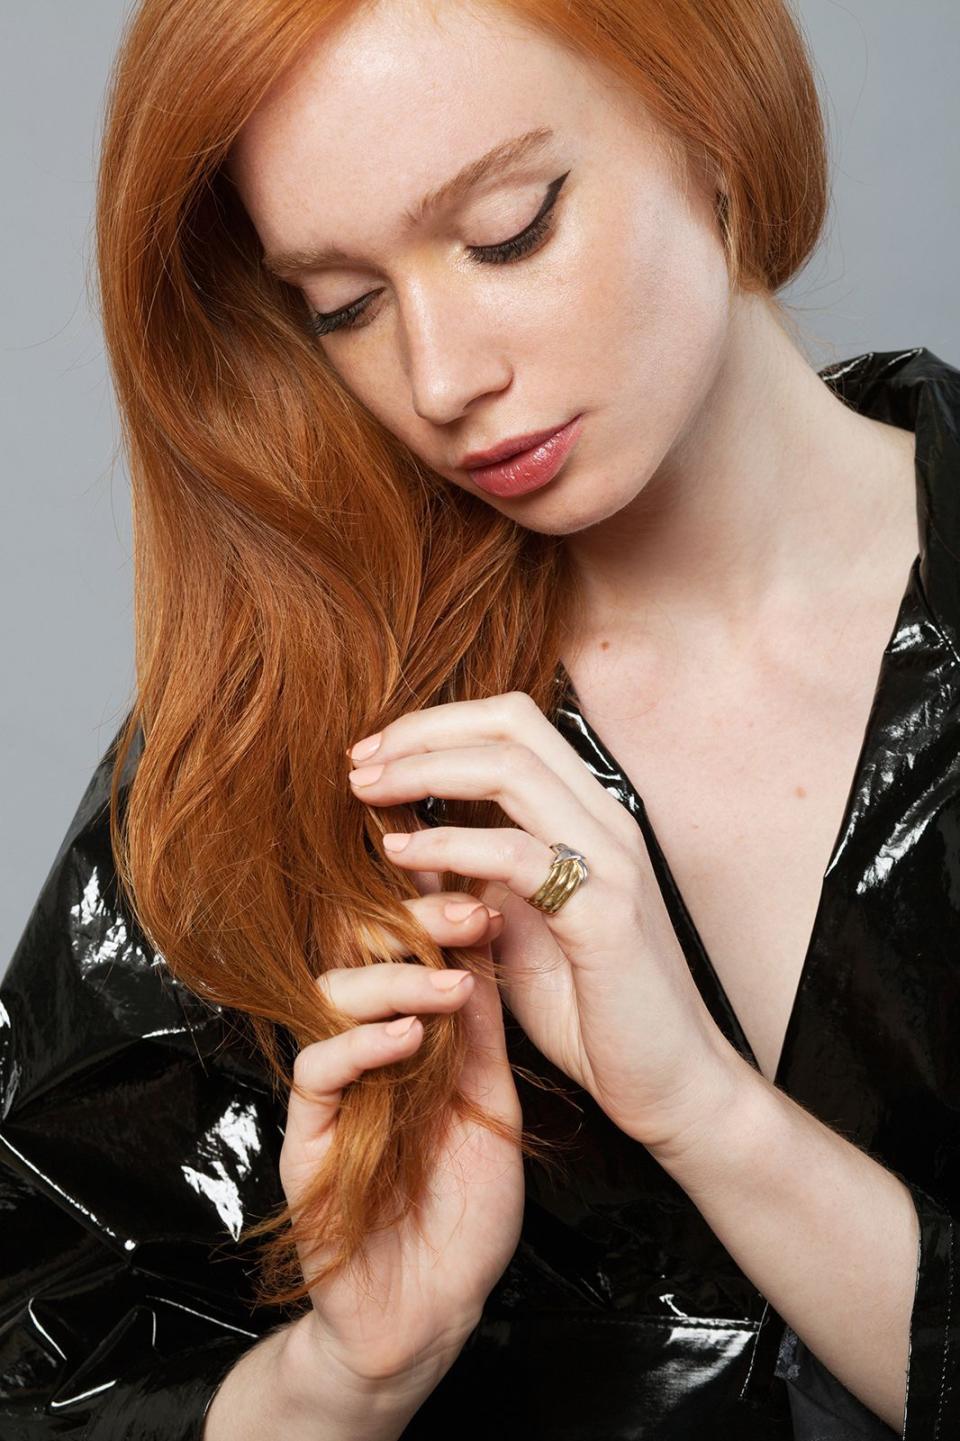
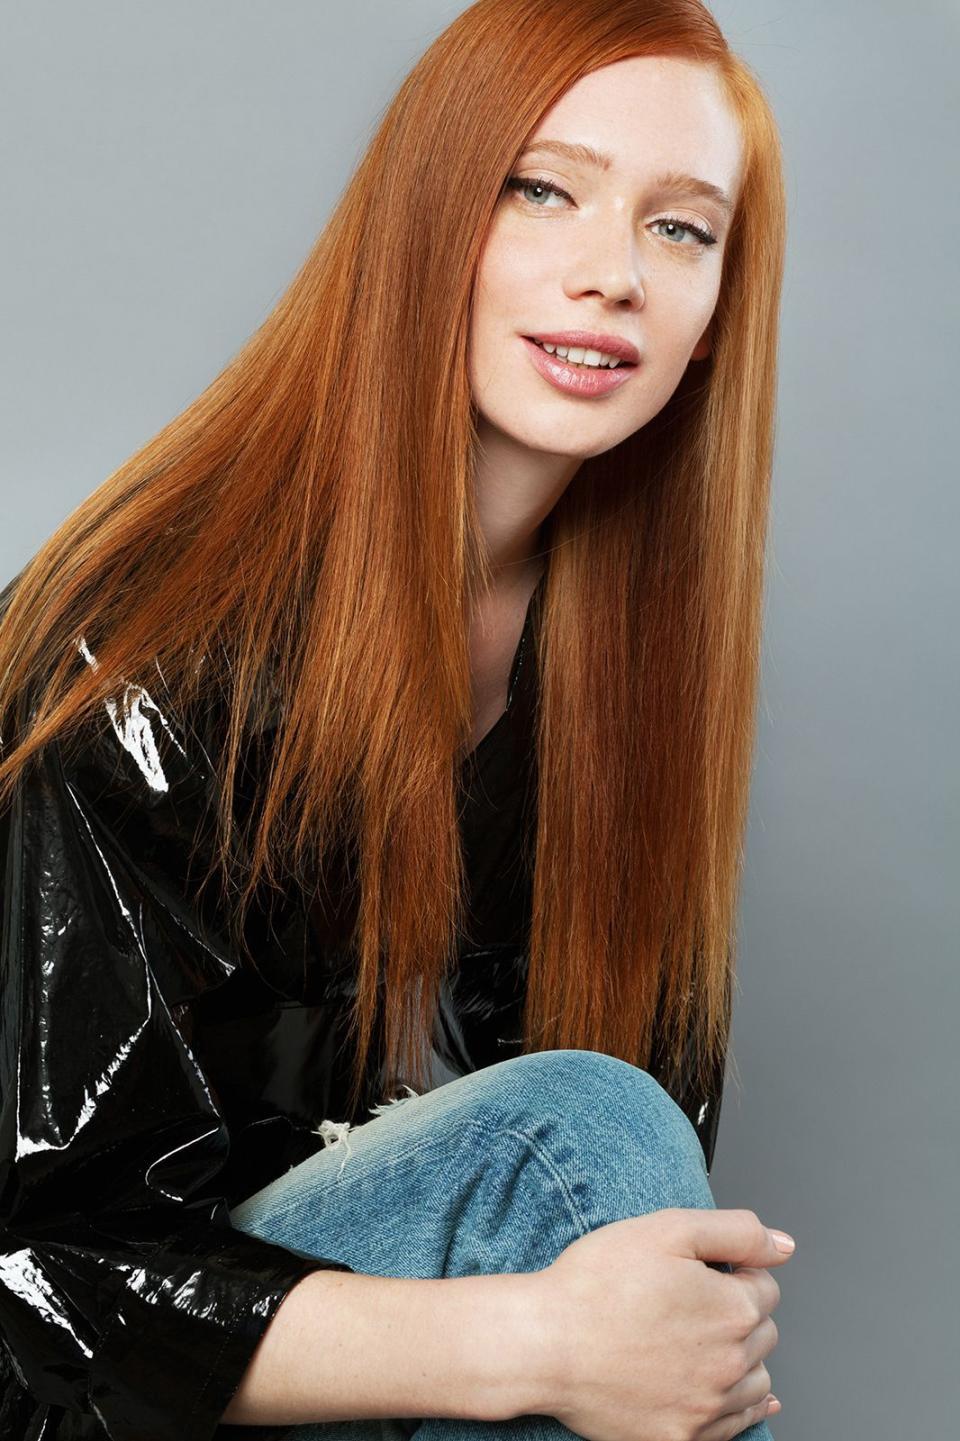
Look 3: High-Gloss Straight
For those with curls or major frizz, having a super-straight style that actually lasts usually involves some sort of keratin treatment. But if you don’t want to deal with the chemicals or fork over major cash, the right flat-ironing technique will ensure you start and end the night with sleek strands and high-watt glossiness.
Related: The Secret To The Perfect Plank
Tome Jacket; Tome Belt; Vintage From Reminiscence Ring.
Step 1: Add serum to dry hair, concentrating more on the mid-shafts and ends. This will add major shine, but so will the actual act of straightening your hair with a flat iron. “The flat iron is really doing the shining,“ says Josh. "It can create a lot of shine where there usually isn’t.”
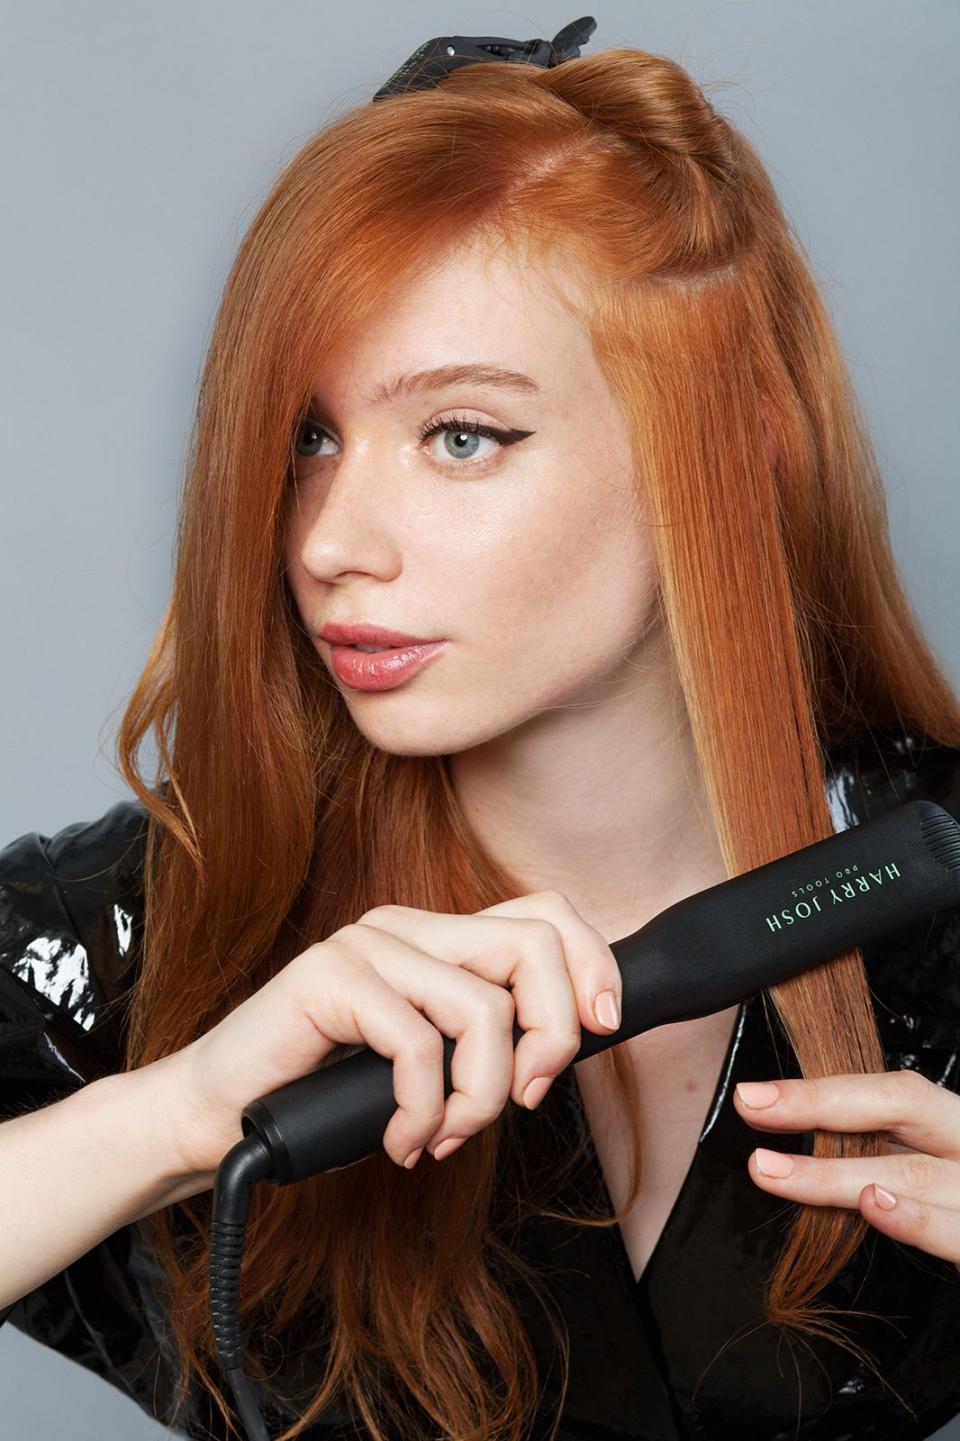
Step 2: Like with the curling iron, you should straighten square-inch sections one at a time around the head. Though using a flat iron seems pretty straightforward, there are a few tricks to getting it as sleek as possible and making sure it lasts. First, pull the hair straight out from the head and don’t ever change the tension of the hair as you flatten. Put the flat iron on the highest setting and glide across the hair as quickly as possible. “If it is left on for too long, it will often leave marks,” says Josh, who prides his iron on only needing one pass per section.
Related: 4 Crazy Makeup Hacks You Need To Learn Now
Tip: It is helpful to use a comb or a boar-bristle brush in conjunction with the iron to guide it and detangle instead of just using your hand. “This will make sure the tangles are coming out while you flat-iron,” says Josh.

Step 3: When you’re straightening the front sections, you want to dip your head down and flat iron the hair forward. This will make it easy to sweep the roots over the forehead into your side part.
Step 4: When you are done straightening, use a comb to create a deep side part.
Finish off the look with more serum for high-watt, beautiful shine!
By Megan Cahn; Hair by Hairy Josh; Styled by Anna Santangelo; Makeup by Allie Smith at Sarah Laird; Nails by Sakamoto at Kate Ryan Inc.; Modeled by Anne Lise/One.

