I’ve been animating on Procreate Dreams for three weeks - here are my 5 top tips
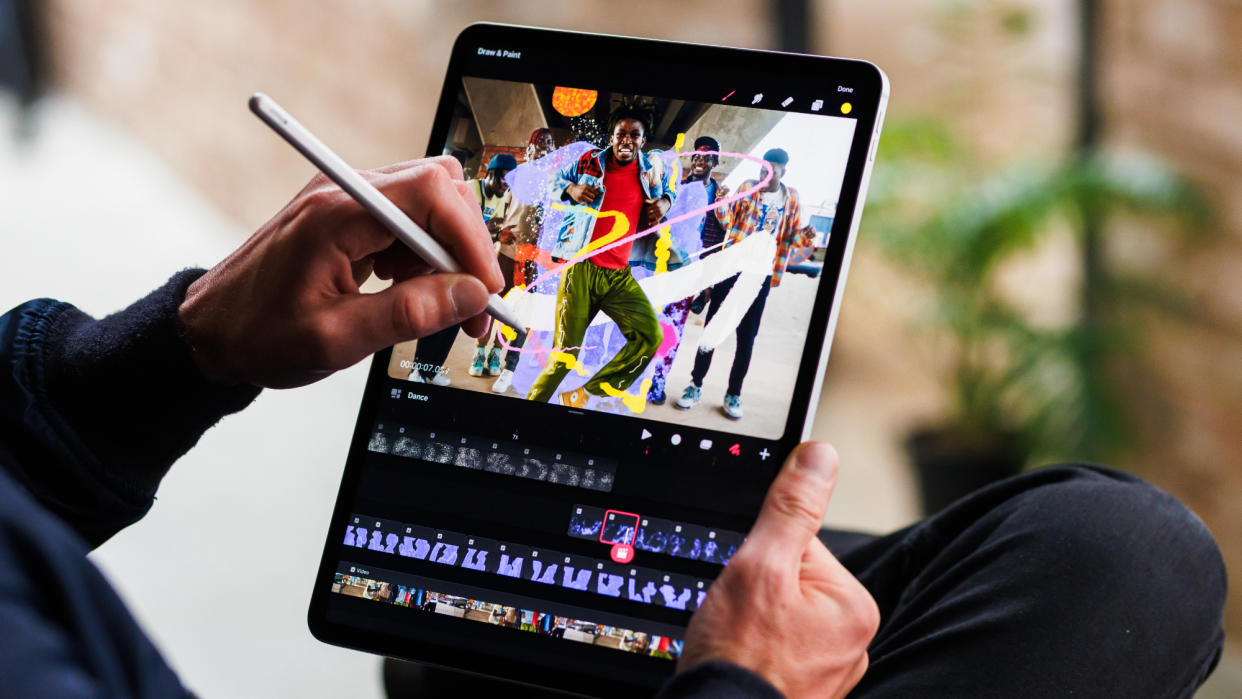
Procreate Dreams is finally here, and it’s ready to reshape the face of 2D animation completely - well, almost. Much like its digital-art sister app, Dreams is designed to be approachable for all skill levels, but even experienced animators might need some help getting to grips with it.
Procreate Dreams lets you draw and animate all in one app, although it’s worth highlighting a lot is missing at the time of writing. Thankfully, the Savage Interactive team (who develop Procreate and Procreate Dreams) has released a development roadmap for the rollout of some crucial features.
Even without those features, it’s an incredibly comprehensive tool and one that can feel pretty daunting when you first load it. This is especially true if you’re graduating from the more simplistic Procreate app. Never fear, I’ve been using Procreate Dreams almost every day for three weeks, and I've picked up some top tips and tricks for beginners.
1. Use Procreate to draw and import brushes
While you can draw directly in Procreate Dreams, as of now, it’s missing a lot of the best tools and features from the original art app, including quick shapes, brush customization, and stabilization. This means drawing can be painful, at best, in the app.
Thankfully, that’s where one of Dreams’ best features comes in – intuitive cross-compatibility. You can simply open Procreate and drag and drop drawings, layers, brushes, etc. directly into Dreams.
If you download a multi-layered file from Procreate, you can even separate the layers into tracks within Dreams, allowing you to manipulate individual elements more easily.
Even after Savage Interactive implements some hotfixes and new features in Dreams, I'm pretty sure that Procreate will still offer a better drawing experience.
2. Pay attention to your file settings
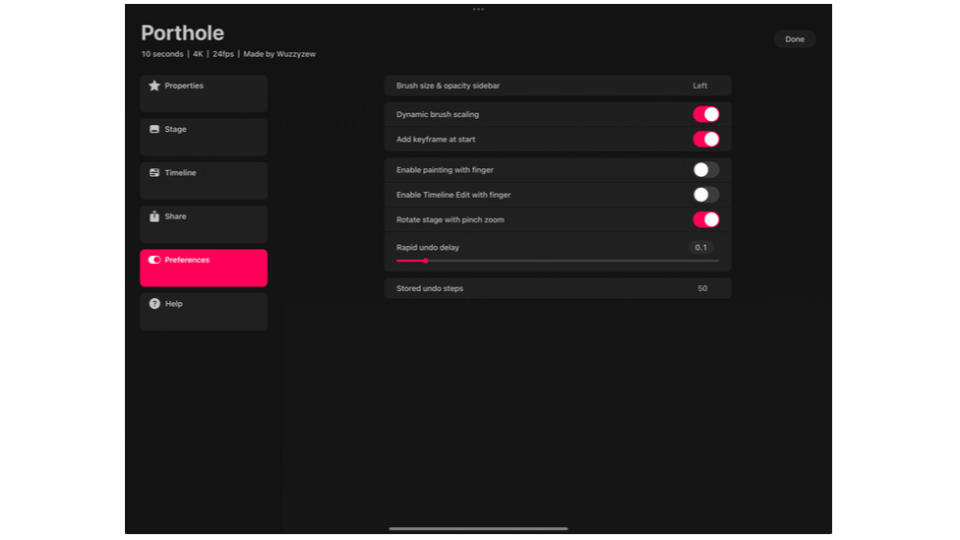
The first thing you should do when you start a new animation is tap the file name and make sure it’s set up how you want.
There are five menus – Properties, Stage, Timeline, Share, and Preferences – as well as a help section. The three most important menus to begin with are Properties, where you can adjust the frames per second, duration, and canvas size; Timeline, where you can adjust the playback mode; and Preferences, where you can toggle settings like finger painting and timeline finger controls.
Personally, I'd recommend cranking the duration right down to 5-10 seconds for your earliest projects while you get used to the tool. I'd also turn off finger painting, as this mostly ended up in me accidentally smudging the screen when I forgot to turn drawing mode off.
3. Use an Apple Pencil
There are some features, especially when it comes to the timeline, that, by default, require a stylus. As I mentioned above, you can toggle this and use finger controls instead, but from my experience, you’ll only be slowed down if you don’t use one.
While the drawing features aren’t fully implemented at the time of writing, as Procreate Dreams continues to develop, the Apple Pencil will become increasingly important to help realize your artistic vision, thanks to its more accurate nib, as well as pressure and tilt control.
Procreate no longer offers third-party pen support outside of Apple-approved devices, so it's honestly worth investing in an Apple Pencil if you're serious about using Dreams in the long run. They're expensive, yes, but the best Apple Pencil deals can help knock down the price somewhat.
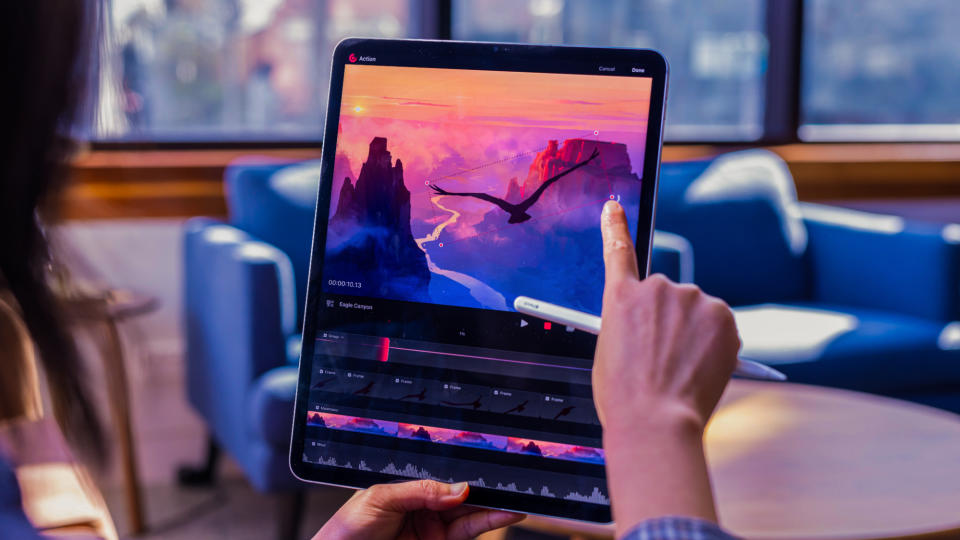
4. Play around with tools and techniques
Procreate Dreams allows for frame-by-frame animation and keyframing, but there’s also Performance mode, which lets you adjust effects or move, warp, and resize your drawings in real time. This is a real boon for beginners or animators who just need to get something done fast. You can also adjust the motion filtering to balance out any juddering by tapping the Modify button in the top right-hand corner of the screen while in Performance mode.
As you can imagine, for each of these animation techniques there’s a whole host of tools, all of which are detailed well in the Procreate Dreams handbook.
I’ve found that using a combination of all three techniques has generated the best results for me, but it takes time to get used to them all. My advice? Draw a simple illustration like a bouncing ball or a blinking eye and try using all three techniques to animate the motion.
5. Learn to live in the timeline
Procreate Dreams, at least in its current form just post-release, is very much an animation app with decent drawing capabilities. So, if you're a long-time Procreate fan just coming across the new app, you're in for a bit of a surprise.
By all accounts, the team is working on balancing this scale, but your best bet will be to really learn to use the timeline and all its features.
Get comfortable adjusting the frame length by clicking and dragging the sides, using three fingers to expand or shrink the timeline, and flinging the playhead to the left of the screen to start playing your creation from scratch.
Procreate Dreams might be a tad intimidating at first, but it's got all the makings of an incredible tool to add to your iPad arsenal. Just a quick scroll through TikTok's Procreate Dreams hashtag demonstrates this well; amateur artists around the world are creating gorgeous works of art with as-of-yet rudimentary tools. I can only imagine what's in store as Dreams continues to develop.

