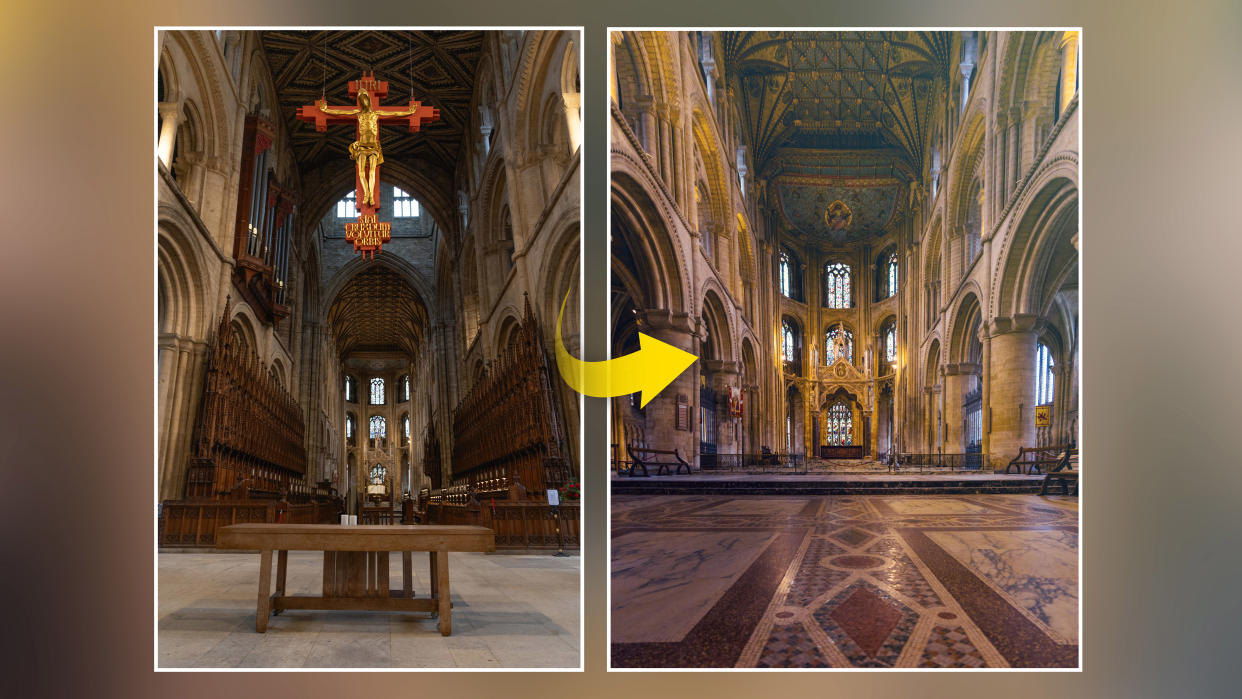
Shoot and stitch together vertical panoramas for fab interior photos
Watch video: How to shoot vertical panoramas
You may sometimes struggle to capture what you see with your eyes in your digital camera. This could be down to the limited focal lengths you have at your disposal but, in some situations, it may well just be down to the vastness of the scene.
Ultra-wide lenses are an option, but they are often expensive and distort the perspective of the frame, resulting in converging verticals; where the lines of a subject appear to lean in towards the top of the frame.
The solution is to instead shoot multiple images and merge them together into a panorama on your computer to capture more of the scene without the drawbacks of lens distortion issues.
You may have created a panorama before, but have you ever tried stitching together a series for an extra big vertical? This technique is perfect for shooting large interior spaces, huge skyscrapers, and landscape scenes like waterfalls.
1. Pick the right lens
Resist the temptation of an ultra wide lens, instead, go for a standard zoom optic – something like a 24-70mm or 24-105mm. Then, zoom into 35-40mm to cut down perspective distortion, especially in the corners of the frame.
2. Activate the grid lines
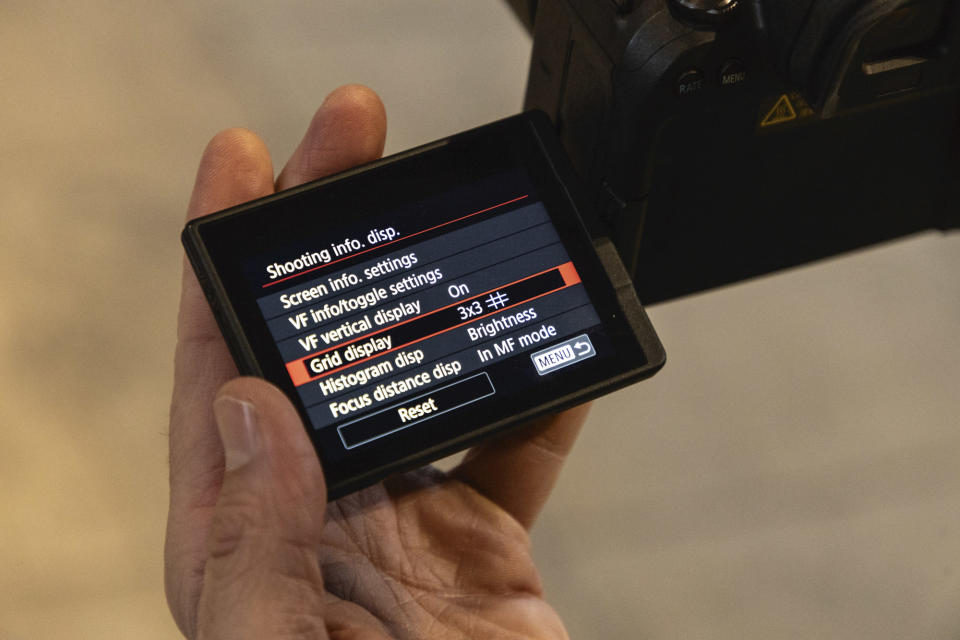
Head into your Canon EOS Menu and turn on the grid lines. The 3x3 grid will help you compose your scene so that the horizon is level and will also help you overlap the exposures as we shoot our multiple images to build up the vertical panorama.
3. Dial in your settings
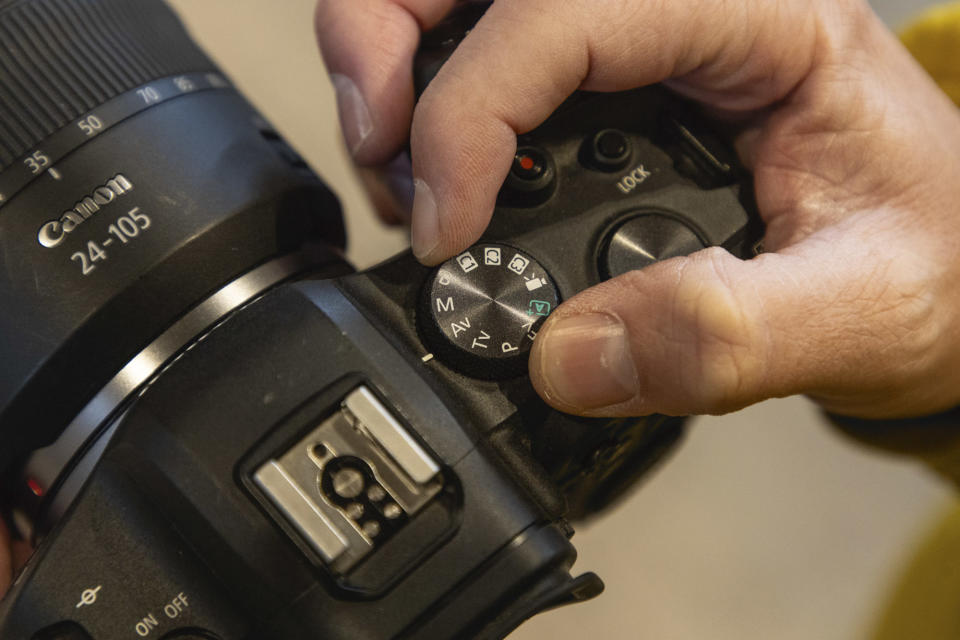
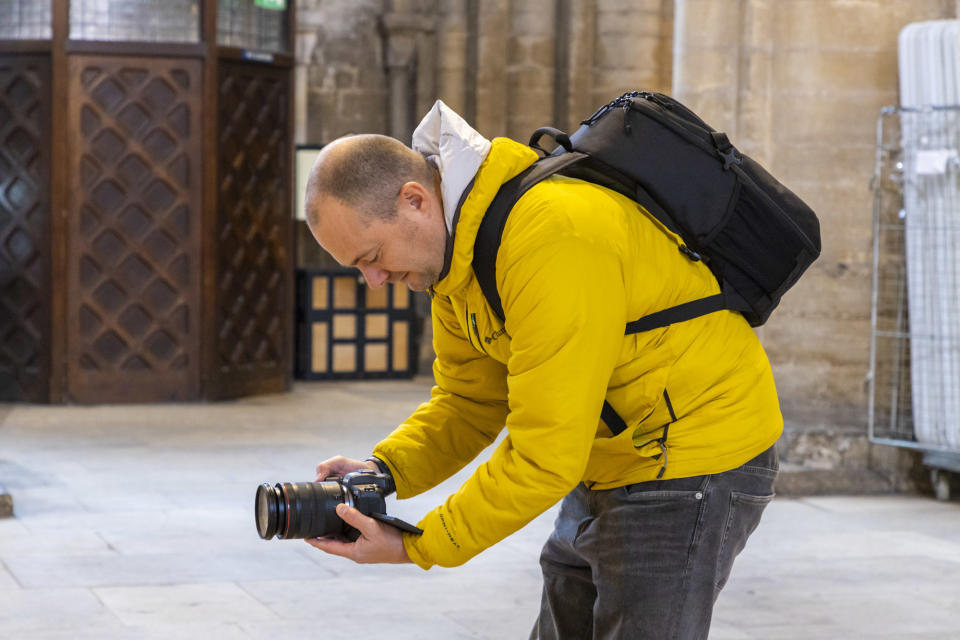
Set your Canon mode dial to Aperture priority mode (Av) and set a mid-aperture of around f/8, as this will give a decent field of focus. We couldn’t use a tripod in this cathedral so we boosted the ISO to 1600 for a shutter speed of 1/100 sec.
4. Lock the focus
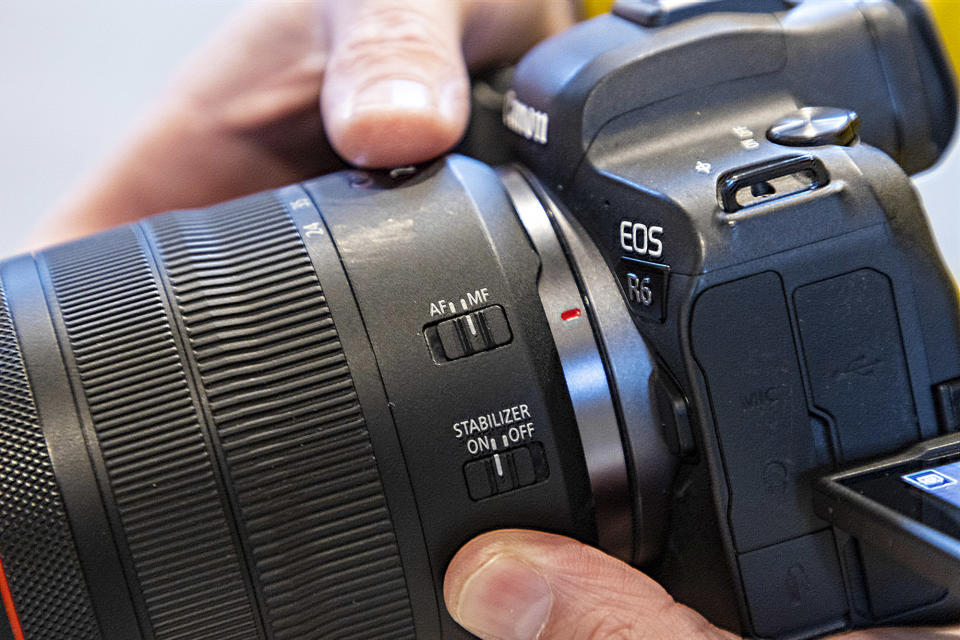
Position your active AF point over the focal point of your scene, where you want the focus to be sharpest, then switch from AF to MF to lock it in place so that it doesn’t shift. Now compose so that your first shot is at the base of your tall scene.
5. Start shooting

Shooting in landscape orientation, take your first image. Then, move the camera slightly up, overlapping the previous frame by around 40% to capture your second frame, and keep moving up until you’ve captured the whole scene.
6. Combine your images

Import your photos into Lightroom, then in the Develop module select and right-click them, then hit Photo Merge> Panorama. Click Perspective and experiment with the other settings to get your panorama looking perfect before pressing Merge.
PhotoPlus: The Canon Magazine is the world's only monthly newsstand title that's 100% devoted to Canon, so you can be sure the magazine is completely relevant to your system. Every issue comes with downloadable video tutorials too.
If you're serious about scenery, take a look at the best cameras for landscape photography along with the best lenses for landscapes.

